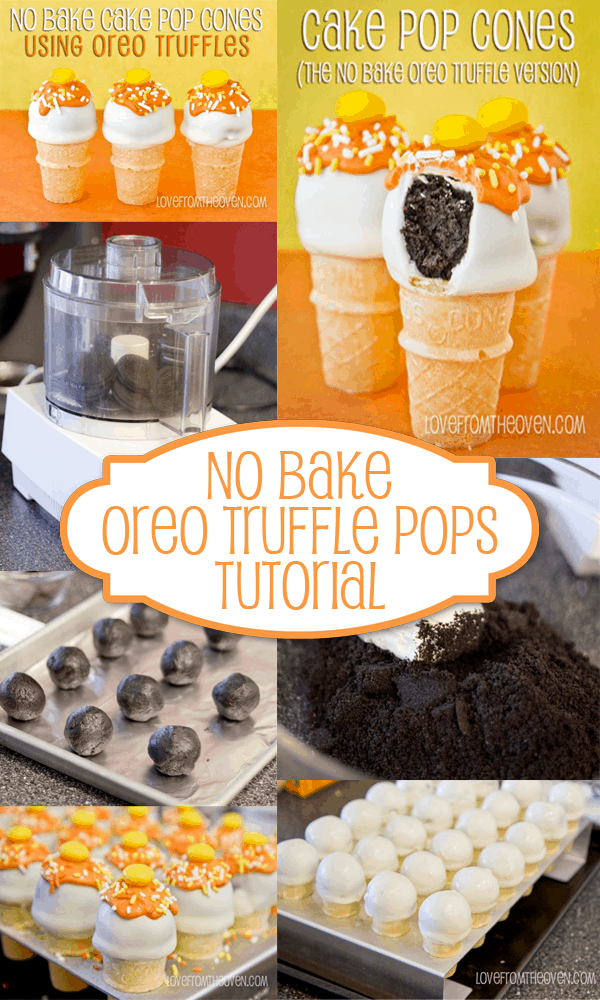
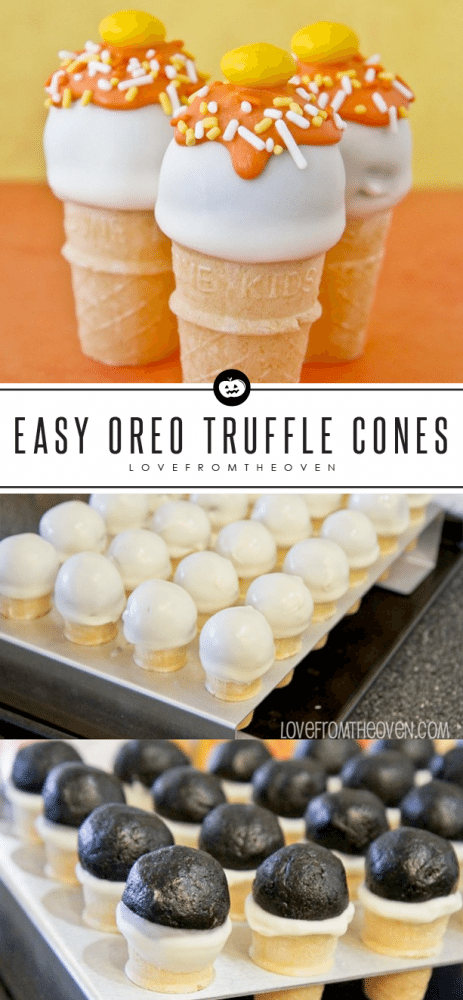
This is what our group will be enjoying for dessert tonight at our Trunk or Treat…
This will be a quick post as I wasn’t planning to post these until tomorrow, but many of you on Facebook have asked if I could share today, here you go! There were actually really easy to make. Oh and ridiculously delicious.
I used Joy Mini Cones (found at Walmart) and my Kupcake Konz pan. I will say that having this pan probably makes it much easier, but you can still make these without and possibly sit them in a mini cupcake pan (it just helps stabilize them).
You could also make cake pops to use with these. I personally prefer the taste and no-bake prep of the Oreo Truffles.
The ingredients are quite simple:
- Oreos
- Softened cream cheese (8 oz block)
- Candy Coating (melts, almond bark, whatever your favorite chocolate coating is)
- M&Ms and sprinkles.
- Mini Joy Cones
To make a full batch, some people use the entire bag of Oreos and entire block of cream cheese. I almost always cut back on the cream cheese, I start with half a block of cream cheese and add a little more at a time to get the consistency I want (very easy to mold but not soggy). I usually use about 3/4 of an 8oz block of cream cheese to standard size package of Oreos.
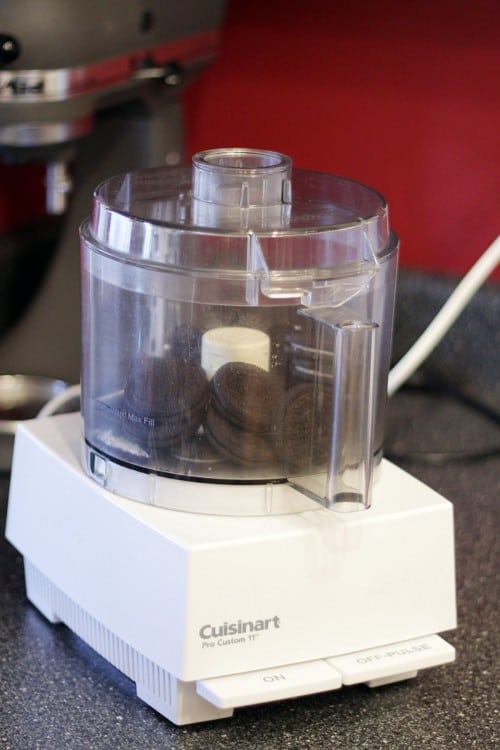
Take the Oreos for a spin in the food processor.
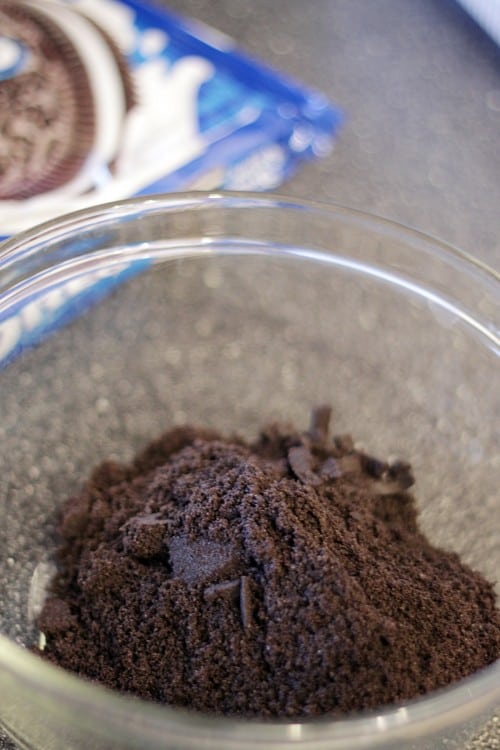
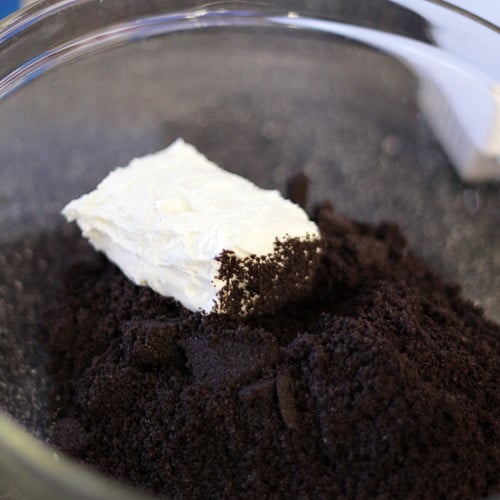
Poor the crumbs into a bowl. Add your cream cheese.
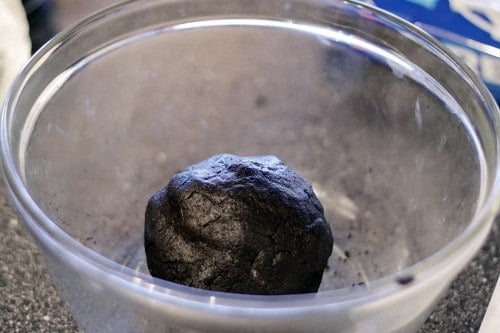
Ready to get your hands dirty? Mix that cream cheese in by hand. It’s gooey and messy and you have to work it for a bit, but eventually you will get this…
Resist eating the giant ball of Oreo truffle dough. It’s hard, I know.
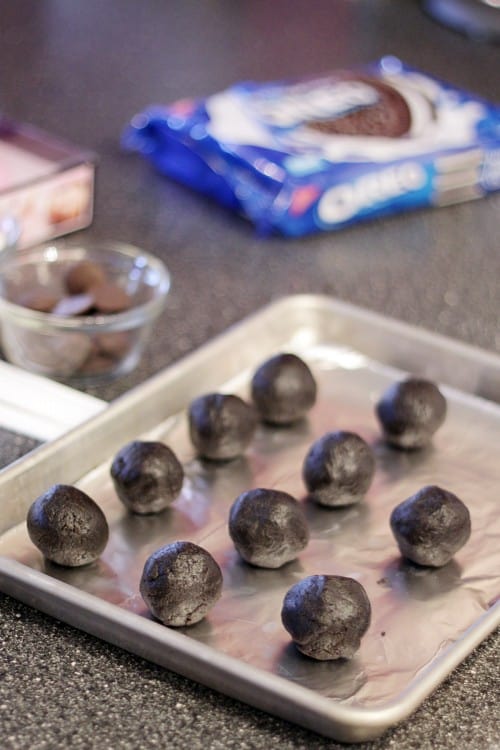
Roll the dough by hand into balls that are about the size of a golf ball.
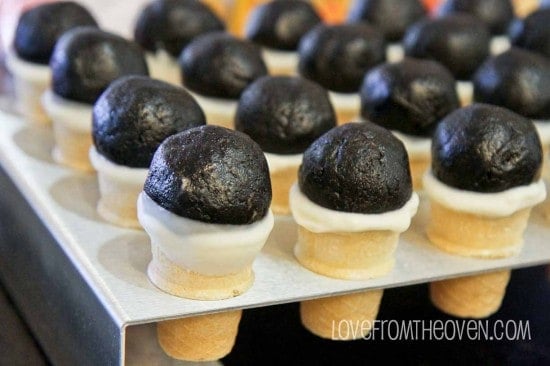
After making the truffles, I stuck them in the fridge and got my cones out and lined up. I pulled the truffles out of the fridge, dipped each cone in melted chocolate coating, dipped the bottom of each truffle in the chocolate and put them together (one at a time, not dip all the cones then dip all the truffles). You are not dipping the entire truffle at this point, just the cone where you attache your truffle. This helps make sure that the truffle will stick to the cone.
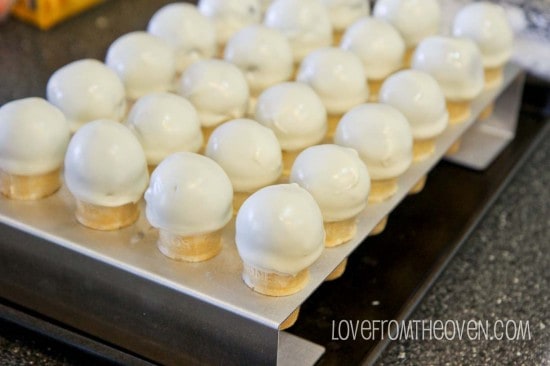
Now stick these in the fridge to really chill. Don’t skip this step, it’s what’s going to attach those truffles to the cones. Once they are nice and cooled, pull them out and dip each one (quickly) into your chocolate coating then let sit to set up and dry.
Next I just spooned a bit of orange chocolate coating on top of each, topped with M&M’s and sprinkles. That’s it. Really easy. Cake pops without the stick headache! As long as you make sure to take time to dip your cones and bottoms of the truffles into chocolate and let them set up in the fridge, your pops should stay put on the cone when you dip them (but again, move quickly when dipping – if you hold it upside down for a minute or two, gravity is going to get the best of you).
Yum yum yum! I do store mine in the fridge (I get a bit worried about cream cheese stored at room temp). Enjoy!






Jackie says
Thank you very much for sharing this great snack.