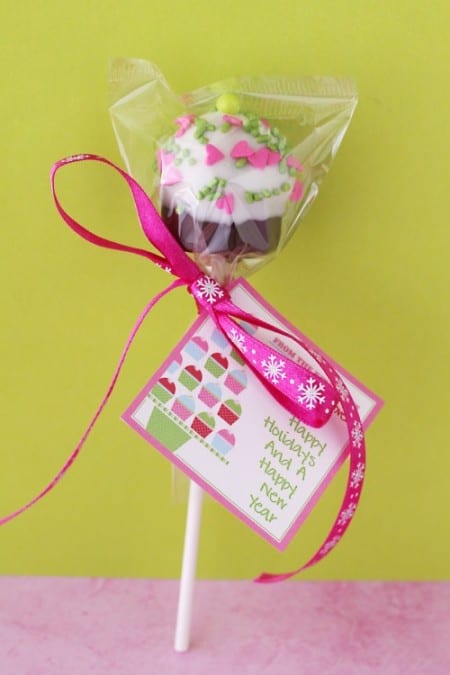
I have such a fun recipe idea for you today. Have you ever made Oreo Truffles? If you haven’t, you are in for a treat. I have loved the Oreo Truffles recipe for many (many) years. Truth be told I prefer Oreo Truffles to cake pops. Oreo Truffles are no bake, and take only a handful of ingredients. And they are crazy delicious. I’ve made Oreo Truffles cake pops, Oreo Truffles cupcake pops, no stick at all Oreo Truffles, Oreo Truffles Cones and today I’m sharing with you some Oreo Truffles Trees and Santa Hats for Christmas. They *might* be my favorite Oreo Truffles yet!
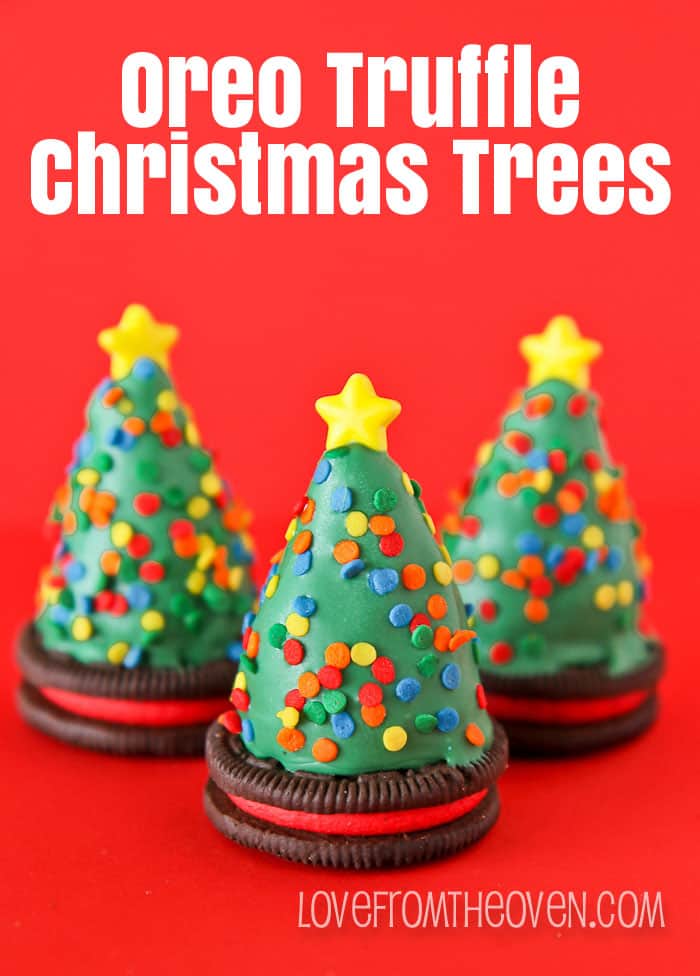
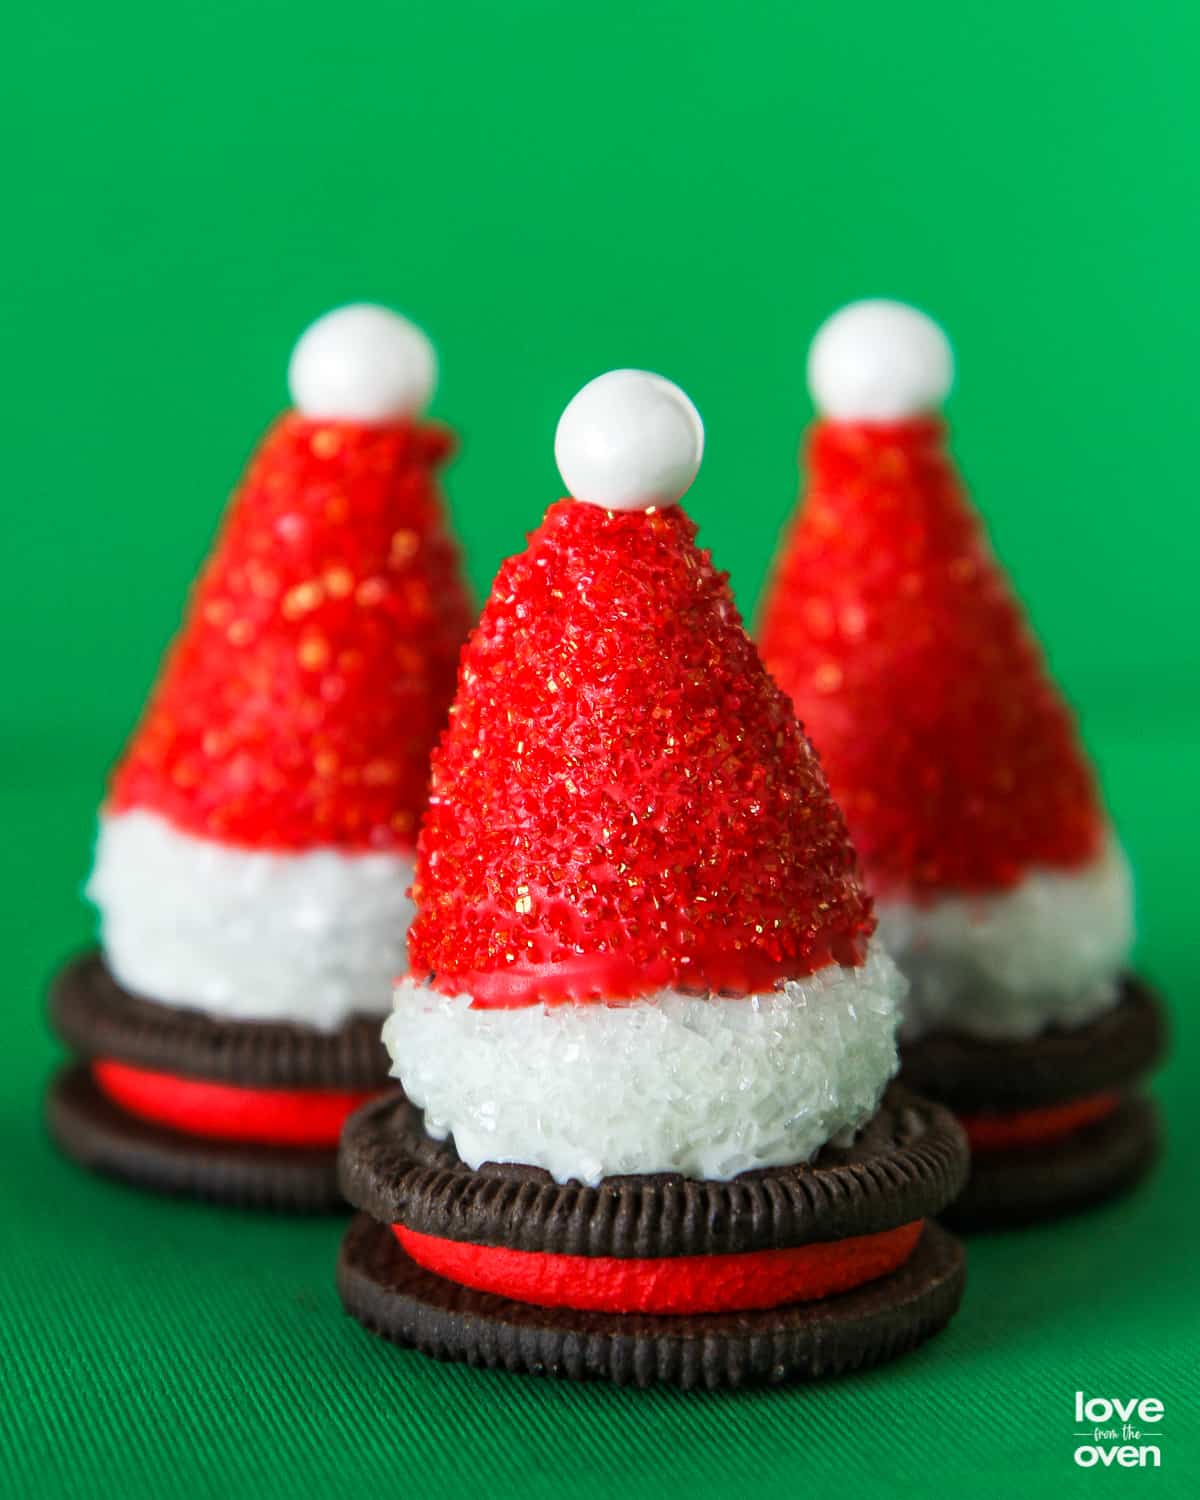
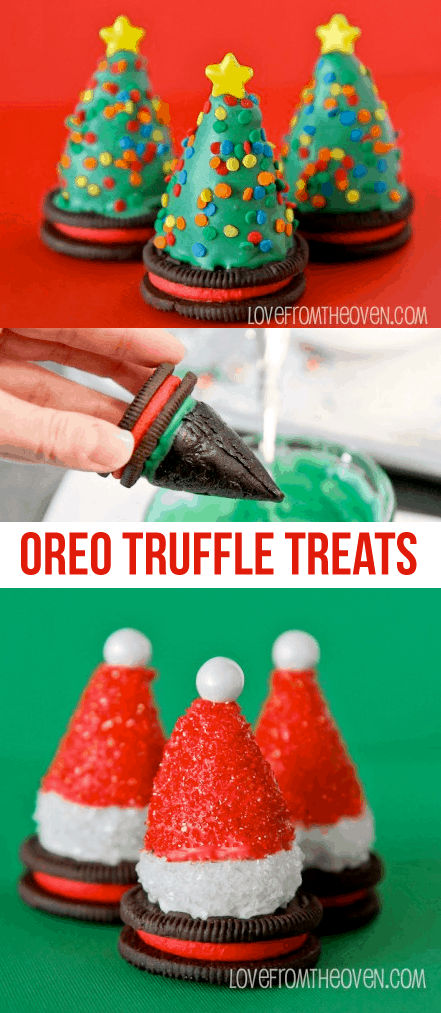
I am in *love* with these little Oreo Truffles Trees! And the Santa Hats are super cute as well!

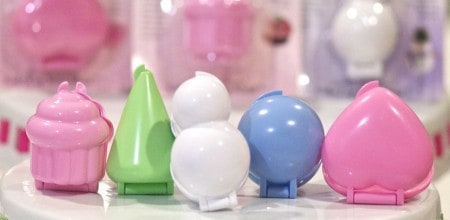
These are so fun and really not as hard to make as you might think. Oreo Truffles are made of basically four things – Oreos, cream cheese, chocolate coating and sprinkles or decorations. That’s it. I did have a little tool that helped me shape these, my My Little Cupcake Cone Shaped Cake Pop Mold (click the link or the photo to be taken to the mold).
I love the My Little Cupcake Molds and have used them many times here on the blog. If you make cake pops or truffles more than a few times a year, they are well worth a few dollars. But you can make these without a mold, you just want to shape your truffles into cones.

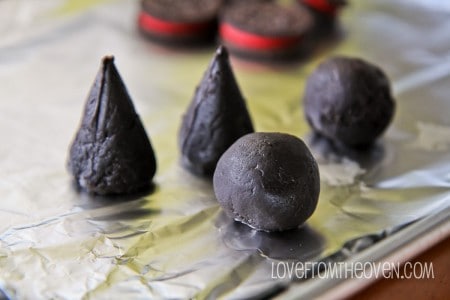
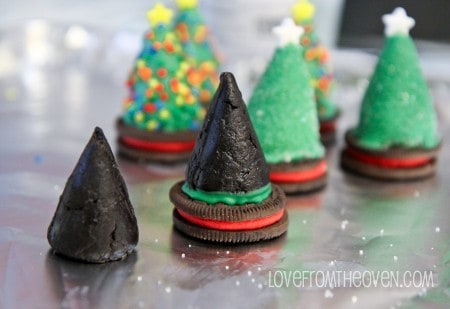
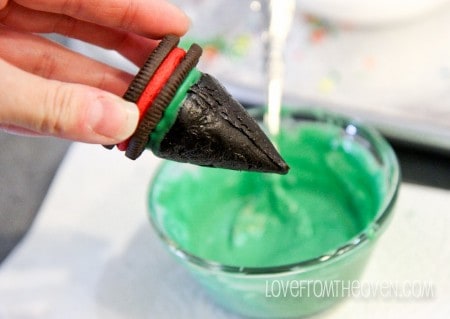
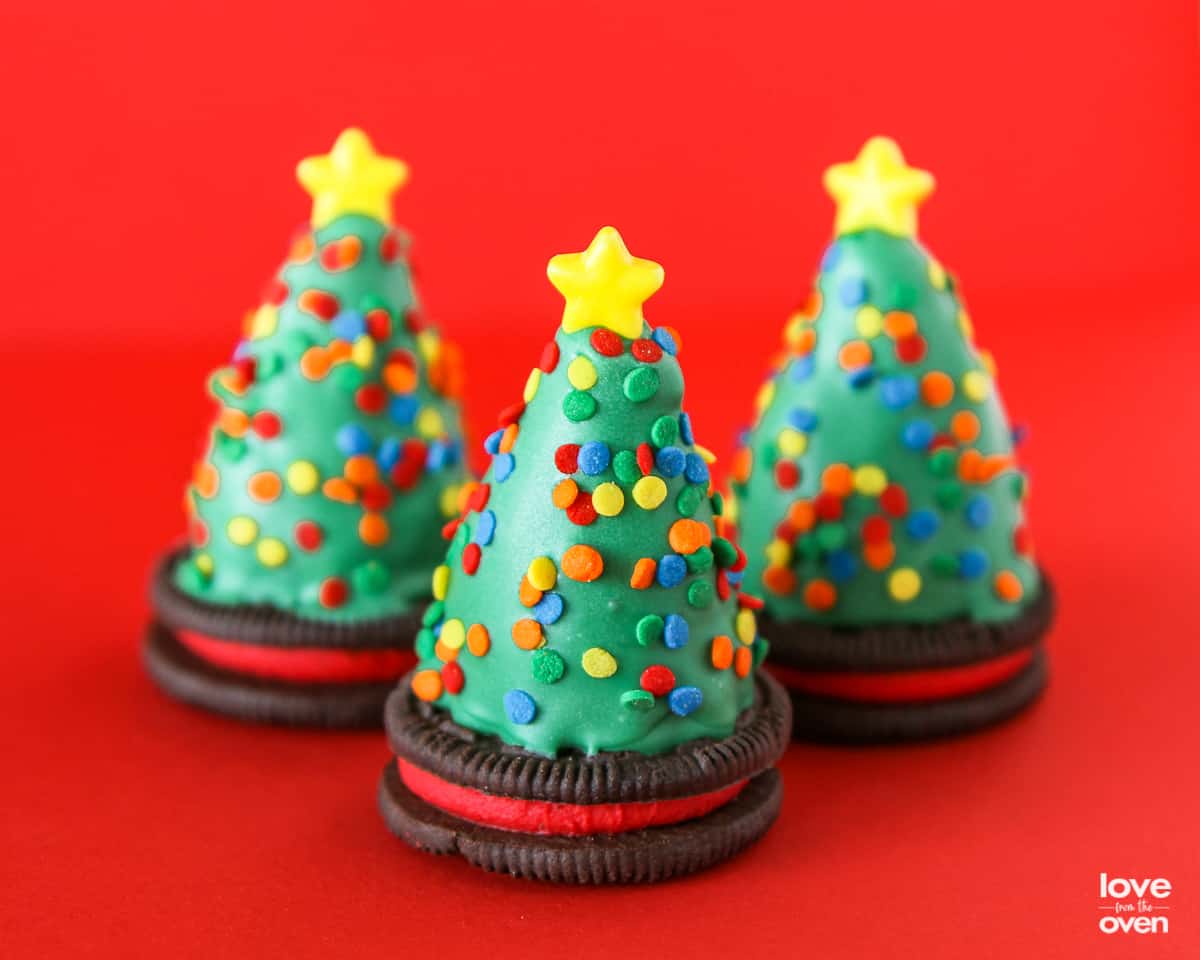
To create these I made my truffle mixture, then placed it in the fridge to chill for about 20 minutes. Next I shaped my truffle mixture into little cones, then back into the fridge for another 20 minutes. After that I pulled my chilled truffle cones out, one at a time, and dipped the base into some green candy coating (such as Merckens or Wiltons) and placed the truffle onto an Oreo, and returned it to the fridge. This part allows the truffle to “bond” with the Oreo if you will. You could probably skip this part and just dunk your whole tree into the candy coating and then place it on your Oreo, but truth be told I hate having candy coating and melted chocolate on my hands, so this is a slightly neater option. After allowing these to chill until the candy coating was hardened, I pulled them out one at a time, dipped or spooned on my candy coating, added some sprinkles and placed them on a baking sheet.
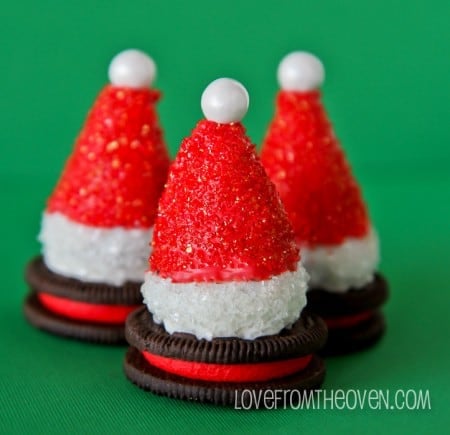
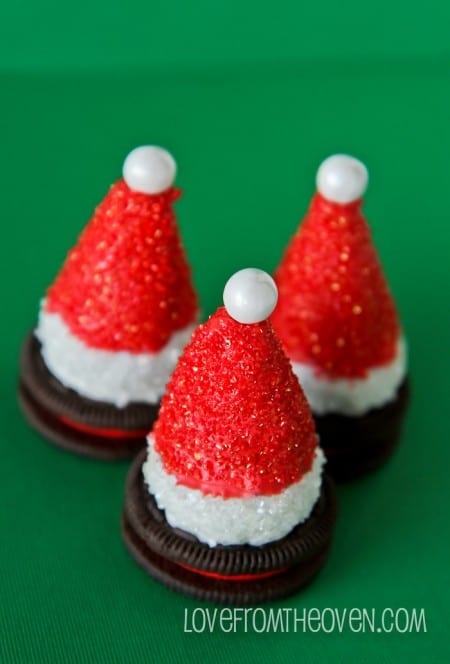
I topped each with a little candy star. That’s it! SO cute. For the Santa hats, I used white chocolate for the base, and made sure to get some up along the sides of the cone shape, an not just on the bottom, as I wanted to create the white area for my hats. Then I dipped them into some red coating, added some red sugar crystal sprinkles, and topped with a Celebration Pearl Sixlet.
To store I keep mine loosely covered and in the fridge, as they do contain cream cheese.

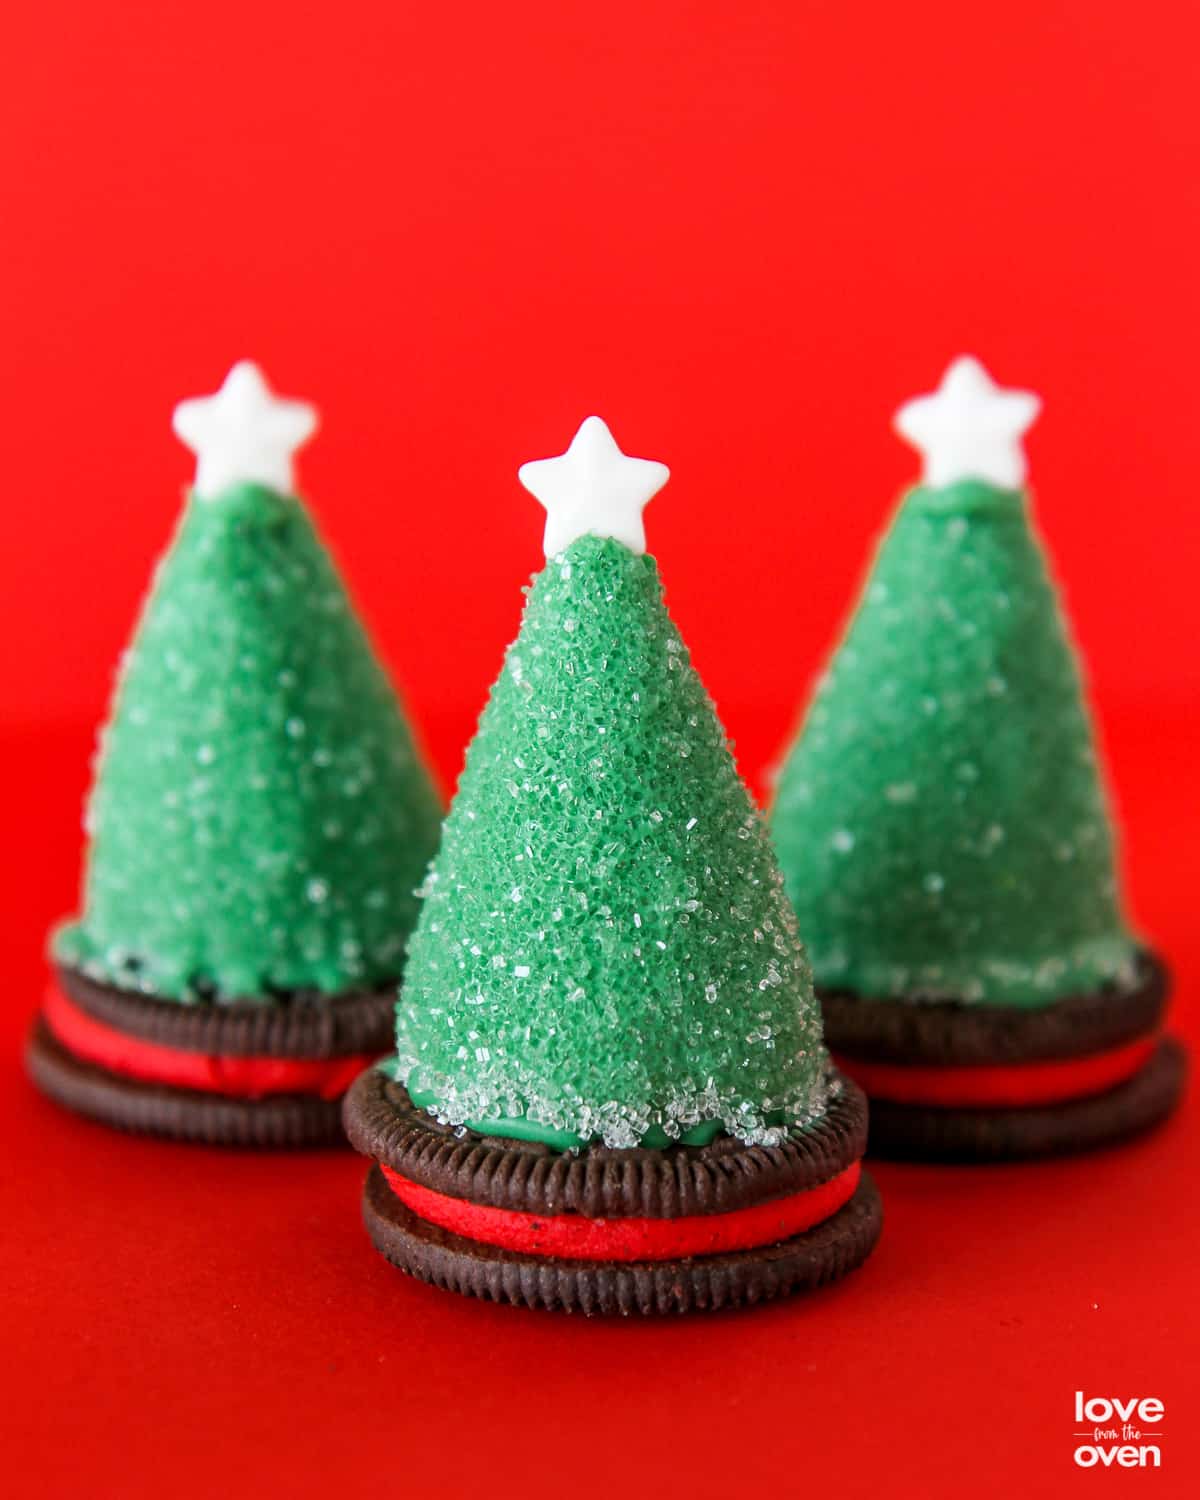
You can go with a clear sugar crystal sprinkle for a more simple look if you like. You can really decorate these any way you want, have fun with it! I think these would be darling in white, and pink!

I love these!

So much fun. You can always make these as pops if you want, but I really like the idea of putting these on Oreos.


Make sure to also try my Oreo Truffle Recipe Hot Cocoa Mugs!

Oreo Truffles Trees And Santa Hats
Ingredients
- 24 Winter Oreos
- 5 Tablespoons PHILADELPHIA Cream Cheese softened (you may use more or less if you like your truffles more on the moist side or more on the dry side)
- 12 ounces of green candy coating OR 3 ounces of white candy coating and 9 ounces of red candy coating melted according to package directions
- Assorted sprinkles
- 8 candy stars or Celebration Pearls Sixlets
Instructions
- Finely crush 16 cookies. Mix cream cheese and cookie crumbs until blended. Shape into 8 cones. Place cones in fridge to chill for 20 minutes.
- Place remaining cookies on a baking sheet lined with wax paper. Working one cookie at a time, remove cone shaped truffle from fridge. Dip the base into your green candy coating then immediately place onto a whole Oreo cookie. Return to fridge and repeat process with remaining 7 truffle cones and cookies. Working one cookie at a time, remove from fridge and dip uncovered area of truffle cone into your candy coating, sprinkle with sprinkles and place on a baking sheet to dry. Place candy star on top prior to candy coating setting up. Repeat with remaining cookies. Refrigerate 1 hour or until firm. Store in fridge.
Notes
Disclaimer
Nutrition information is estimated as a courtesy. If using for medical purposes, please verify information using your own nutritional calculator. Percent Daily Values are based on a 2000 calorie diet.

Want to see more Oreo truffles? I’ve made a few different kinds over the years…
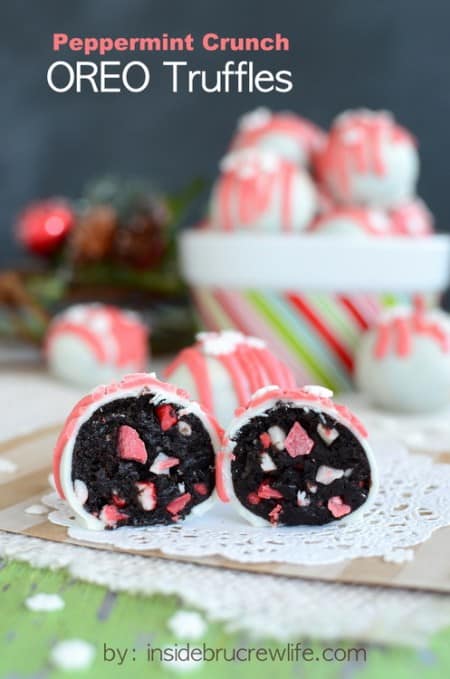
Inside BruCrew Life has some yummy Peppermint Crunch Oreo Truffles
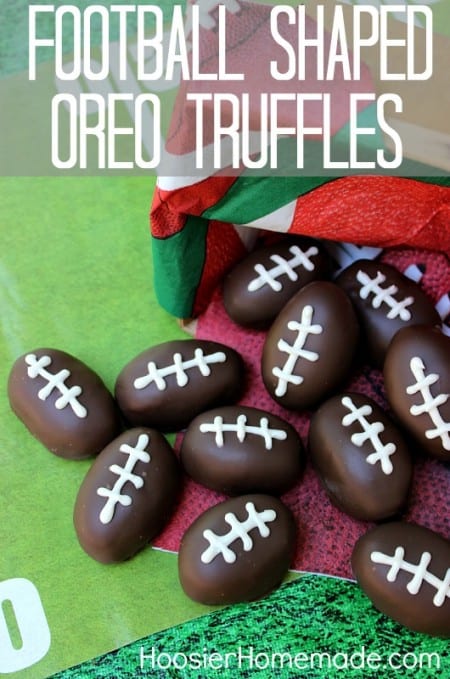
And if you are cheering on your favorite football team
(let’s go Arizona State University Sun Devils!!!),
you have to check out these darling
Football Shaped Oreo Truffles from Hoosier Homemade



Tammy says
Very cute and DELICIOUS!!!
J. Darlene Feaster says
Way too adorable!! I just love your post and your creative ideas!!!
Christi Johnstone says
I’m not particularly fond of freezing chocolate dipped items, because I find with that drastic of temperature change, things can have a tendency to crack the chocolate coating when they thaw.
michelle says
so cute!! I love these little trees, must make for the kiddos!
Laura @ Lauras Baking Talent says
These are too cute for words. Thank you so much for sharing 🙂
kristy says
Thanks so much for posting these adorable yet simple treats! I LOVE the step by step pics!!! Keep up the amazing and fun work!!
Shaina says
These are so fun!! I love holiday-themed treats
tanya says
Holy cow Christy, these are so stinking cute!!! I need to get my hands on those molds!
Kaye says
Where do you get the little molds?
Christi says
Kaye – just follow the link, above the photo of the molds, that says “My Little Cupcake Cone Shaped Cake Pop Mold”. It’ll take you right to it.
Gayatri says
These are beautiful!!