When you bake as often as I do, and have kids, it’s pretty common to get asked about baking with kids. While I don’t bake with my kiddos as often as some might think, when developing a recipe, you really don’t want an extra 5 tablespoons of baking powder dumped in by your assistant! I do bake with my kids, and have some tips to share on getting into the kitchen with your kids for learning, fun and quality time together.
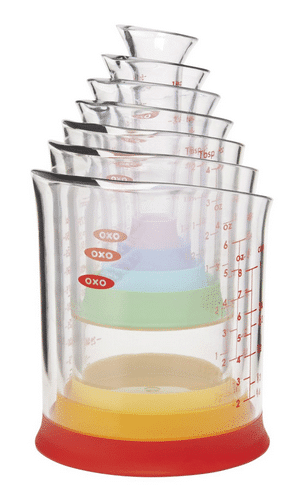
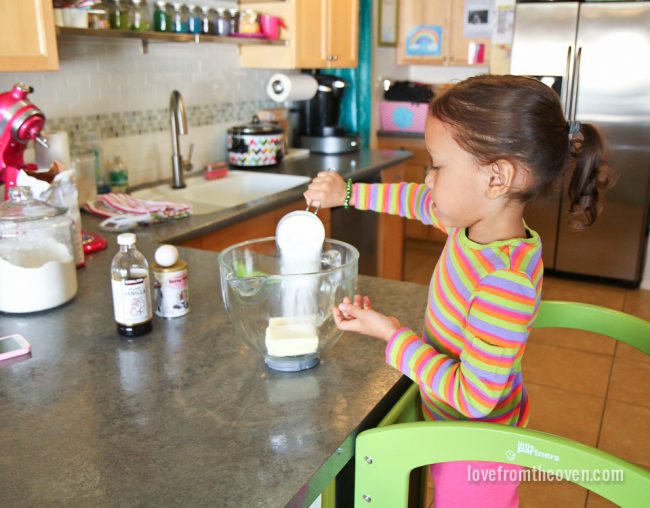
I have a specific set of OXO liquid measuring beakers that I like to use with my daughter, as they are much easier on her little hands than my glass Pyrex measuring cup. It’s easy not to give much thought to the tools and equipment we use, but even having a few items that are more geared for little hands can make a big difference, and really enhance the experience for them. Think of how different it would feel for you to use a one quart glass measuring cup compared to your one or two cup measuring cup. It’s a bit awkward, and heavy! So smaller tools or breaking amounts down into more manageable quantities is always a good option with younger children. This doesn’t always mean buying something, look around your house and get creative!
I like to chose a simple and straight forward recipe to work with. Cookies are always a favorite to make with kids, but check your recipe, as many cookie doughs require chilling. Unless you have a magical refrigerator like they do on TV, that wait time doesn’t always go over well with little ones. Now if your kids are okay breaking up an activity that way, then perfect! However if you want to do a start to finish recipe at once, read the recipe carefully beforehand to make sure there is no chilling, resting or rising period. My favorite cookie recipe to make with my kids is my friend Katrina’s no chill sugar cookies, also known all over the internet and Pinterest as the best sugar cookies ever. Mix them up, roll them out, bake them. For my kids, that works best.
Sometimes if I need to do a few parts of the recipe myself, I will give my little one a very important task, such as stirring the baking soda into the flour, which we all know, can take a really long time. 🙂 Little ones can struggle with patience, so I find that it’s helpful to always have a task for them to do, even if it’s not something that’s essential to the recipe. It can be stirring a bowl of flour, lining up the measuring spoons, picking the best spatula or filling a cupcake pan with liners, then counting them a few times, just to be safe.
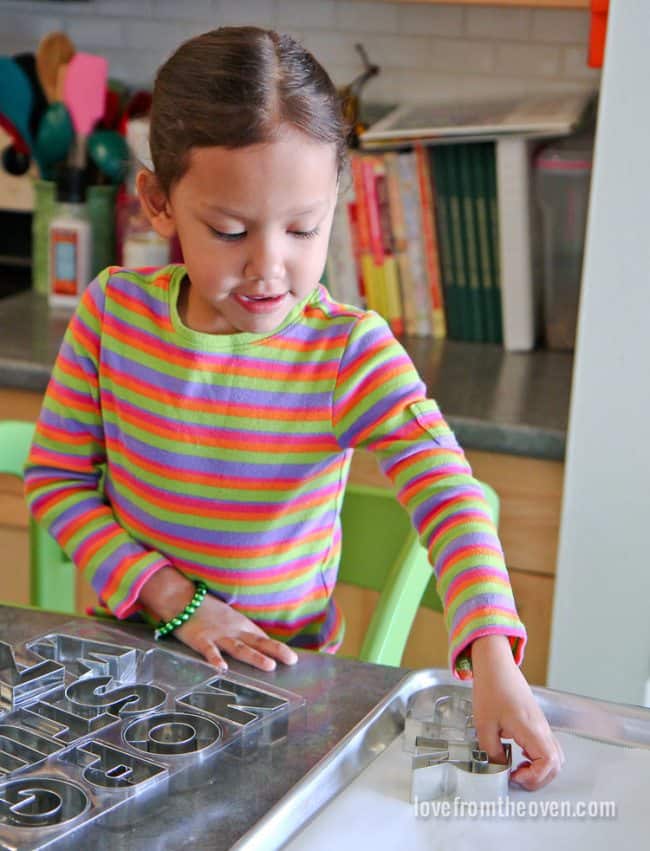
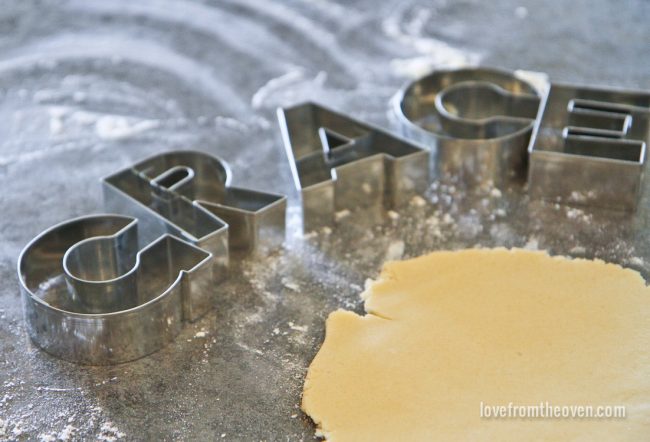
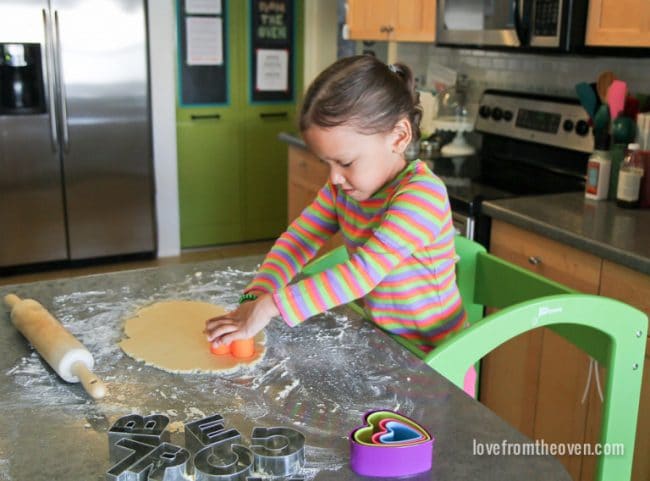
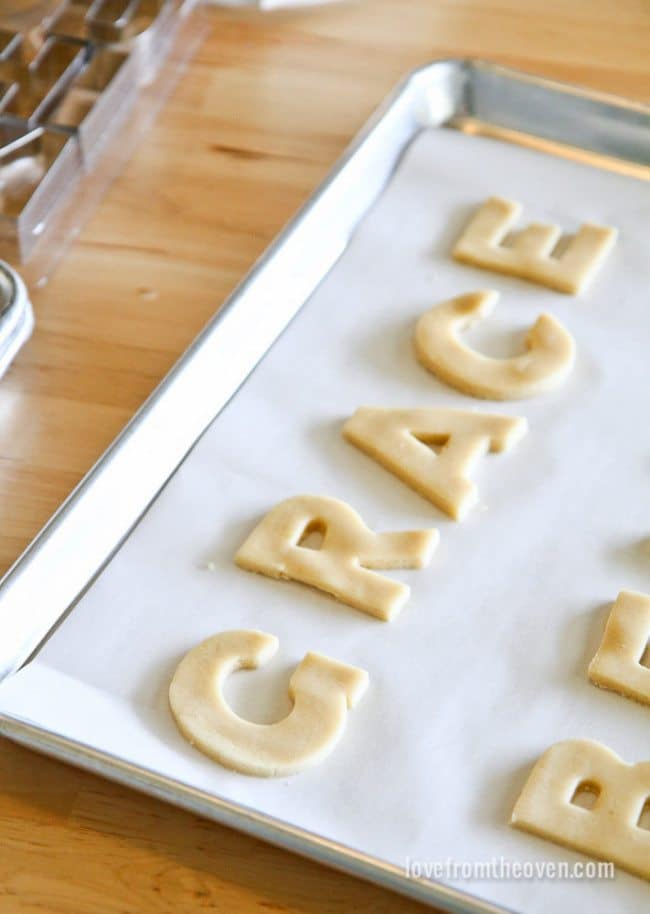
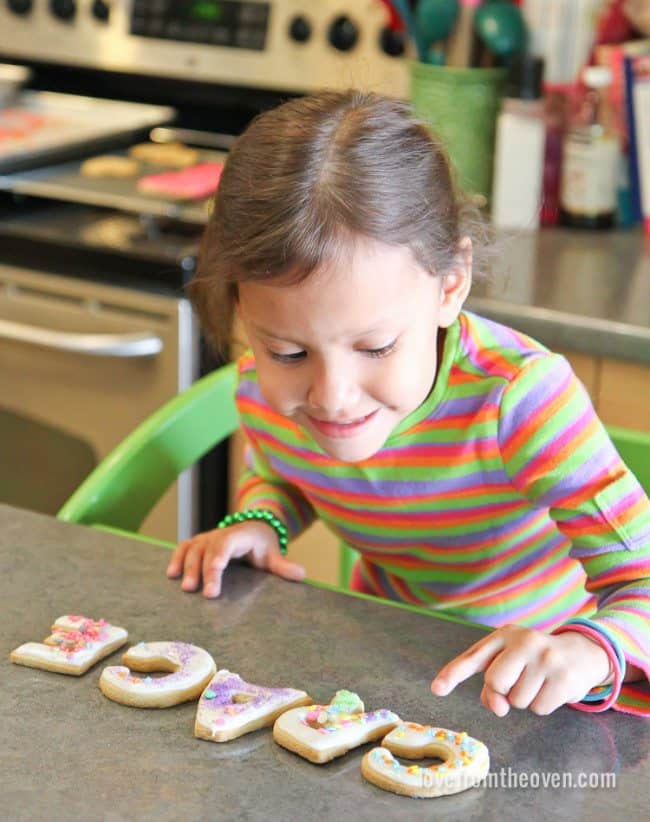
While having kids cook or bake with you lends itself to lots of learning, you can take it even a step further sometimes. We decided to use our letter cookie cutters to make cookies. My little one is very into letters and learning to write names, so I knew this would be a hit with her. She was very excited to pick out the letters for her name as well as her sister’s. We used letters and a few basic shapes to make our cookies. (I found my letter cookie cutters here). This is such a great way to reinforce some of the lessons kids are learning, in a really fun way. Heck, for older kids, what a fun way to practice a few words that might be giving them spelling challenges. I hear that you remember the spelling of words you write in cookies. Okay, I made that up, but I’m certain it’s true.
While messy play is not my favorite thing (I’m secretly an obsessive hand washer when I bake), baking gives kids a great chance to get their hands dirty and experience a wide variety of textures. I try to just embrace the mess and let them enjoy it. And really, it is kind of fun to doodle in the flour all over the counters. Let them squish and squeeze the dough and really get into the experience.
When your cookies are baking, it’s a great time to teach them to help clean up. Or play with the water in the sink, as usually happens at my house.
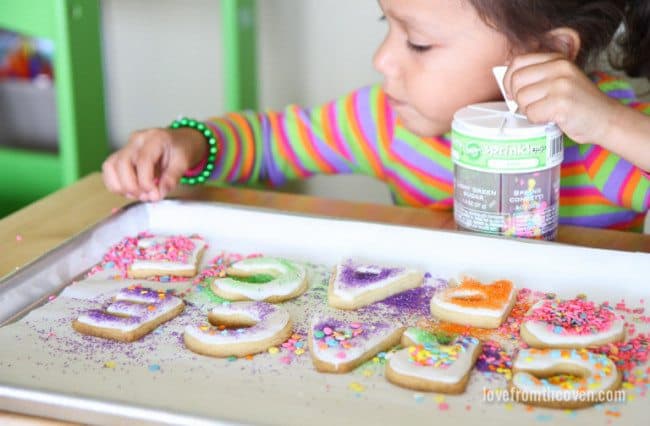
The only downside to the letter cookies is that they can be a little challenging for little ones to frost. Two great options are to either add sprinkles to the cookies before baking, skipping the frosting all together, or let the kids sort through your sprinkles while you quickly get some frosting on them, then hand them off for decorating. Kids love sprinkles (who doesn’t?) and can be a bit heavy handed with them. I’ve learned to embrace it, as I swear it brings them so much joy. If you want to make some inexpensive “sprinkles” you can make your own colored sugar easily, and they kids can help do it with you.
“Hey look, my name! And it’s really tasty!”
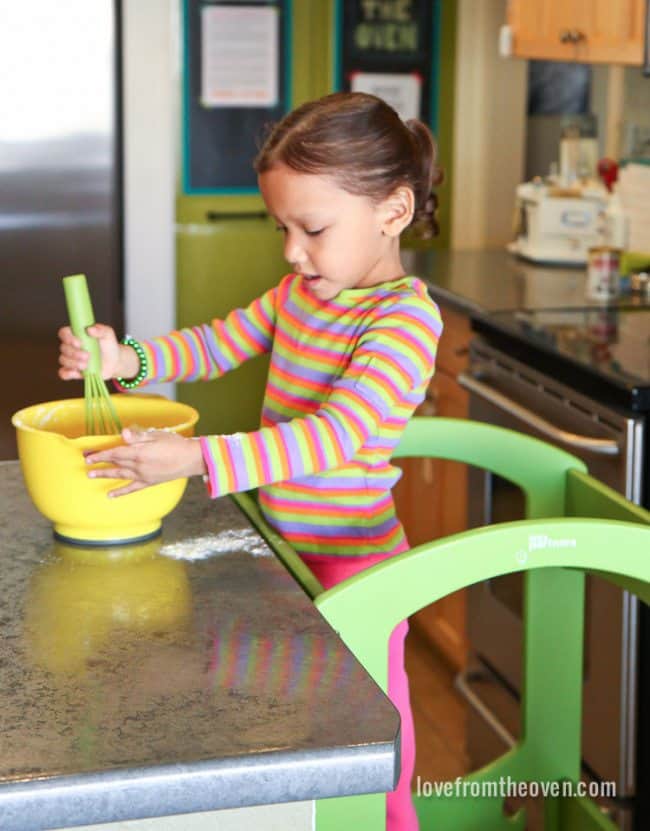
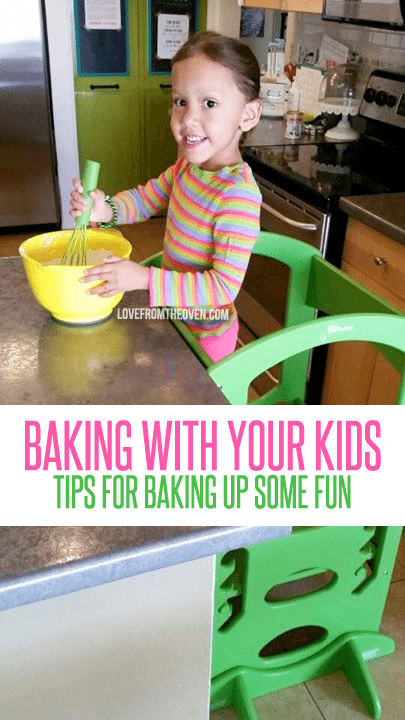
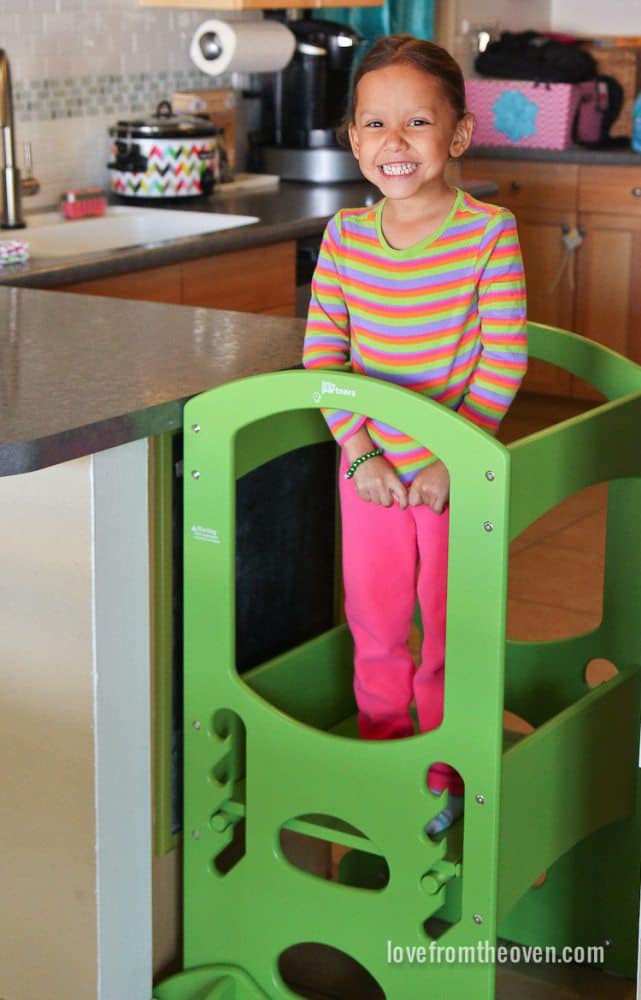
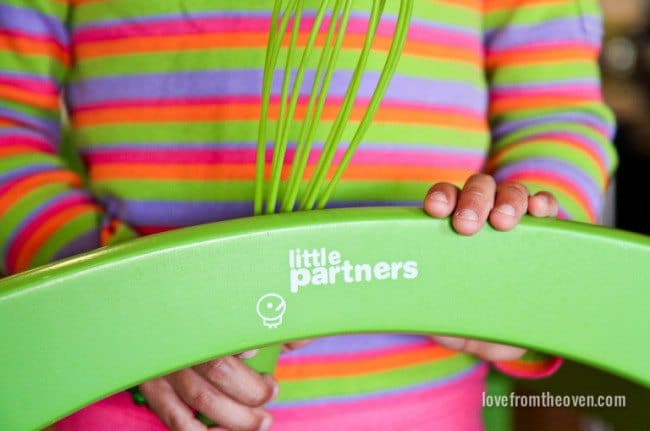
I think it’s really important to get kids to the right level, so that they can easily work at the countertop with you. Most step-stools make me very nervous with my very active, and not always so attentive, daughter. When the folks at Little Partners offered to send out one of their Learning Towers for my daughter to try, I was pretty excited to test it out.
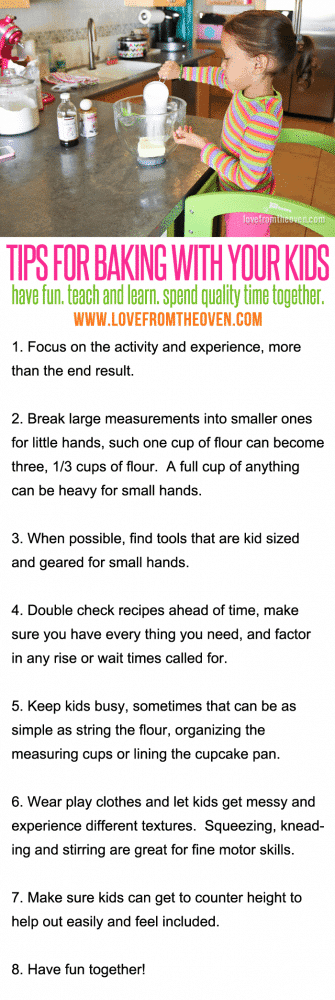
Let me tell you, it is absolutely perfect for safely and securely helping to raise kids up to counter level. My daughter LOVES it. She is NOT a willing participant in pictures, but I think you can see from the grin on her face that she was beyond thrilled to be up at our level in the kitchen. The Learning Tower really takes kids from being an observer in the kitchen to a true participant. And they are safe and secure, something I am constantly worried about on small step stools.
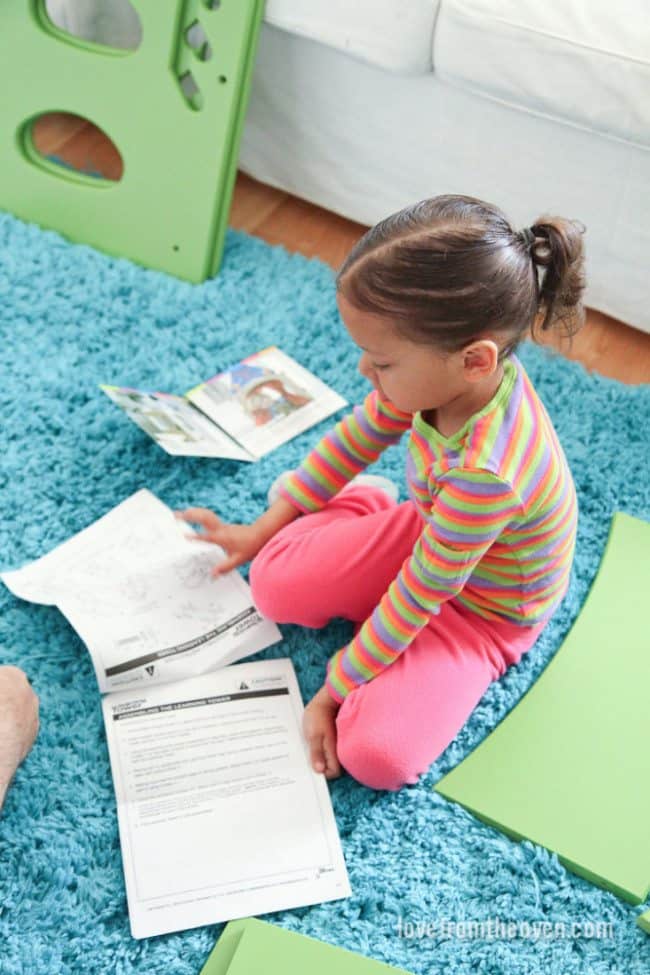
We are very impressed with the quality of our Learning Tower. My husband is a tough critic, and the entire time he was assembling it, he kept talking about how well it was built, how well it was packed and that they even included some spare hardware (as in marked, intentional spare hardware, not like when we put together stuff from Ikea and have 17 mystery bolts leftover at the end). My daughter even got in on the assembly. I feel like my daughter is very safe using her Learning Tower. While Little Partners provided me a Learning Tower to try, free of charge, when it comes to kids and safety, I could not recommend something if I didn’t feel safe letting my own children use it. The Learning Tower totally passes that test for me.
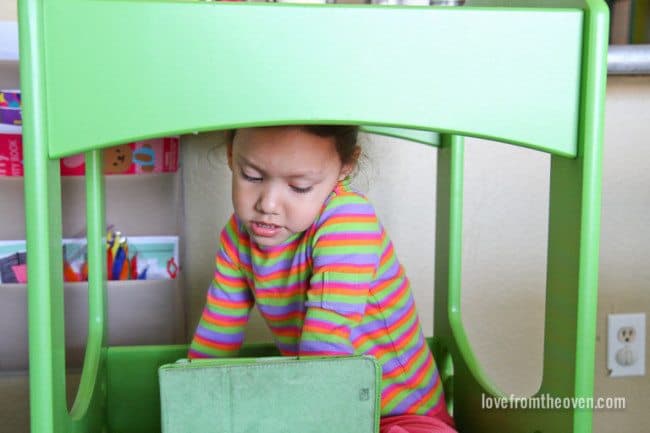
Not only is The Learning Tower great for getting the kids into the kitchen, it can do more than that. Mine has taken to crawling up in hers and chilling when she needs a break. It’s become her own little hang out spot.
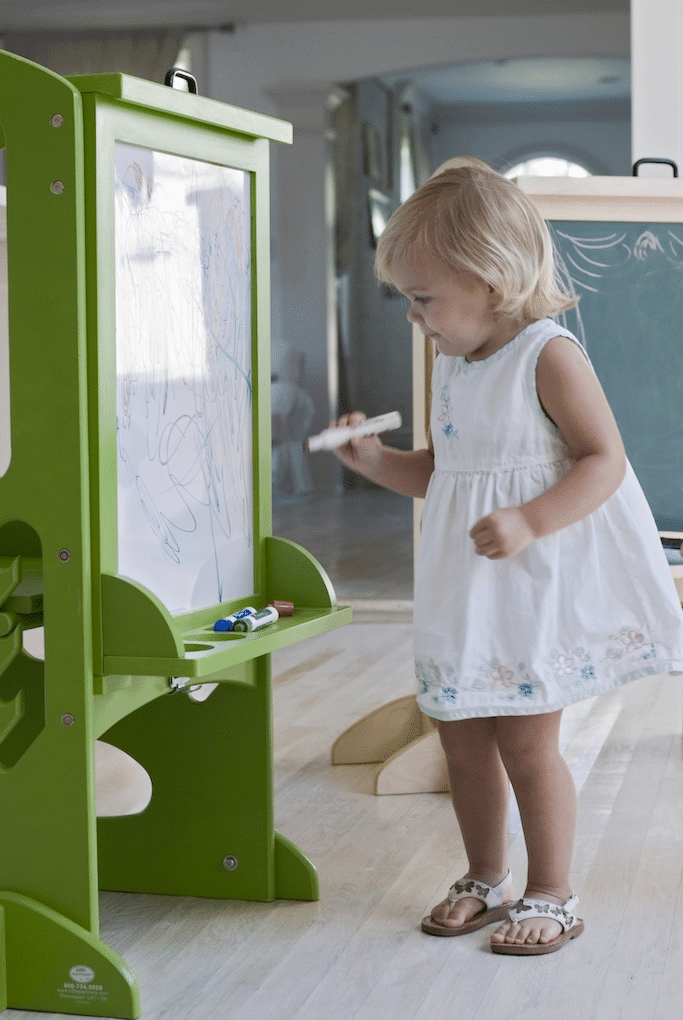
Little Partners also offers a detachable art easel that can go on your learning tower. It’s SO awesome. It has a chalkboard and a whiteboard, and it’s magnetic. I love that not only does The Learning Tower give the kids a way to help out in the kitchen, but it also has features to help keep the kids entertained while I’m cooking or baking on my own. The boards can be used for everything from doodling and drawing, to having the slightly older kids help make and then check off a list of ingredients.
To recap, here are some of my tips for getting the kids in the kitchen and baking with kids.
Tips For Baking With Kids
1. Focus on the activity and experience, more than the end result.
2. Break large measurements into smaller ones for little hands, such one cup of flour can become three, 1/3 cups of flour. A full cup of anything can be heavy for small hands.
3. When possible, find tools that are kid sized and geared for small hands.
4. Double check recipes ahead of time, make sure you have every thing you need, and factor in any rise or wait times called for.
5. Keep kids busy, sometimes that can be as simple as string the flour, organizing the
measuring cups or lining the cupcake pan.
6. Wear play clothes and let kids get messy and experience different textures. Squeezing, kneading and stirring are great for fine motor skills.
7. Make sure kids can get to counter height to help out easily and feel included.
8. Have fun together!
I hope some of my tips for getting the kids into the kitchen and baking with kids can help your family have fun spending time together. There is so much for kids to learn and it’s such a great way to spend quality time together.
Disclosure: Little Partners provided me with a Learning Tower at no cost. No further compensation was received, and all opinions are mine and mine alone. Affiliate links are contained in this post.


Sue {munchkin munchies} says
Hi Christi, This is such a wonderful post! I truly enjoyed baking with my three kids, and now that I have 10 grandchildren (#10 due in March) ten years old and under, I love it with them, whenever we are together. I can see that your daughter loves it too, by all the photos and the smile on her face. 🙂 Great tips!
The learning tower looks awesome (love the color) and I am going to hop over and check it out!