Let’s talk cake pops! Delicious little bites of cake, frosting and chocolate, all put together in handy little pops.
These are the traditional or original cake pops. The kind made by combining a baked cake with frosting, then dipping them into chocolate.
I have to be honest, I think I prefer Oreo truffle pops or cake pops made with my Babycakes Cake Pop Maker a bit more. That said, my daughters loved the traditional cake pops I’m sharing here today.
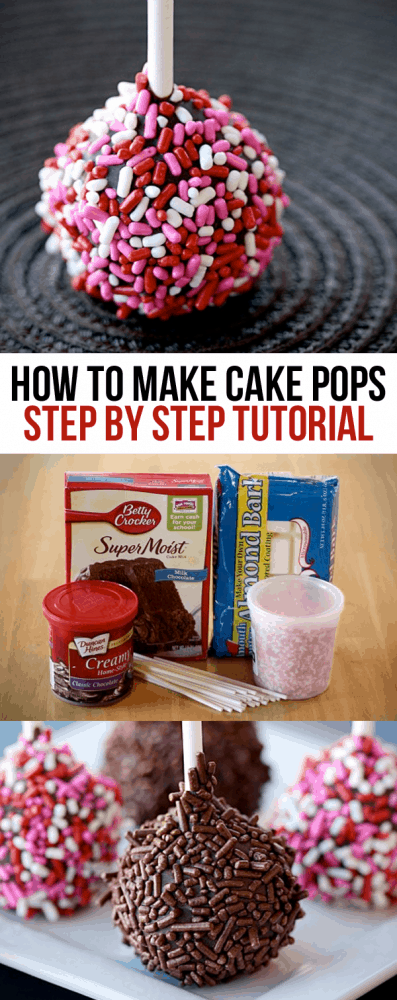
Cake Pop Ingredients
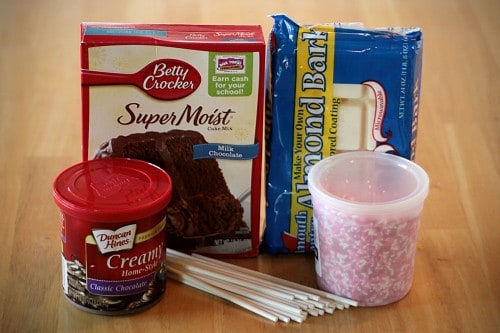
They are made from easy ingredients.
- Baked, unfrosted cake – flavor of your choice
- Can of frosting – flavor of your choice that pairs with cake
- Chocolate candy coating (or white chocolate, or other flavors)
- Sticks
- Sprinkles if desired
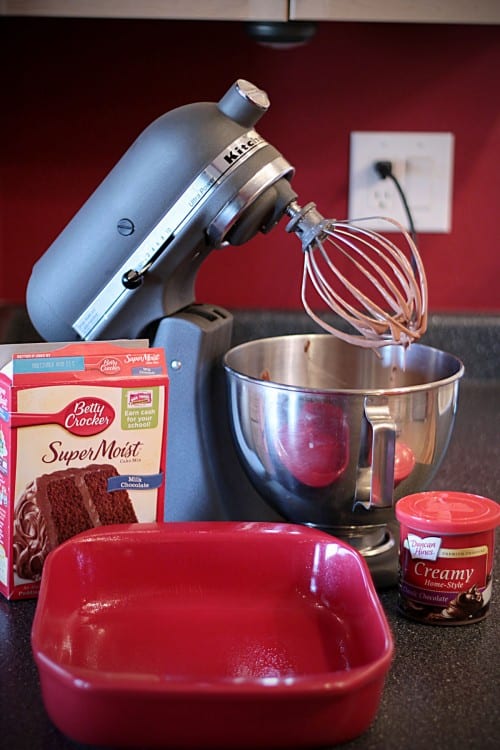
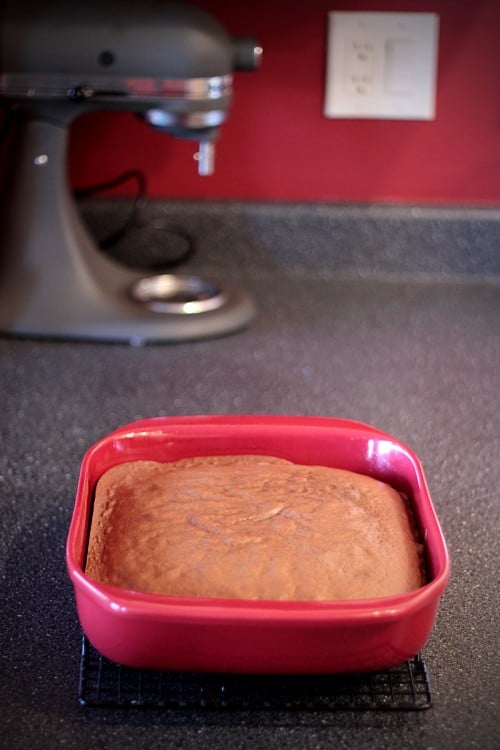
Make up your cake mix and bake.
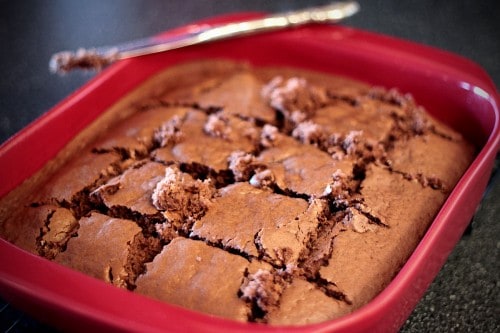
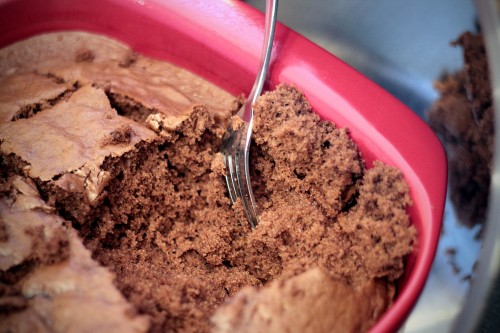
Now we have cake. And now we are going to destroy the cake…
Not quite destroyed enough yet…
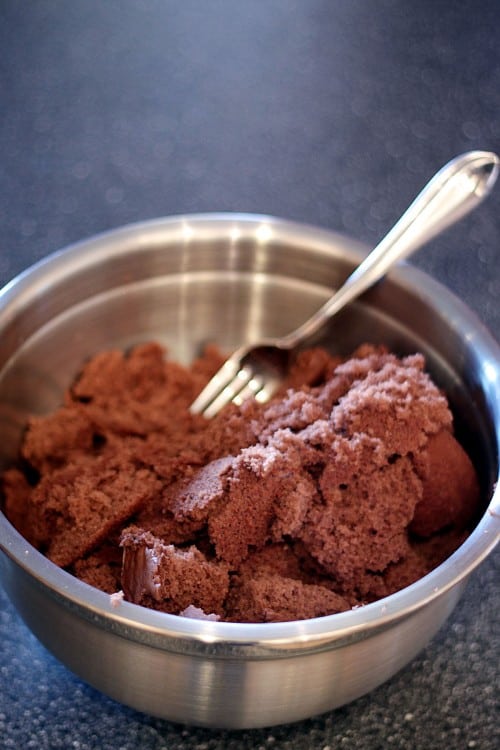
And now into a bowl. I know some people use a food processor, but this was easy enough, and less clean up than the food processor would have been.
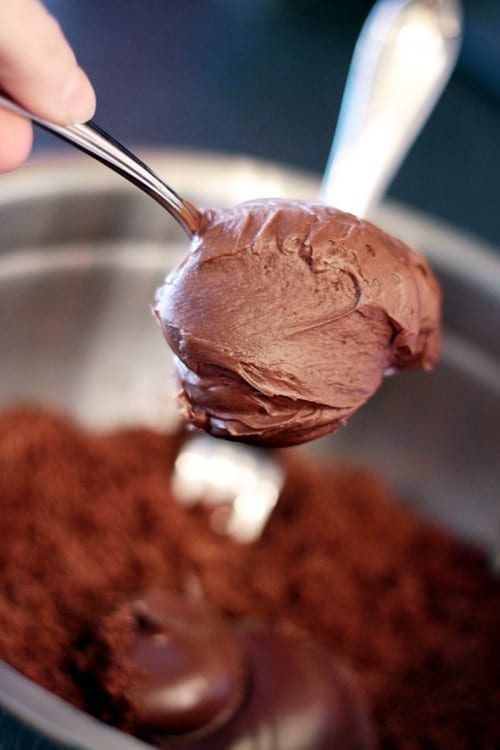
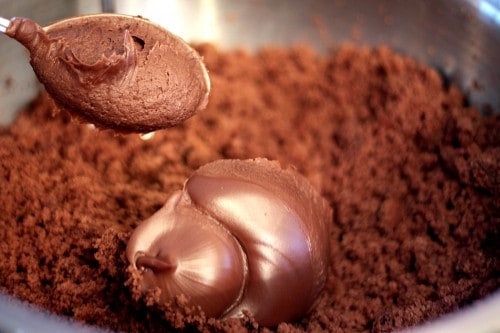
Now to add the frosting. I am not a fan of canned frosting, so it was a bit painful for me to add it, but hey, it certainly qualifies as easy.
I used about half the can.
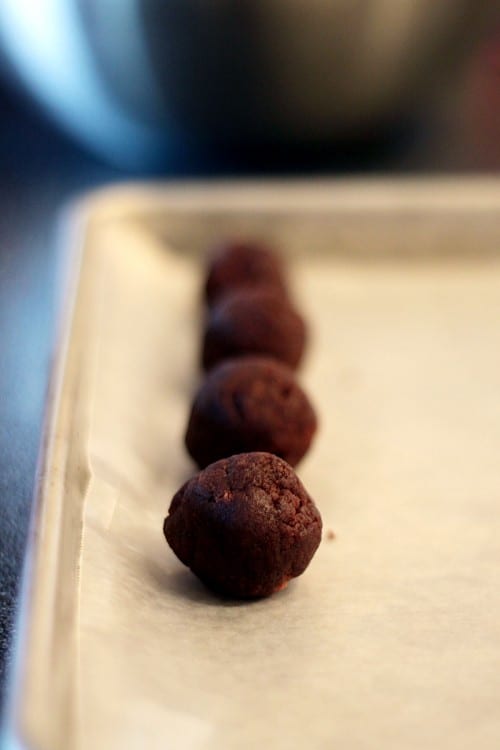
After combining the cake and frosting it formed a ball of dough so to speak. I think some people chill the dough, but since my little one was napping I had to take advantage of the time and went straight in to creating the cake pop balls.
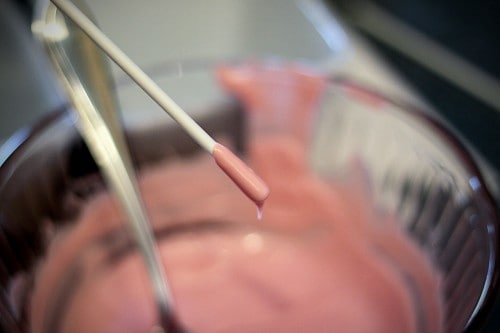
The next step was to put the sticks in. I prefer to dip the stick into a bit of melted chocolate, than into the cake pop. This seems to help the pop stay on the stick better, which helps a lot when you are dipping them in the chocolate.
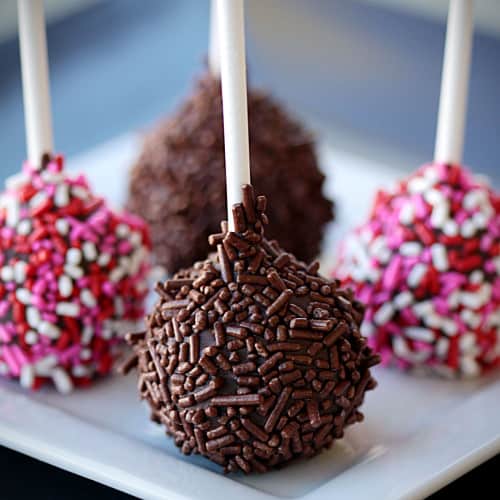
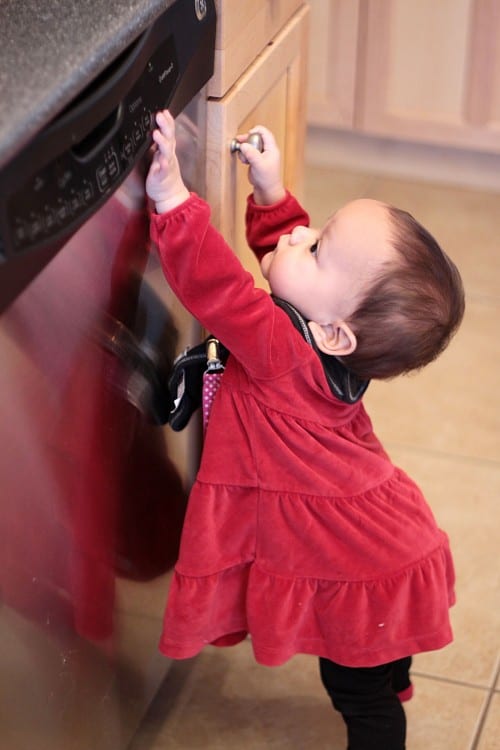
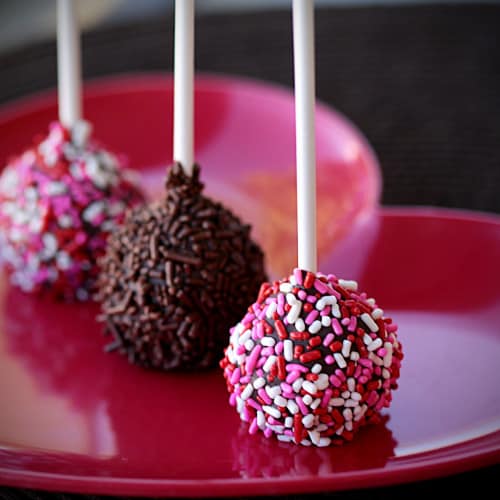
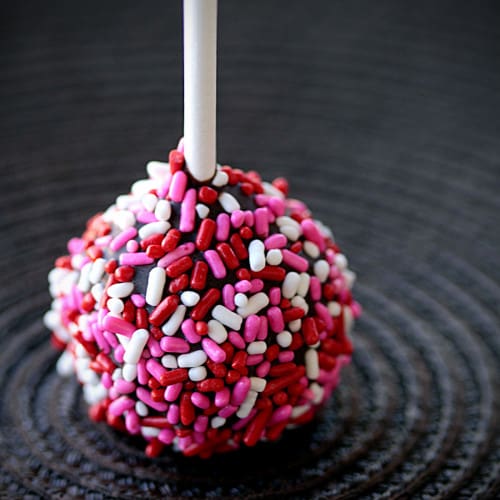
I made pink, white and chocolate covered cake pops. I started with the pink. I’m trying to get all of the pink I can in for Valentine’s Day. After putting the sticks into the cake pops, I stuck them in the fridge for a few hours. During that time I taught Grace how to use the dishwasher. A mom can dream, right?
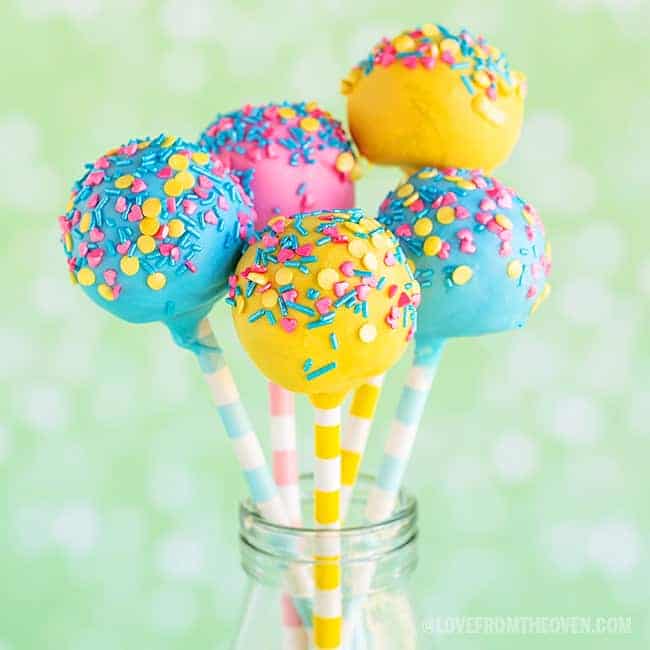
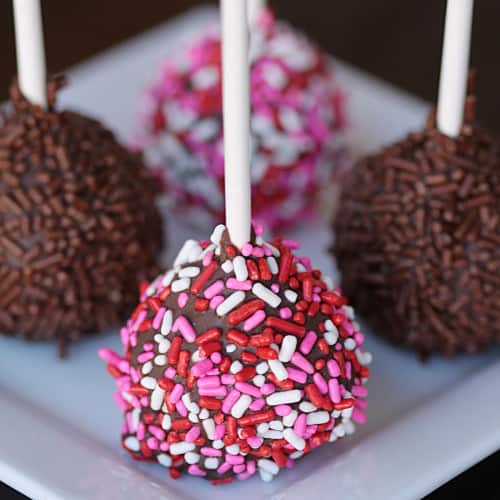
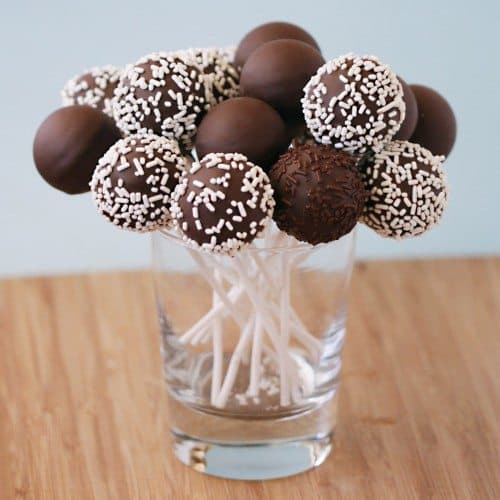
After that I dipped each one into the chocolate and than coated with a variety of different sprinkles. And ended up with cute little things like this…
A few more shots of cake pop goodness. I didn’t have the time to try any of Bakerella’s cute cake pop decorating ideas, it was more a sprinkle and go type of thing.
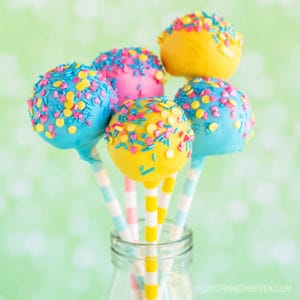
Cake Pops
Ingredients
- 1 baked, cooled, unfrosted cake 13x9 pan size is ideal
- 1/2 cups frosting store bought frosting, but do not use the "whipped' variety
- 24 oz candy melts, candy coating or almond bark
- 24 lollipop sticks
- sprinkles
Instructions
- Crumble cake into a large bowl and combine cake crumbs with frosting. While you can use a spoon, it often is easiest to roll up your sleeves and use your hands to work the mixture together.
- Form mixture into cake balls, approximately 1” in diameter. Place cake balls onto a baking sheet and place in refrigerator for two hours, or freezer for 20 minutes.
- Working one cake pop at a time, dip the tip of a lollipop stick into the melted candy melts, and then into the cake ball. Make sure the stick is secure in the cake ball. Place cake pop back on baking sheet to set up and repeat process with remaining ingredients.
- Working one cake pop at a time, dip cake pops into melted candy melts. If needed use a spoon to help spoon the cake melts over the cake pop. Tap stick very gently** on side of bowl to help remove excess candy melt mixture. Immediately add a light coating of sprinkles.
- Place cake pop stick into craft block or cake pop stand and allow to sit for at least 20 minutes to set up. Repeat process with remaining cake pops.
Nutrition
Disclaimer
Nutrition information is estimated as a courtesy. If using for medical purposes, please verify information using your own nutritional calculator. Percent Daily Values are based on a 2000 calorie diet.
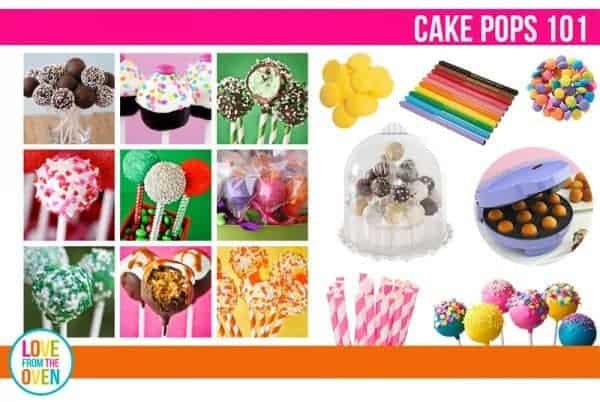
Cake Pops With The Babycakes Cake Pop Maker
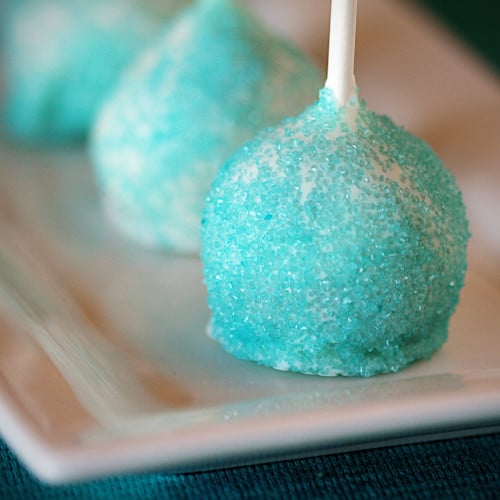
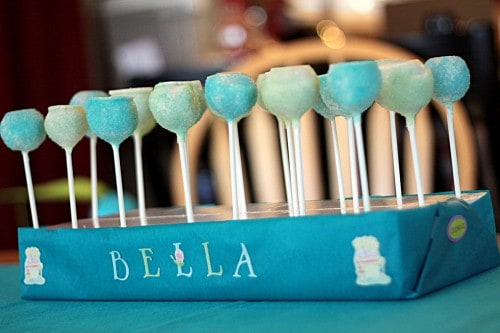
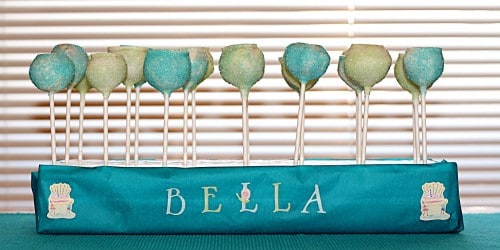
My daughter insisted on blue and green decorations for hers. Unfortunately she told me this after my trip to the baking supply store. Thankfully I had some blue and green sugars, though not as brightly colored as I would have liked.
I didn’t plan to put these on a styrofoam stand, so I let them sit, cake pop down, to try. To keep with the last minute theme, my daughter requested on her way to school that I put them on a stand. This isn’t the most inspired, but I had to whip something up at home while Grace was napping. Eh, not that pretty, but it held up the cake pops, so it was functional.
So while they weren’t the cutest, the girls at my daughter’s dance studio seemed to enjoy them, so mission accomplished.


Rebecca says
The pictures just make me want to eat a cake pop.
Rachael says
Hi, i was wondering if you could give me the quantities for making appox. 24, dont worry if not, thanks!
joanna says
I THINK I’LL TRY THE RECIPE.
irene says
looks D.E.L.I.C.I.O.U.S CRAVING RIGHT NOW
Amanda says
To see how to make cake pops are cool! but now i know how to make make them i’m going to make 30 cake pops with my best friends! but i hope they taste good!
Deb King says
thanks for sharing…we have a fund raiser at the residential home where i work…and these will go down a treat with the residents,staff and visitors.
autum davis says
the cakepops is good.
Tiara says
I found this website very informative and helpful
Jacqui says
These look great! I have a question though. I would like to make these with yellow cake and chocolate melts. If I want the cake to remain a “yellow” cake flavor, what could I add to the cake mix to make it “stick”? If I had chocolate frosting or vanilla frosting, won’t it take on a different taste? Thanks for any help you can provide. : )
Jacqui
Christi says
Jacqui, yes, it will alter the taste a bit. I’d probably go with a vanilla. For a true yellow cake flavor, I think a baked cakepop (I use the Babycakes Cake Pop Maker) would be the way to go. I’ll actually be doing some posts on it here soon!
Erica says
great job! i will definatly try it 🙂 and they look very good :p
thanks