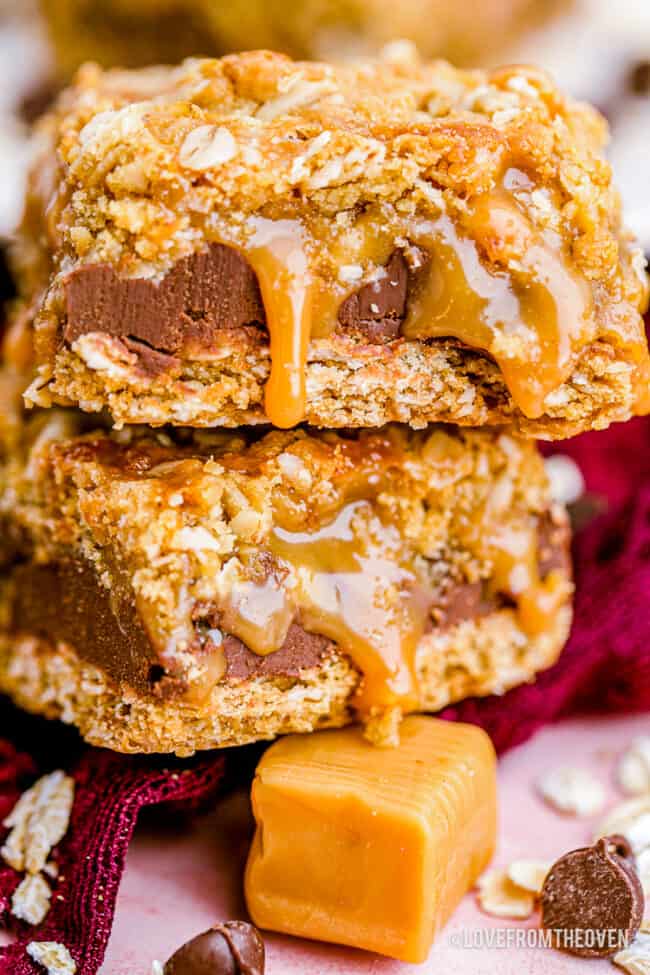
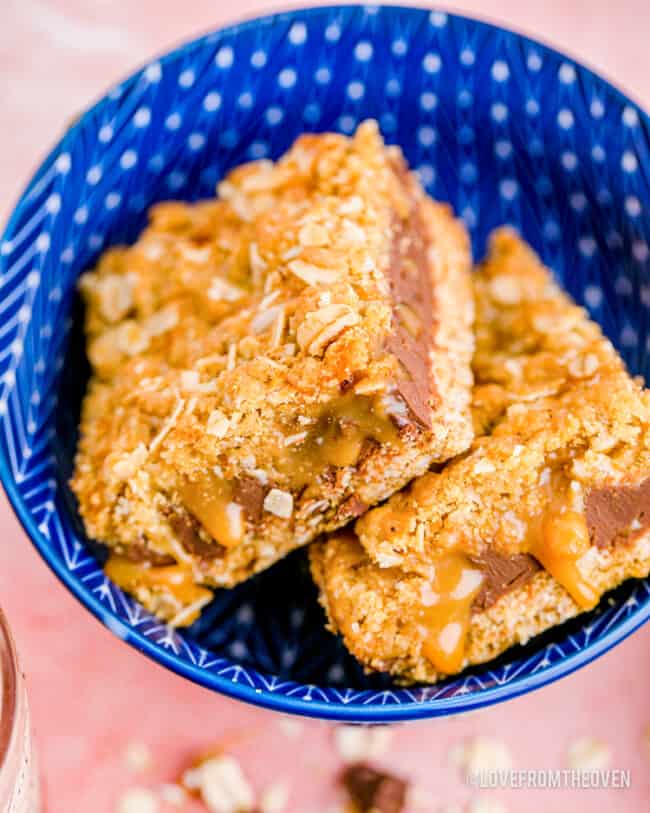
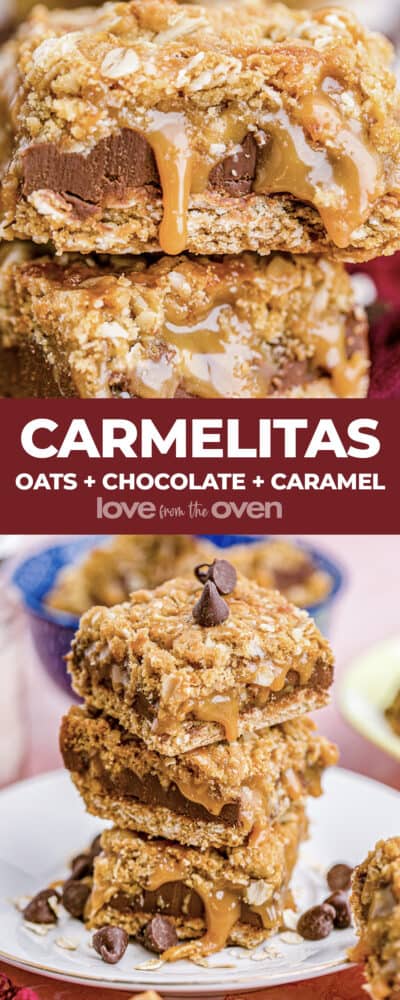
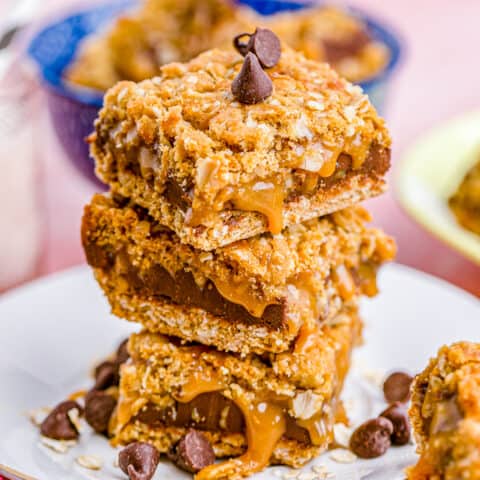
Carmelitas combine a thick layer of chocolate with creamy caramel and buttery brown sugar oats to create a one of a kind dessert bar that nobody can resist. While these deliciously chewy bars wow everyone who tries them, this carmelitas recipe is surprisingly simple to make. Your friends and family will sing your praises whenever these decadent bars are on the menu!
Reasons You’ll Love This Recipe:
- The combination of caramel, oats and chocolate creates what can best be described as a trifecta of dessert deliciousness.
- While they look and taste incredibly impressive, the recipe itself is quick and easy to make.
- The ingredients used are common ones, you may already have them on hand.
- Need a dessert you can make today and serve tomorrow? Or even the next day? These bars work great.
- Want to get a head start on holiday baking, make and freeze these carmelitas for up to two months.
Carmelitas Recipe
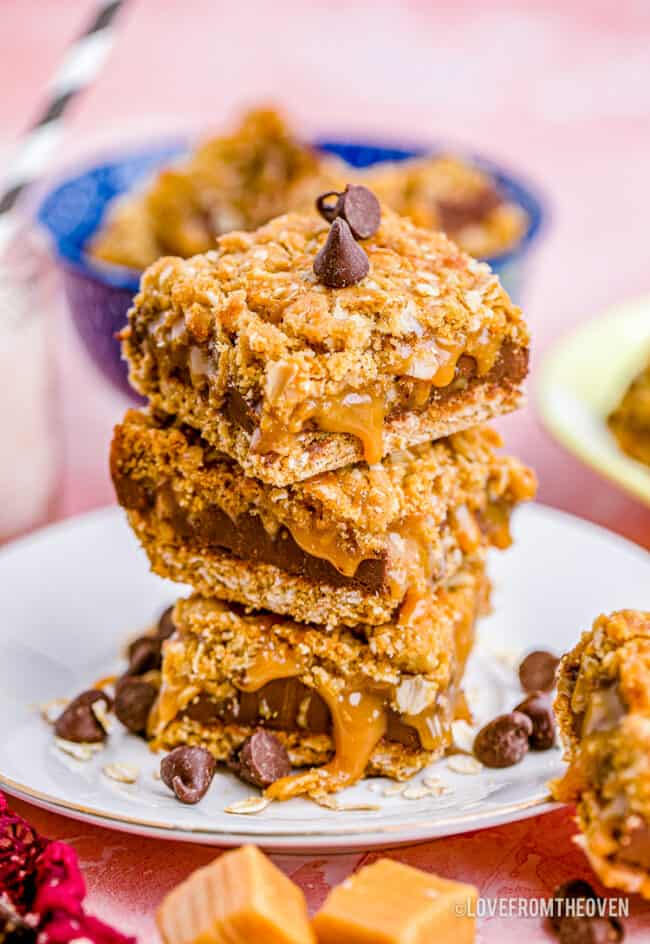
When it comes to bars and brownies, Carmelitas just might be the bar to end all bars. This classic dessert recipe delivers big on both flavor and texture. Made with a combination of creamy caramel, rich chocolate and buttery brown sugar oats, they are a dessert lovers dream!
If you’ve never tried carmelita bars, you are truly in for a treat. You’ll love how quick and easy they are to make and your friends and family will cheer over how enjoyable they are to eat!
How To Make Carmelitas
Let’s discuss what you will need, talk about the ingredients and go over the steps you will take to make these amazing oatmeal, chocolate and caramel bars. If you want to skip my tips and information, just scroll down to the bottom of this post where you’ll find the printable recipe. Otherwise, let me share how you can make the best carmelitas ever!
Ingredients
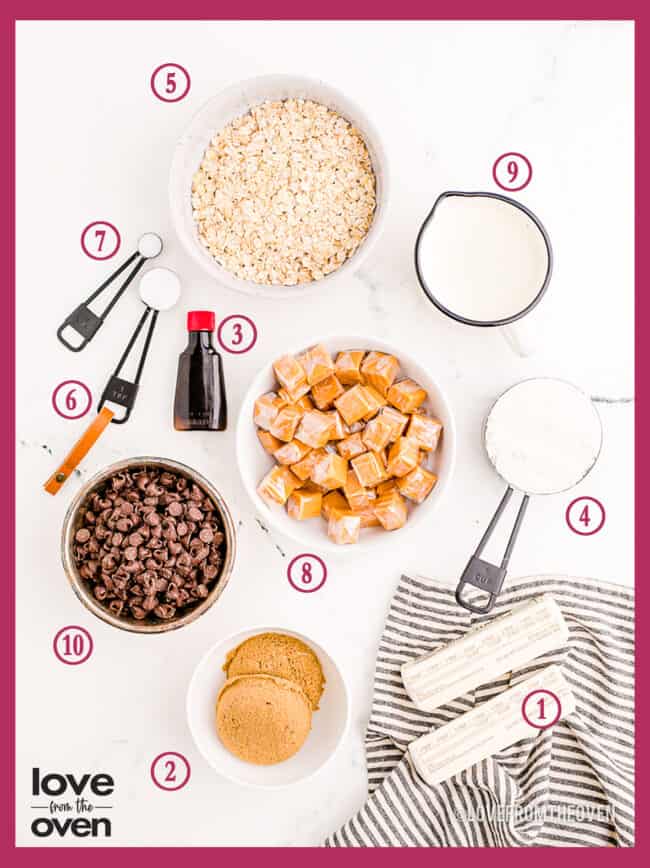
- Salted butter – I prefer salted butter in this recipe, but if unsalted is all you have on hand, that is find, just add an extra pinch of salt to the recipe. For this recipe, the salt really lends a nice balance to the sweetness.
- Brown sugar – Light or dark brown sugar will work, though I prefer dark brown sugar for the rich, caramel flavor.
- Vanilla extract – As always, if possible use pure vanilla extract for the best flavor.
- Flour – Good old all-purpose flour is what you need for this recipe. Make sure to measure it by giving the flour a stir, spooning it into your measuring cups and then leveling it off. Do not measure by scooping your flour with the measuring cup, as this will typically give you more flour than needed.
- Rolled oats – Old fashioned rolled oats work best. While I often say that quick oats can be used in place of old fashioned oats in recipes, in this recipe, the texture truly is better when you stick with the old fashioned rolled oats.
- Baking soda – It’s always good to double check the date, and make sure it’s fresh.
- Salt – Table salt, kosher or a fine sea salt can be used. If you are a salt fanatic like I am, sprinkle a bit of Maldon or Jacobson flakes on just prior to baking.
- Caramels – The individually wrapped Kraft Caramels really work best in this recipe. If you want to skip the unwrapping of each caramel, you can look for the Kraft Caramel Bits instead. The 11 ounce bag of either product will work.
- Heavy cream – Heavy whipping cream helps create a velvety caramel. Without it the caramel hardens up a bit more than is desirable in these bars.
- Chocolate chips – I highly recommend going with semi-sweet chocolate chips, or even dark chocolate chips is you are a fan of dark chocolate. Personally I think milk chips are simply too sweet in this recipe, though if you are a milk chocolate fan, you might enjoy them.
Directions
This carmelitas recipe is super simple to make. Let’s go over the steps you will take. Reminder that the full printable recipe is found at the bottom of the post.
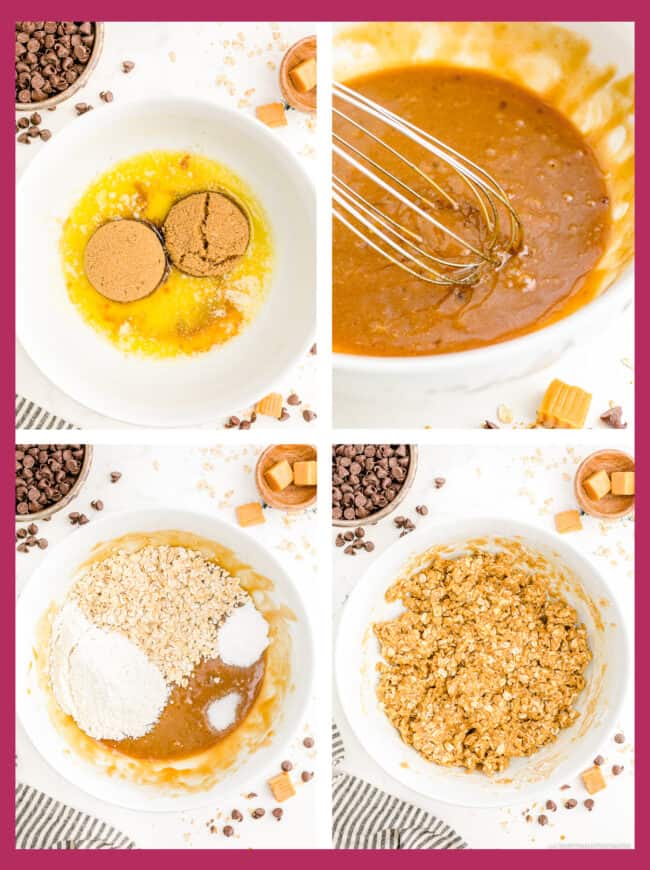
To make carmelitas, begin by gathering the ingredients that we discussed, then preheating the oven and preparing an 8×8 inch pan with parchment paper.
After that, melt the butter in a microwave safe bowl, then whisk in the brown sugar and vanilla extract. Then stir in the oats, flour, baking soda and salt. Stir to create the crumbly mixture. If you have a pastry cutter, they work great for this.
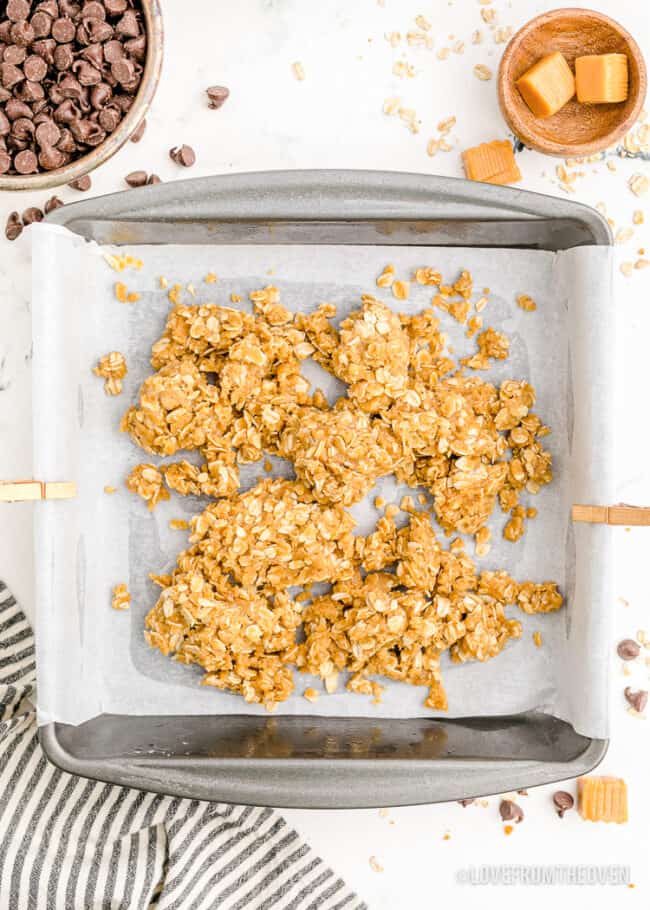
Whenever working with any type of caramel, I highly recommend that you line your baking pan with parchment paper. Caramel is sticky, and it can sometimes be hard to remove from an unlined pan. Tip, to hold your parchment paper in place while you are working, use clips or clothespins. Just make sure to remove prior to baking.
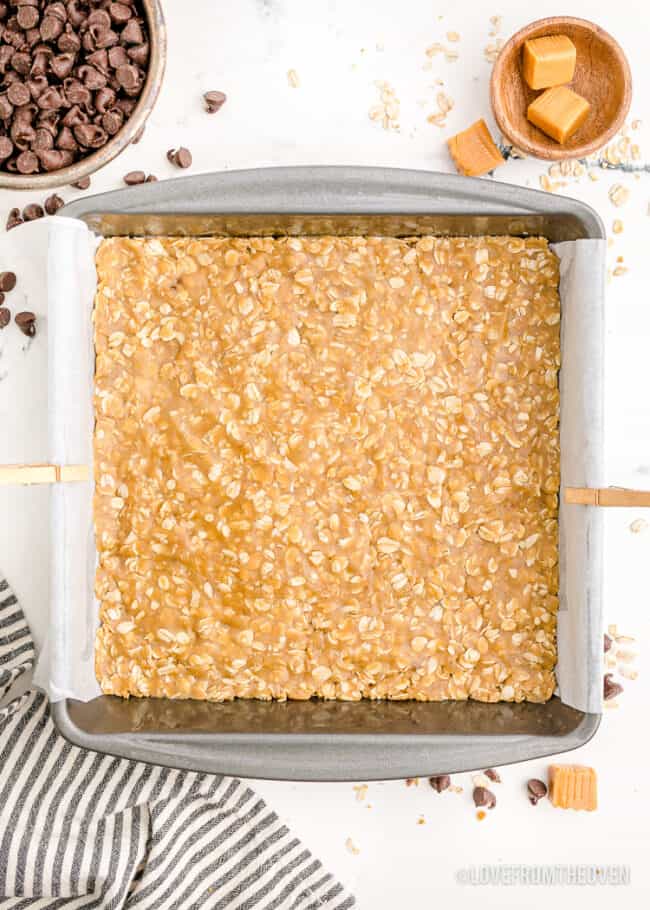
Press approximately half of this mixture into the prepared pan and bake for ten minutes. While it’s baking, it’s time to prepare the caramel mixture. To do this place the caramels, cream and salt into a microwave safe bowl, give them a good stir, then heat on high for one minute. Stir well, then heat for an additional minute, and stir again until smooth. If needed, heat for another 30 seconds, but take care to heat no more than necessary.
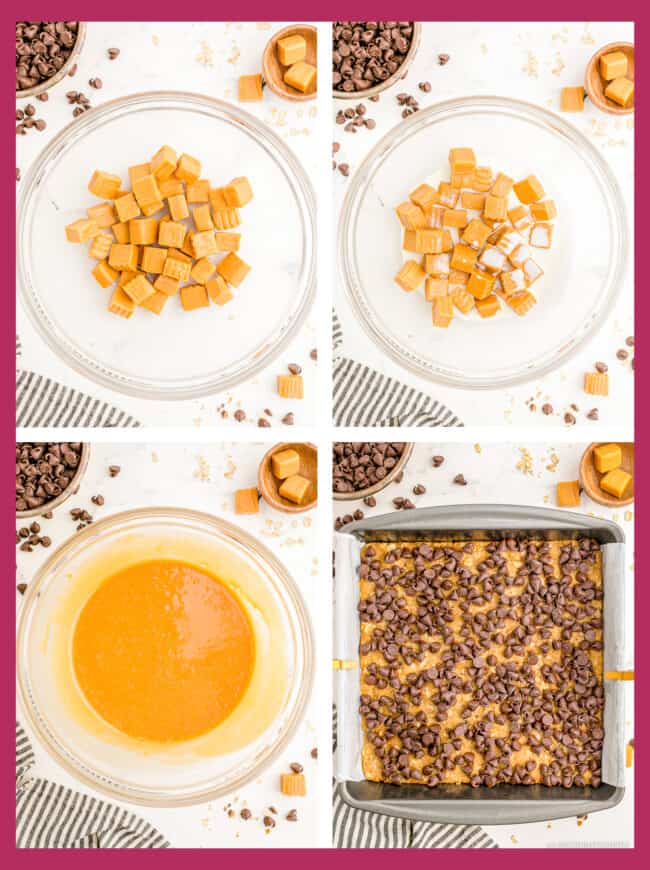
After the crust layer bakes for ten minutes, remove it from the oven and sprinkle chocolate chips over it.
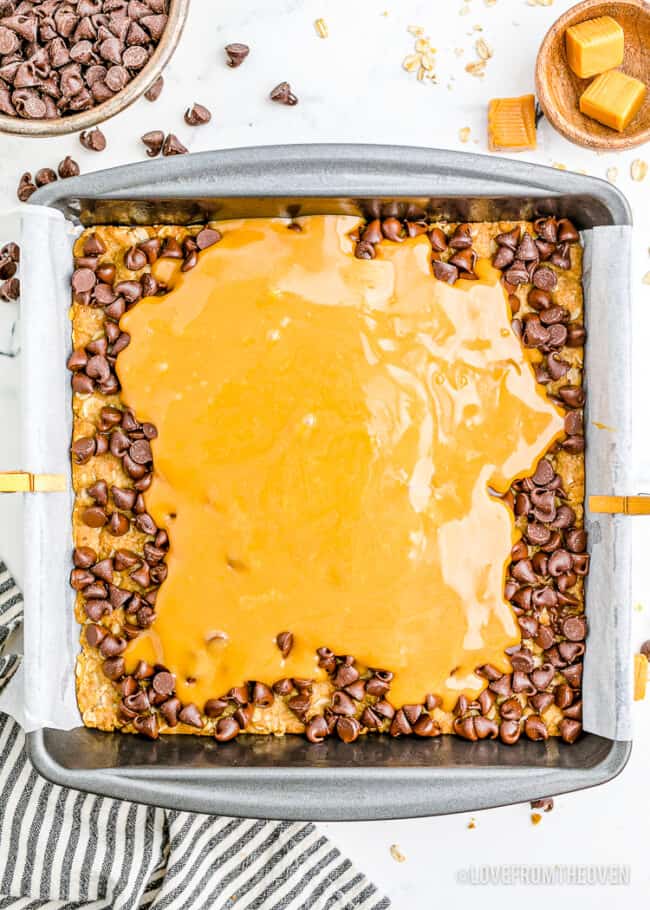
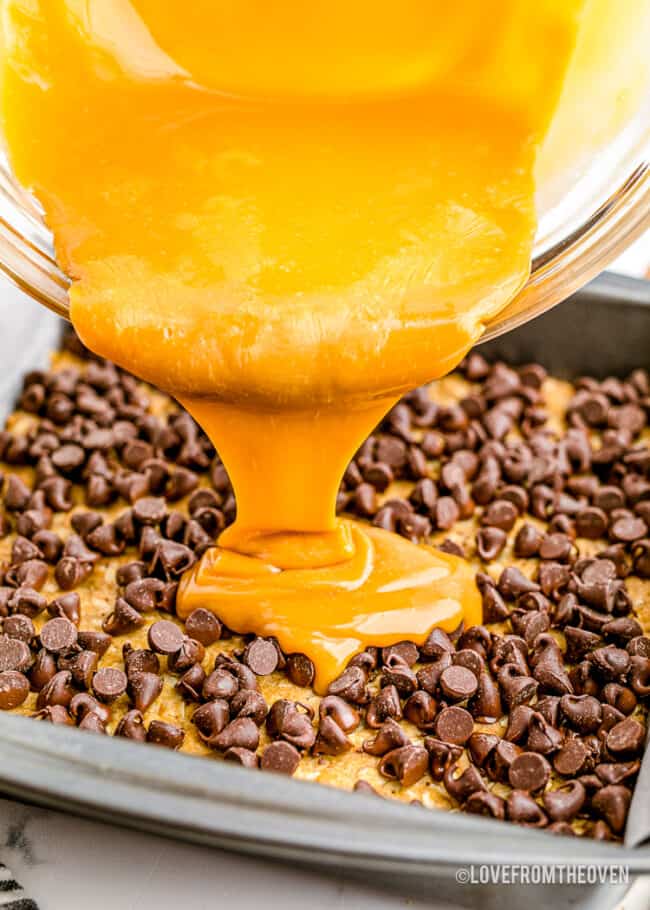
Next, pour the caramel over the chocolate chips. Finally take the remaining oat mixture and sprinkle it over the caramel. Just use your hands to do this, and tap the mixture down lightly into the caramel. Be careful though and remember the pan will be hot.
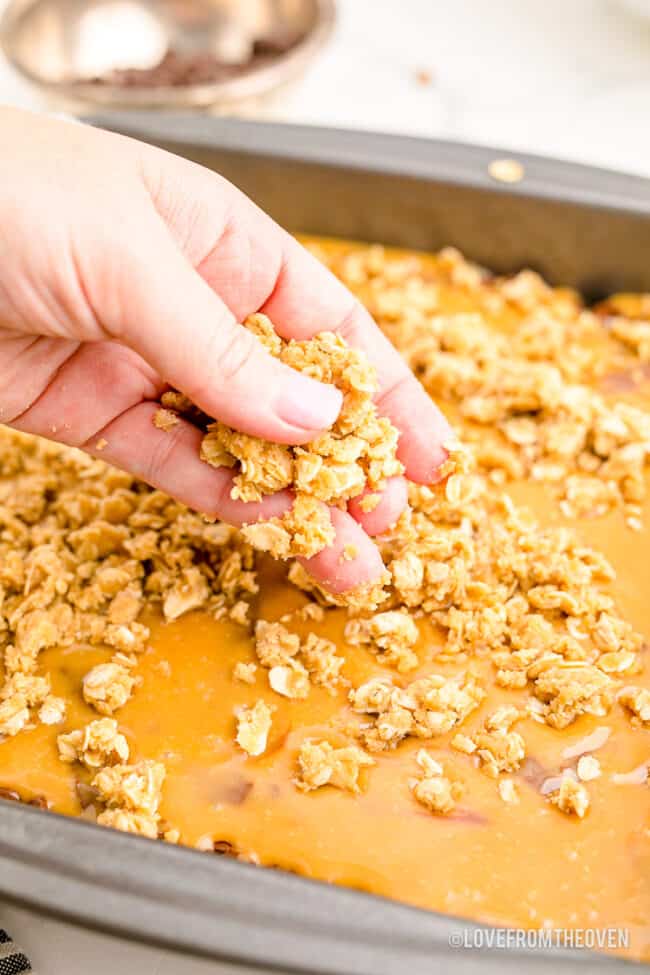
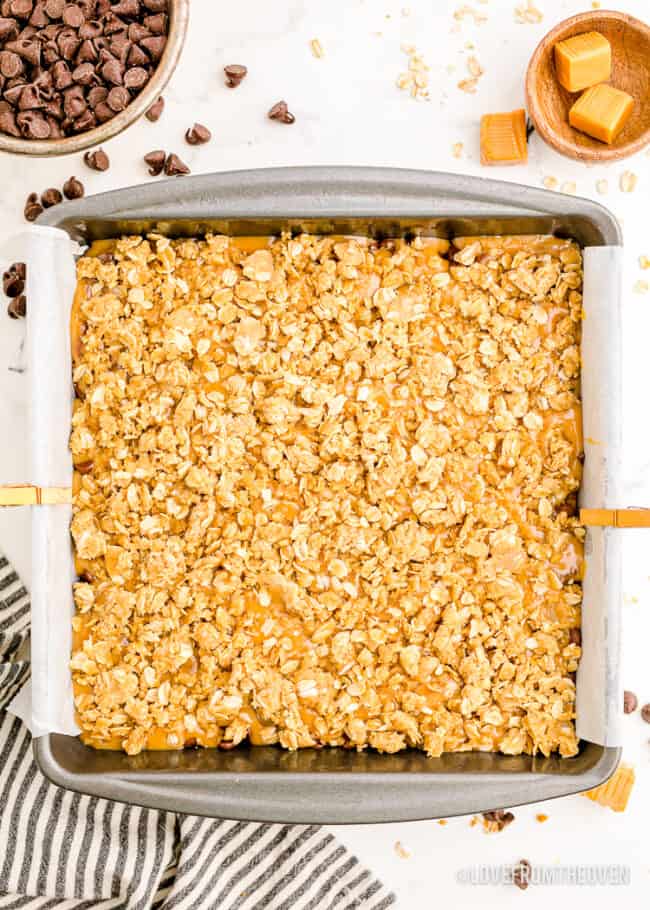
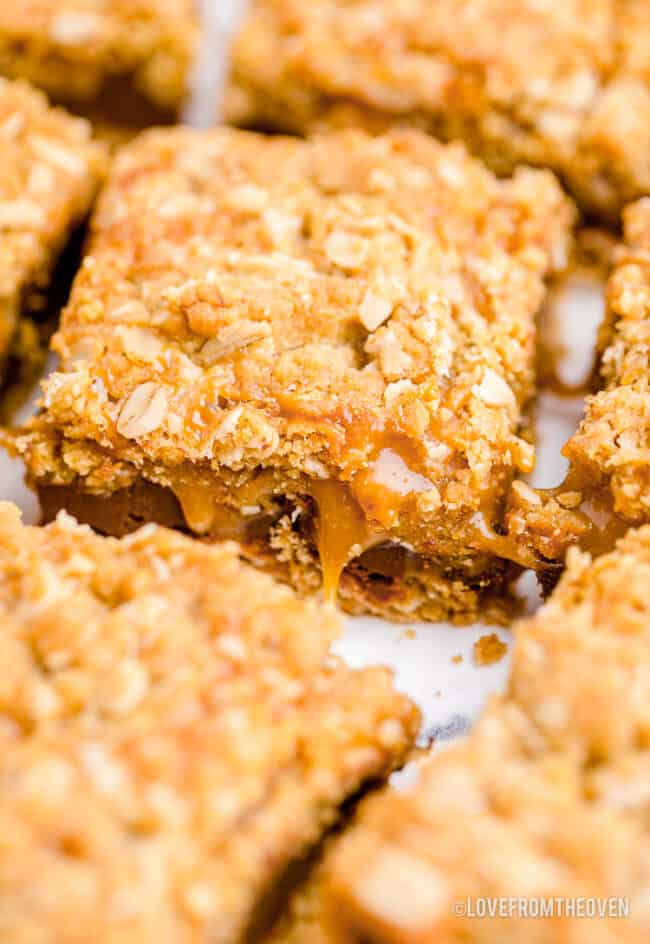
Return the pan to the oven and bake for 15 minutes or until it begins to turn golden brown. Then remove from the oven and allow the bars to cool completely prior to slicing. If you slice the bars while warm, the caramel will drip and run all over. At room temperature it’s best to let them sit all night prior to slicing, or this can be sped up by placing them into the fridge for three hours.
If you love this recipe, make sure to try my Twix Cookies as well!
Tips
- For best results use old fashioned oats, not quick oats.
- Make sure to line your baking pan with parchment paper, caramel is sticky!
- Don’t overheat the caramel, heat it just until smooth.
- Make sure to fully cool prior to cutting, otherwise the caramel will still be quite liquidy and you’ll have a mess on your hands – literally!
- These should be stored in an airtight container. They will last for up to a week at room temperature. Or you may freeze them for up to two months.
Frequently Asked Questions (FAQ)
Can I just use premade caramel sauce? Unfortunately that doesn’t really work, as the caramel sauce is fairly liquid and not made to set up the way the caramels are. If used it will likely just soak into the bars, and the yummy caramel layer will just become one with the oat layers.
I only have granulated sugar, can that be used instead of brown sugar? It can, however the brown sugar lends to both the caramel flavor and the chewy texture. But it will work in a pinch.
Can this recipe be doubled? Yes, this recipe doubles nicely, and can be baked in a 9×13 pan. You may need a few additional minutes bake time though.
More Caramel Recipes To Try!
Carmelitas
Ingredients
- 3/4 cup salted butter, melted
- 2/3 cup brown sugar, packed
- 1 tablespoon vanilla extract
- 1 1/4 cups old fashioned oats
- 1 1/4 cups all purpose flour
- 1 teaspoon baking soda
- 1/2 teaspoon salt divided in half
- 11 oz bag caramel squares or caramel bits
- 1/3 cup heavy cream
- 1 1/2 cups semi-sweet chocolate chips
Instructions
- Preheat the oven to 350 degrees. Line and grease an 8X8 inch baking pan. Parchment paper is highly recommended as caramel can be sticky.
- Melt the butter in a large microwave safe bowl. Once this is melted, whisk in the brown sugar and vanilla. Then stir in the flour, oats, baking soda and ¼ teaspoon salt. A pastry cutter works well for this.
- Press about half of the mixture into the prepared baking pan. Bake this for 10 minutes.
- While this is baking, prepare the caramel. Place the caramels, cream, and ¼ teaspoon salt into a large microwave-safe bowl. Stir them together. Heat on high power for 1 minutes. Stir again. Heat again for 1 minute and stir until the mixture is smooth. (Only heat as needed to get the mixture smooth.) If using caramel bits, heating time will likely be reduced.
- When the crust is finished baking after ten minutes, remove from oven and evenly sprinkle the chocolate chips over it. Be careful the pan will be hot. Then pour the caramel sauce over the chocolate layer.
- Cover the caramel with the remaining crust mixture. Use your hand to sprinkle it on and then just tap it down lightly. Again, take care as the pan in hot. Place the baking pan back in the oven and bake for another 15 minutes or until lightly browned.
- Remove the pan to a wire rack and then allow to cool completely before slicing.
Notes
- For best results use old fashioned oats, not quick oats.
- Make sure to line your baking pan with parchment paper, caramel is sticky!
- Don’t overheat the caramel, heat it just until smooth.
- Make sure to fully cool prior to cutting, otherwise the caramel will still be quite liquidy and you’ll have a mess on your hands – literally!
- These should be stored in an airtight container. They will last for up to a week at room temperature. Or you may freeze them for up to two months.
Nutrition
Disclaimer
Nutrition information is estimated as a courtesy. If using for medical purposes, please verify information using your own nutritional calculator. Percent Daily Values are based on a 2000 calorie diet.


Sheryl Hebert says
I love these! I’m wondering has anyone ever made them with butterscotch chips? Both my brothers love oatmeal scotches and it seems to me the taste would be similar.
Jewaniz says
I try to follow a recipe the first time I make it, however, I didn’t have the heavy cream or any full fat milk of any type! I used 1/2 a pkg of cream cheese I had! While they are “soft”, they won’t last a week on the counter or get to firm up in frig cause they will be gone! Husband loves them! Me too!