You know what’s better than chocolate chip cookies – chocolate chip cookie cheesecake bars! Delicious chocolate chip cookies, in bar form, with a cheesecake filling. Not only are these chocolate chip cookie cheesecake bars delicious, they are also amazingly easy to make. Easy and delicious? Sign me up!
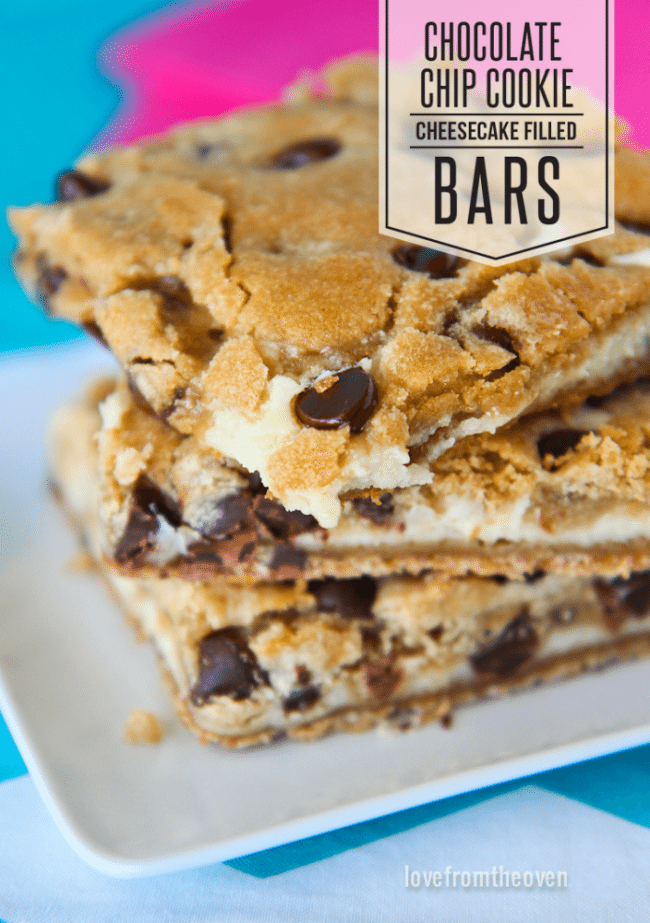
These are like chocolate chip cookies with a bonus inside. And I am a huge fan of cookies in bar form, none of that scooping and rotating pans in the oven. Pour it all in a 13×9 pan and get on with your day!
I first tried this recipe, Cheesecake Cookie Bars, at my friend Mary’s house. Mary blogs over at Barefeet In The Kitchen, is the author of The Weeknight Dinner Cookbook. She has a gluten free version of these bars, as well as a million other recipes you need to make.
Okay enough chatting, let’s bake these bars.
If you love a delicious bar recipe like I do, then I have a few others to suggest. Chocolate Chip Cookie Bars give you everything you love about chocolate chip cookies, but in a quick and easy bar recipe. Sugar Cookie Bars do the same for sugar cookies, they are so soft and delicious! Want something a little fruity? Go for my Easy Mixed Berry Crumble Bars. Chocolate lovers need these Salted Chocolate Caramel Bars in their world. And let’s not leave off one of the easiest of all bars, 7 Layer Magic Cookie Bars.
CHOCOLATE CHIP COOKIE CHEESECAKE BARS
Chocolate Chip Cookie Cheesecake Bars
Ingredients
Cookie Dough Portion:
- 1 cup butter , softened
- 1 1/2 cups light brown sugar
- 2 tsp vanilla extract
- 1 egg
- 2 cups all purpose flour
- 1 tsp baking soda
- 1 tsp salt
- 1 cup chocolate chips or chunks
Cheesecake Portion:
- 8 oz cream cheese , softened
- 1/2 cup sugar
- 1 egg
- 1 tsp vanilla extract
Instructions
- Preheat oven to 350 degrees F.
- Line a 13x9 baking pan with foil or parchment paper.
- Using an electric mixer, beat together the butter and brown sugar until light and creamy. Add vanilla and egg and beat until well incorporated.
- Mix in the flour, baking soda and salt until just combined. Mix in the chocolate chips.
- Press half of the cookie dough mixture into the bottom of your prepared pan.
- In a separate bowl, beat together the cream cheese and sugar until smooth. Add in the egg and vanilla and beat until well combined.
- Pour the cheesecake layer over the cookie layer in your pan. Using a spatula if needed, spread to cover your cookie dough.
- Using the remaining cookie dough, grab small handfuls and press them flat with your hands, then lay them onto to the cheesecake mixture. This will allow you to cover almost all of the cheesecake mixture without making a big mess of it by trying to spread the dough over the cheesecake (which won't work too well!).
- Bake for 28-33 minutes, until the bars have just started to lightly brown and the center appears set. Remove from oven and allow pan to cool on a wire rack. Once cooled, store in fridge. Slice, serve and enjoy!
Video
Disclaimer
Nutrition information is estimated as a courtesy. If using for medical purposes, please verify information using your own nutritional calculator. Percent Daily Values are based on a 2000 calorie diet.
If you like this recipe, here are some other great recipes you might want to try!
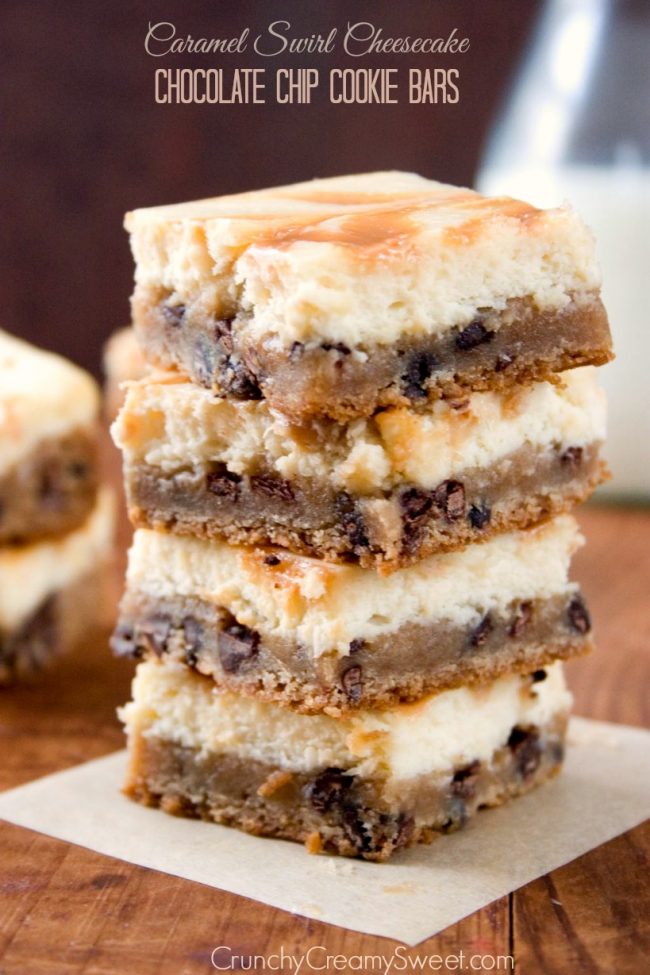
Crunchy Cream Sweet has Caramel Swirl Cheesecake Chocolate Chip Cookie Bars
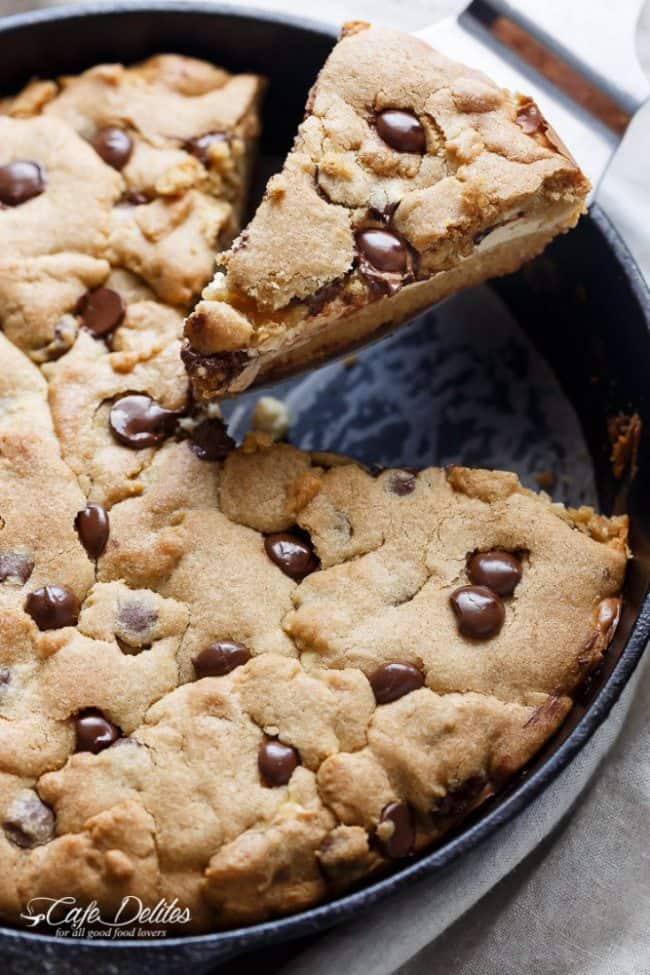
Cheesecake Stuffed Chocolate Chip Cookie Skillet from Cafe Delites
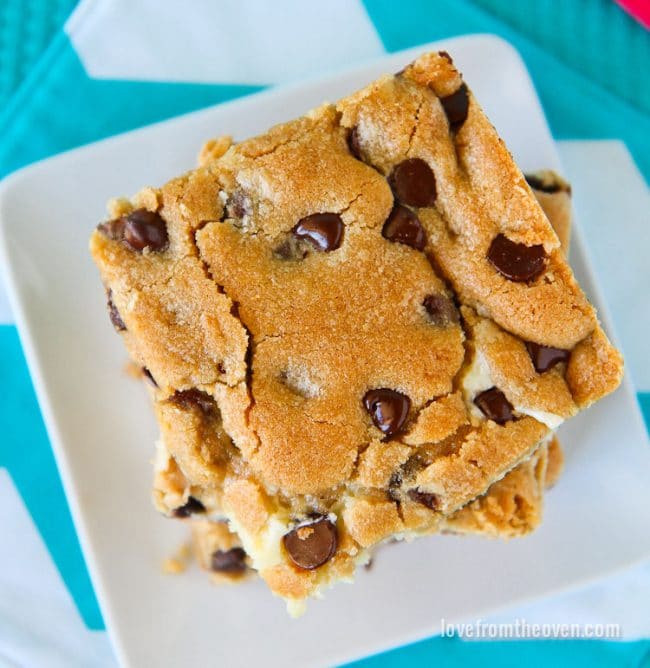
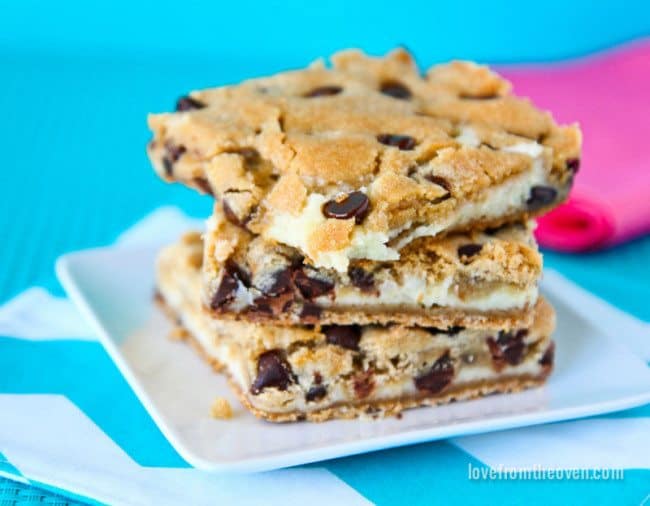
I hope you enjoy these Chocolate Chip Cookie Cheesecake Bars as much as we do!


Lisa says
Followed the recipe exactly and these turned so yummy! My family loved them.
Joanne Woodman says
Hi, Do you think this would work with your hot chocolate cookies?
Christi says
Joanne, I’m afraid I haven’t tried so I can’t say for sure. If you try it let me know!
Bryn says
Why do you think your cookie layers look so much thinner than the ones made by your friend? I like the way both options look, but just wondering…there are times id want thick and times id want thin!
Christi says
Bryn, her recipe is gluten free, so while the same recipe, you have some very different ingredients in them to replace the use of flour. I’ve had her non-gluten free ones, and they look the way mine do, so I’m pretty sure that’s the difference.