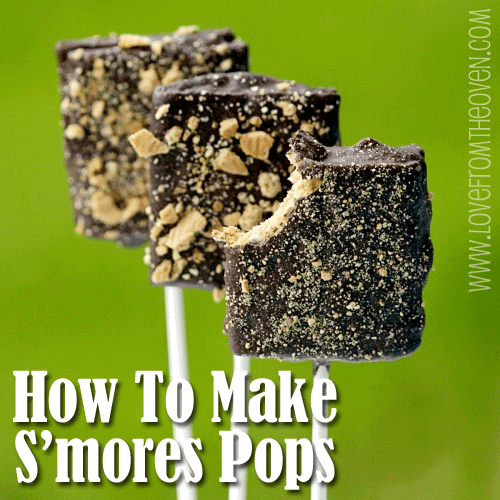
I don’t spend much time around campfires, and I do not have a fireplace, so smores are a treat that I do not get to enjoy often enough. They are such a winning flavor combination – ooey gooey creamy marshmallows, crunchy graham crackers and of course the delicious melty chocolate. So if this girl wants smores, she has to improvise a bit and whip them up in the oven. I think I have found one heck of a great way to do just that… Smores Pops!
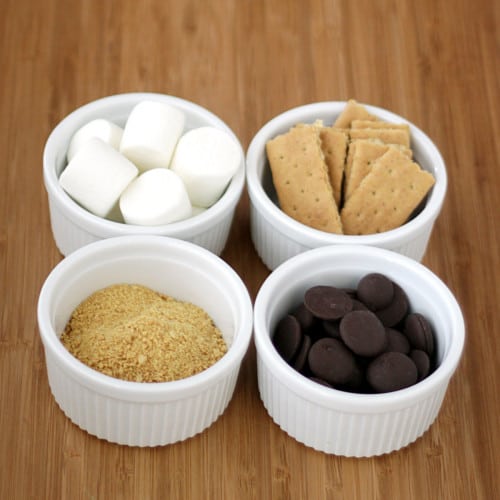
Here’s what you need for your indoor smores pops…
Pretty simple – graham crackers, marshmallows and chocolate. You can also use graham cracker crumbs or sprinkles if you like. There is really no scientific formula, and you could use miniature marshmallows, big marshmallows, homemade marshmallows, heck – you can even use marshmallow fluff. Have fun and use what you have.
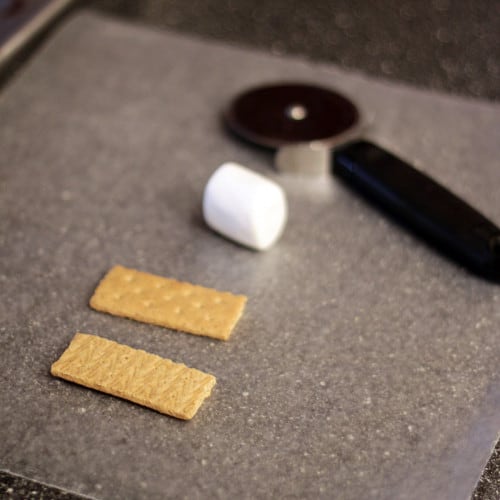
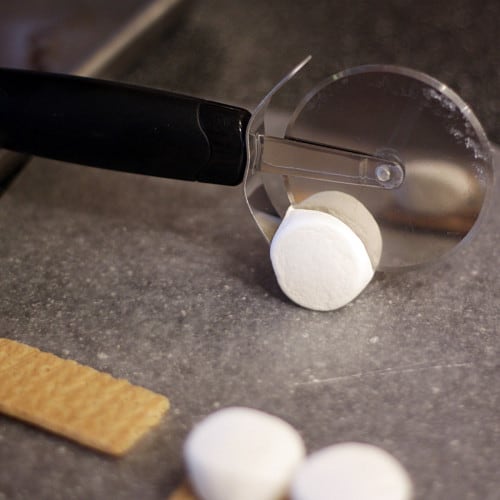
Prepare your work area with some wax paper. Because I was using full size marshmallows, I decided to cut them in half. You could do this with a knife, kitchen shears, a pizza cutter or you could probably even just tear them apart.
I went with the pizza cutter route. A bit sticky, but it got the job done.
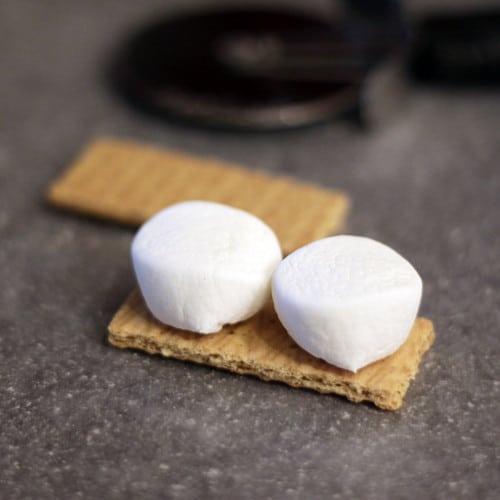
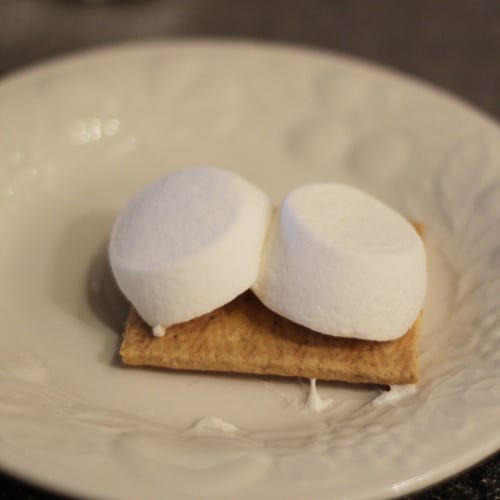
After cutting your marshmallows, you will want to sit them on your graham crackers. I used one large marshmallow per smore. You could use more, it’s really up to your personal taste.
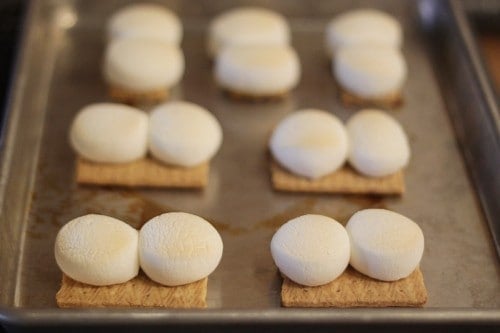
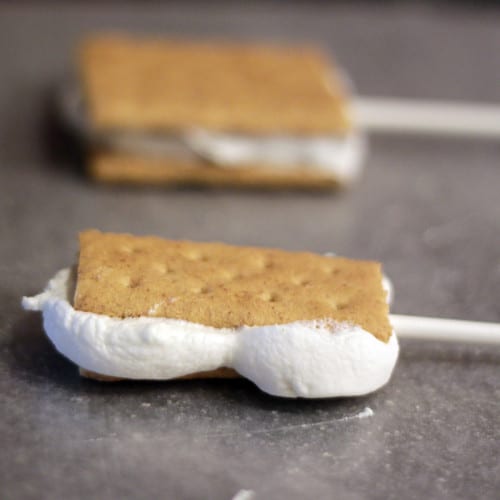
You can heat your marshmallows two different ways – microwave or oven. While I love the roasted tops of the marshmallows from the oven, honestly for the smore pops, I think the microwave works better. It makes the marshmallows sticky enough on both sides so that they bind to the graham crackers nicely. If you use the microwave, it only takes a few seconds, literally. The marshmallows above were in the microwave less than five seconds. Those babies puff up FAST.
If you put the marshmallows in the oven as shown above (without the top graham cracker on them), you will have to work a bit more to get the top graham cracker to stay in place. I achieved this by smooshing the gooey marshmallow around the sides. Sometimes you just gotta do what you gotta do. I’m thinking that if you put the top marshmallow on before putting it in the oven, the grahams will stay put, though you will lose a bit of the crunchy cooked marshmallow taste. I baked this tray of marshmallows for about 2-3 minutes at 425 degrees.
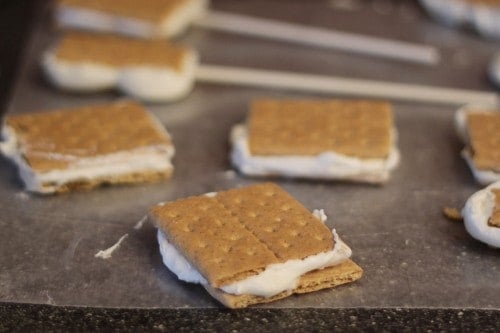
After they come out of the oven (or microwave) you will want to get the top graham crackers onto the marshmallows quickly. You will have some ooze out the sides, but that’s okay. The entire thing is going to be covered in chocolate, so neatness really isn’t a concern. After putting the tops on, you can slip your sticks into the marshmallows. You can skip this part if you don’t want to go the “pop” route.
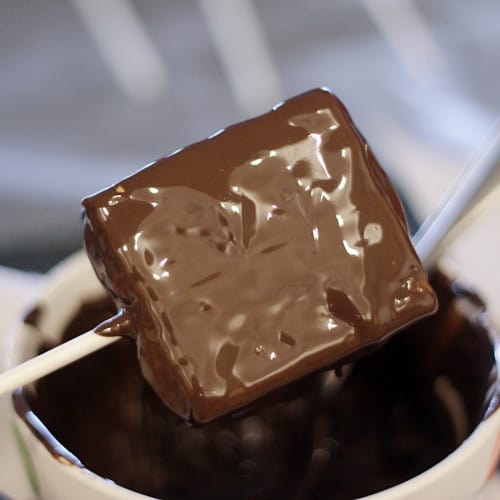
After putting the graham cracker tops on, and inserting the sticks, you will want to let these set up for a bit. An hour is enough time, you just want the marshmallows to firm back up a bit. Once the marshmallows are set up, you can melt your chocolate. Follow the directions on your package of chocolate. You will want to make sure the melted chocolate cools a little bit before dipping, otherwise you’ll have a gooey mess. But a delicious one.
I don’t actually “dip” mine, as I never have that much chocolate. I use a small bowl, and do a combo of dipping in chocolate and spooning on the chocolate. Make sure to tap, tap, tap to get the excess drippy chocolate off. Not that excess chocolate is ever a bad thing, but it can be quite a mess.
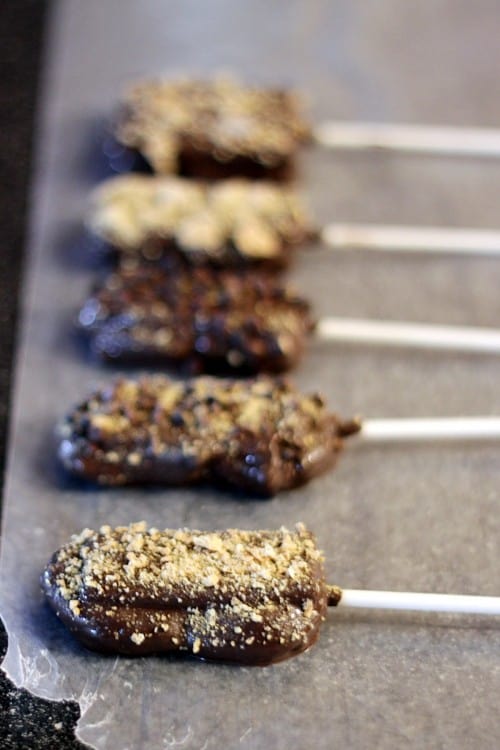
After dipping in chocolate, you can sprinkle the tops with graham cracker crumbs, graham cracker chunks, chocolate chips, sprinkles or whatever else your little heart desires.
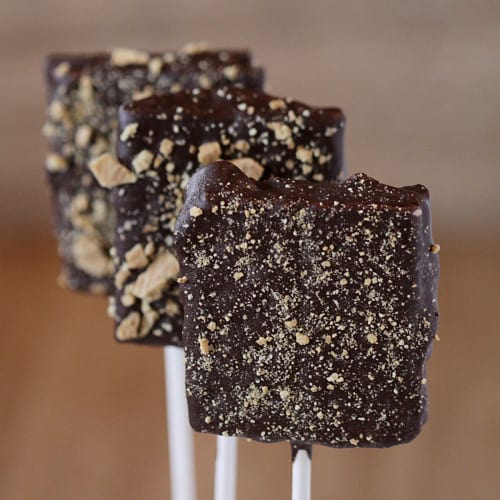
I sit mine on wax paper and let the chocolate set for an hour or so. The time for the chocolate to set will vary based on the chocolate you use, how hot it is, the weather, and possibly your astrological sign. Okay, maybe not that last one. After that you are ready to ENJOY. These are crazy good, plain and simple.
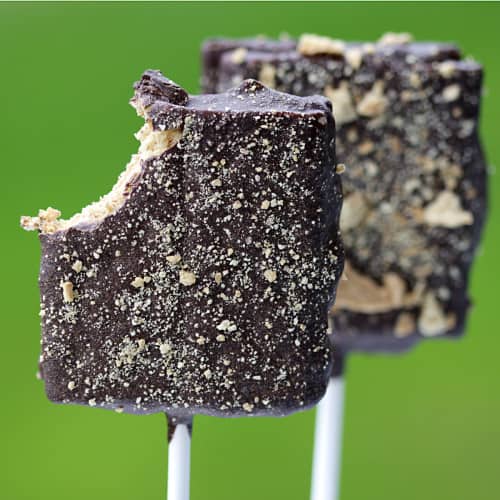
Yum. Smores on a stick. Smores pops! One thing that could make these even more outrageous would be to add in chocolate to the center of the smore. I’m going to have to give that a try next time I make them.
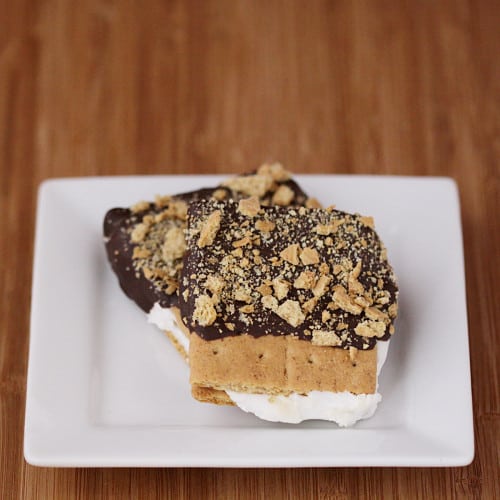
Without a stick. Still JUST as tasty. When I leave out the stick, I do not completely cover them in chocolate. Mainly because I don’t want to get my hands all covered in chocolate. I have a weird OCD issue with that, I’m a big fan of nice clean hands, but that’s another story.
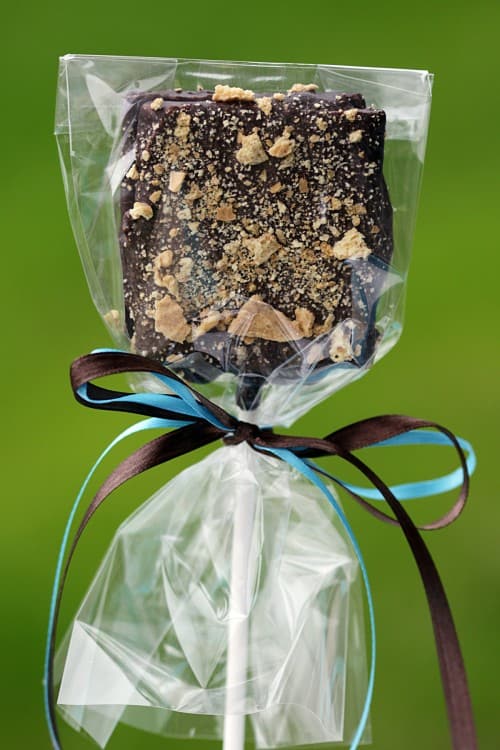
And if you have the willpower to not devour them all in one sitting, and can manage to give some away, simply adding a cellophane bag and some ribbon will create a cute gift or favor.
Quick, delicious and no campfire required. However, If you prefer, you can sit around and sing kum ba yah and pretend you have that campfire part. I’m pretty much satisfied with the chocolate part though.


Katrina @ In Katrina's Kitchen says
Who wouldn’t eat this? I mean…BRILLIANT! ♥- Katrina
Manderley says
It’s a wonderful idea! And very easy. Thanks for this tutorial.
xo
Laura Flowers says
Holy cow! If you sold these to coffee shops and such you would make a million bucks! Seriously. You should think about it. This is about the coolest idea I’ve seen in a long time.
Laura
melissa @IWasBornToCook says
Great idea! I’m going to make these with my daughter and nieces.
Amanda Joy says
Of how I love s’mores. Luckily my in laws have a fire pit, if only we could get it to stop snowing so we can use it:) This is such a great idea, and I can make it even when it is snowing outside, thanks!
jenna laughs says
This is brilliant!!! I absolutely adore s’mores. Making them this way, you can have them all year. Win.
Lindy@ItsyBitsyPaper says
Ok, seriously these look over the top! I can’t imagine how wonderful they must taste. My son will go crazy for these. I love the packaging too. Great party favors!
http://www.itsybitsypaperblog.com
Michelle Smith says
These are so cute and look delicious! Nice idea!
Caitlin says
These look awesome! I wish I had the ingredients to make them tonight!
Happy When Not Hungry says
These are so cute and tasty looking! I love how they can be given as little gifts as well. Great recipe!