The past few months we’ve been working on updating our kitchen. Not a major remodel by any means, no tearing out walls, moving plumbing or fancy new cabinets. The fact is we live in a run of the mill 70’s tract home, and hand scraped wood floors, Carrera marble and a Viking range are not in our future. And that is okay. One does not have to have a big, fancy, perfect house to have a fun, livable, happy house.
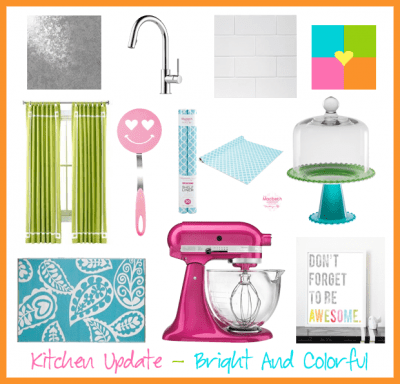
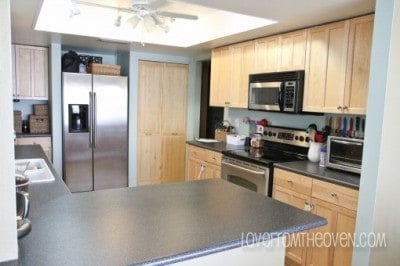
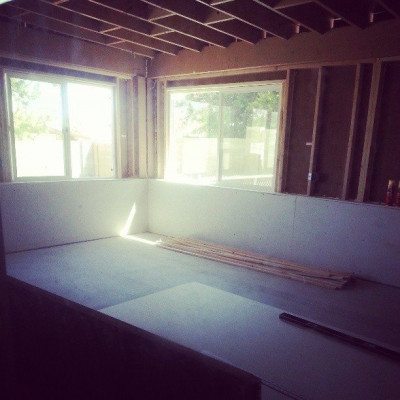
We have been trying to find ways to update our kitchen and make it, well, happy and fun. Here is a look at our kitchen when we started. There’s nothing “bad” about it, it’s nice and neutral, but honestly, it was a bit blah for me. A look at my Pinterest boards clearly shows that I love pops of bright color far more than safe serene neutrals. We needed to wall up a window over the sink (due to a house addition) and had some badly damaged drywall that needed to be replaced, so the kitchen had to be repainted. And if I’m going to go through the trouble of painting, I want a change.
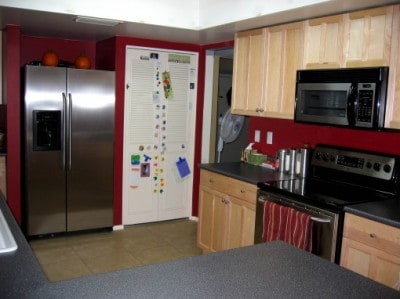
Here is a peek a few years earlier. Oh boy, that red was okay before we built a patio, but turned into a cave when we lost our natural light because of the patio.
I spend so much time in my kitchen, that I want to enjoy it, I want it to make me smile and I want some whimsy and humor in it. I am a big fan of Jonathan Adler and his Happy Chic style. His 10 Commandments For A Happy Chic Home have given me permission if you will to say to heck with rules, shoulds and should nots, just have fun and do what I want, regardless of what anyone else might think. Pops of color, dollops of patterns, initials, fancy with frisky – embrace these and just have fun. And that’s what we’ve been doing. I’ve also adopted the theory that “Done Is Better Than Perfect”.
This is SO true. I agonize over things being perfect, and that line of thinking leads me to getting nothing done at all. Done is better than perfect. I’m learning it, I’m living it and I’m loving it. I would still love an all white kitchen with white cabinets, but I respect my husband’s line drawing at painting our cabinets, it’s not really a project I want to take on with a toddler, and they are in perfectly fine condition.
As with most projects, most of it is DIY for us. DIY is great, it saves you money, you can do things just the way you want, but I think that every DIY project takes twice the time and money you expect, and I expect it to take a lot of both, so it’s a slow going process (with a few Pinterest “fails” along the way). We are *almost* there. We are also tackling a DIY house addition at the moment, which will open our dining room up to a den/home office, so some that certainly is extending the time table for everything, since the wall that will open to the addition is in the dining room. There is still a lot to be done, but we have made some progress and I’m excited to share it with you.
I am working on posts with links to the different sources and all details on things (in case anyone wants to know) as well as how we created some of the DIY projects. But for now, here is a little look at what we’ve gotten done and how we’ve brought some Happy Chic elements into our kitchen (on a major budget).
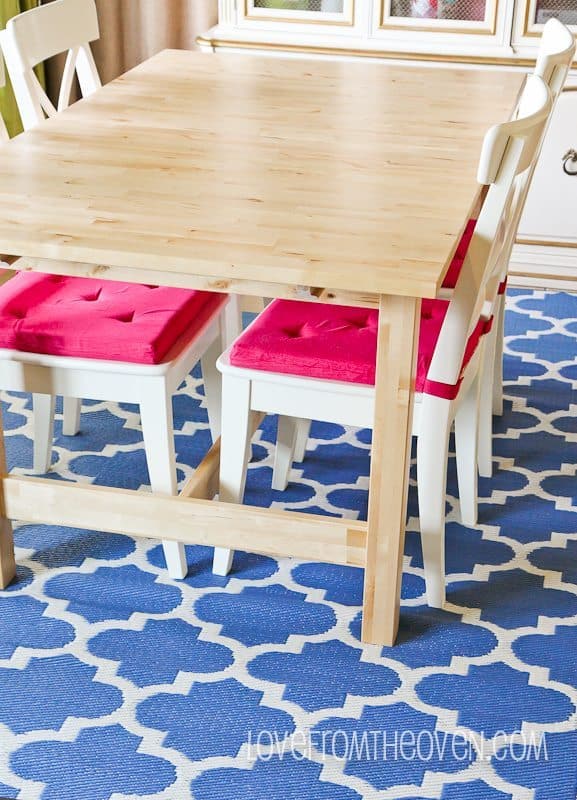
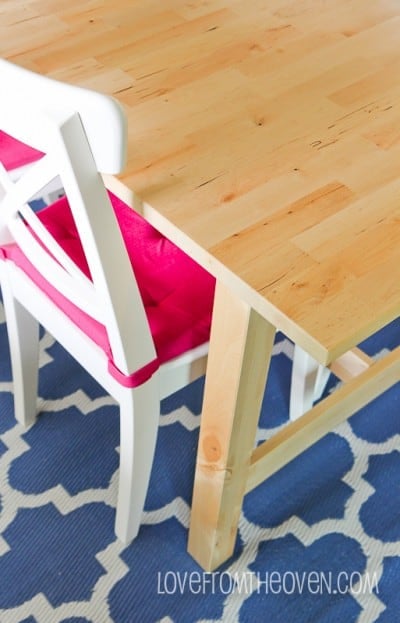
One of our big splurges was a new dining set. We’ve lived with a hand me down dining set for quite some time, and my kids had done quite a number on the not so high quality 70’s finish. I’ve been stalking Craigslist for two years for that perfect wooden dining table, and I finally decided to give that up and instead pony up $500 (which in the realms of dining sets is small potatoes) for a table and some chairs from Ikea. Will it last forever? Probably not. Is it 1000 times better than the hand me down 70’s set? I can’t believe the difference getting rid of high back chairs made in our little dining area. Oh yeah!
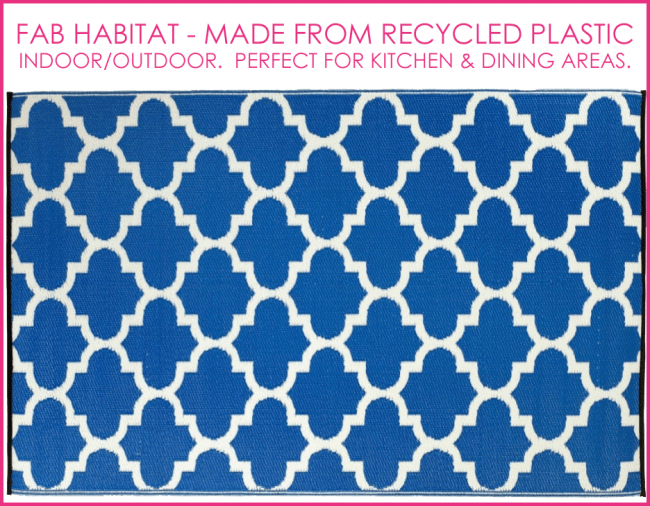
Yep, those are pink chair cushions. Because, why not? And that beautiful rug, under my table, where my three year old drops everything and my dogs look for crumbs? A super affordable indoor/outdoor rug from one of my favorite companies, Fab Habitat. It’s woven from straws made from recycled plastic. Yes, plastic.
We’ve had a Fab Habitat rug on our patio for the past two years. On our Phoenix, Arizona patio. Where it’s 120 degrees for what seems like half the year. Heat, pets, weather, dirt, kids – the thing still looks brand new. It finally dawned on me that these rugs would be perfect in the dining room and kitchen. Gets dirty? Wash it off! Oh, and they are reversible. Seriously, these are awesome rugs. I have another post about these coming soon, but today (5/27/13) Zulily has an amazing deal on them, so check them out ASAP!
Okay, so let’s look around the rest of the kitchen…
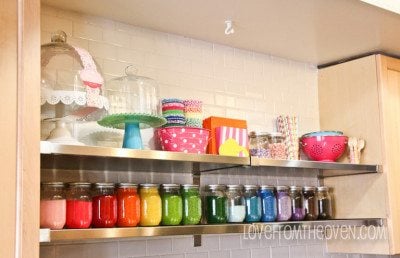
Where there once was a window over the sink, there is now a wall. As part of our house addition, the patio area that was once outside of the window is now a storage area, not exactly a thrilling view I’m thrilled with my shelves to both store and display my baking goodies! Sprinkles and cupcake liners and pretty straws, oh my!
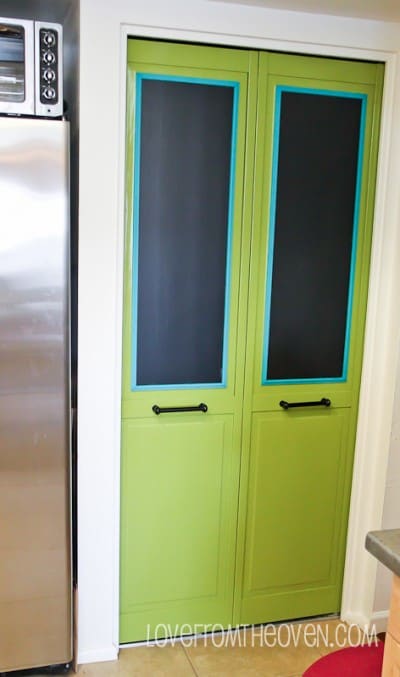
The pantry door that sat in the garage in a box for five years, then in the kitchen, unpainted or stained, for four years, now has paint and chalkboard areas for lists, reminders and general doodling, because doodling is fun, and probably good for the soul.
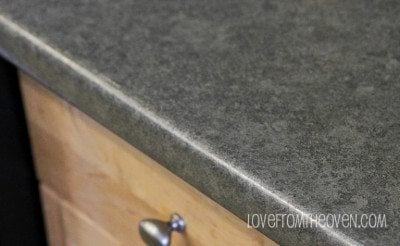
My gorgeous new Wilsonart HD Laminate Countertops. I.Love.Them.
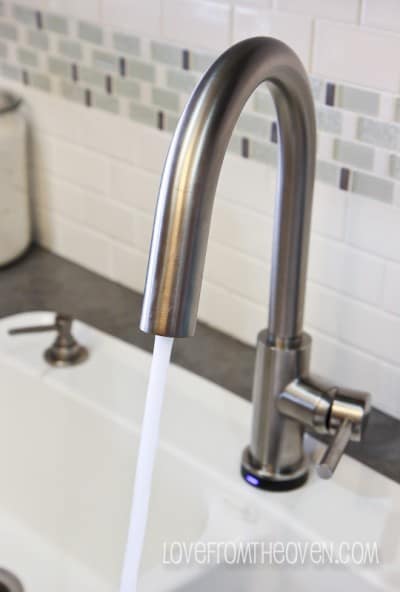
Brizo Hand Free Faucet (obsessive hand washers rejoice!) on my integrated sink. Oh yes, you can integrate your sink in laminate these days. Hip, hip, hooray! I’m so over cleaning that lip around the drop in sink we had.
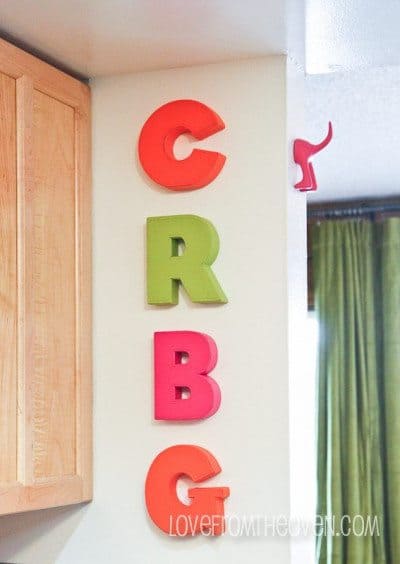
Adore these letters because they remind me of one of our favorite books, Chicka Chicka Boom Boom. 🙂 And yes, that is a dog’s tail on the wall.
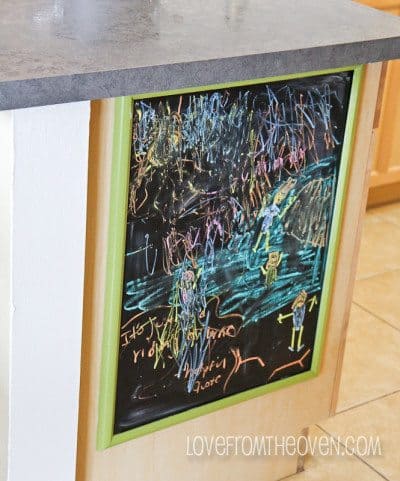
The oldest created a chalkboard masterpiece. Then the youngest added her two cents.
I’m so in love with that rug. Replacing my tile that I don’t love, not in the budget or plans. But a great new rug under the dining table for less than $100, heck yeah!
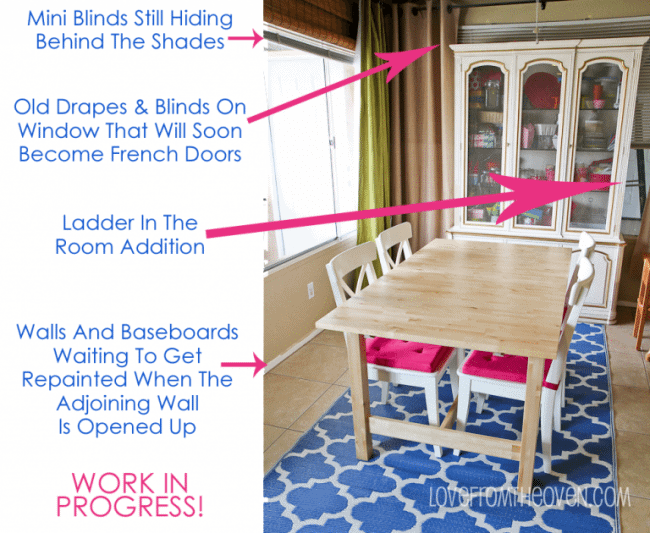
Here you can see (kind of) where the dining room will open up to the addition. Behind the big hutch full of food blogger props, is a window. That window will be replaced with French doors. I’m excited for the addition, but I’m also excited to take down the old curtains and 12 year old mini blinds, repaint and replace the baseboards (one of those projects we meant to do years ago, so my husband didn’t mask the last time we painted – and thus we’ve lived with painted over baseboards for years. Ahh, they’ve driven me crazy cakes.
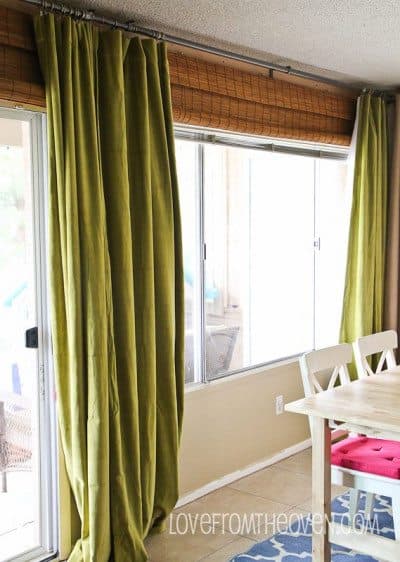
I also recently did something that I can’t believe I haven’t done in the 12 years we’ve been in our home. I bought matching curtains for the dining window and sliding patio door. That are side by side. Six inches apart. And have always had different curtains. I have no clue why. No excuse either. Thanks to Young House Love for the great advice on adding cheap bamboo roller shades to windows – they make such a difference and I even found ones wide enough for our 96″ wide window (no easy task)! Once we get the extra room done, I can take the mini blinds (which are peaking out from behind the blinds) down, but for now they provide light control for all of the food photos you see on here. And if anyone wants to come scrape my popcorn ceilings, I will bake you cupcakes and brownies and cakes and, well, you get the drift. 😉
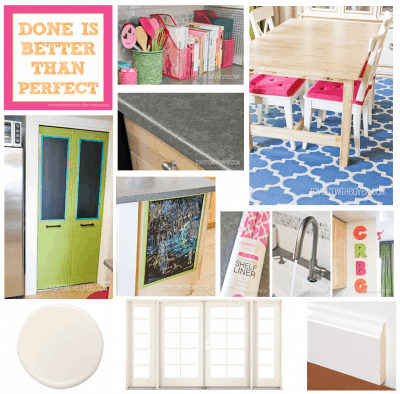
A fun little free printable for you. Just click on it to go to the printables page.
So there is a little peak at what we’ve been up to. Hopefully before too long it will be wrapped up, but a lot of that is tied to the house addition, which takes for-ev-er when you are doing it on the few nights and weekend hours you can squeeze in.





stella says
Looks great! We just bought one of the fab habitat rugs for indoor use. Was wondering how you got yours straightened out as ours has a lot of kinks from being rolled up in the package and is slipping on our hard floors.
Christi says
Ours smoothed out pretty quickly, but it is under a table, which probably helps. We have one that we need to put down in our kitchen, and I plan to have my husband put some silicone caulk on the back of it to help hold it still so it doesn’t slide around the tile. Given the material, I think they probably need a rug pad or something with a bit of tackiness under them to stay put on a hard surface.
Kristi says
I LOVE the colors!
Justin says
SO so cute! I love the colors. You’re making me wish I had more counter space so I could color mine up with cute baskets and canisters like that! Although those adorable colors would totally clash with my wall color. lol
Renate says
It looks wonderful, Christi!! So bright and fun. My kitchen is the exact red your old kitchen was. I have been wanting a change (we have had a red kitchen for almost 12 years…yikes) and you are inspiring me!! Great job! Enjoy it!!
Crystal says
I love all the colors you incorporated!! It looks so bright and cheerful just the way a kitchen should be!! Love it!!
Sara at Saving For Someday says
It’s all so pretty, Christi. I’m sure it’s a lot of work, but it will make you happier. And what kid wouldn’t love all the chalkboard options!
Dawna says
Very nice Christie! I love your use of whimsical colors but my favorite addition is your sprinkle shelf – very cute. I have tons of mason jars and never thought about storing my sprinkles in them…that may change really soon! I also love all the chalkboards for the kids – very warm and family friendly kitchen. =)
Jessibeth Vicenty says
OMG! This is beautiful! Love all the colors, great ideas. Someday when I get my house, your kitchen definitely will be an inspiration for my kitchen 🙂 Great Work!
Christi says
Thanks so much Jessibeth! Certainly having fun adding some color and whimsy to the kitchen! 🙂