Let’s talk cake pops. Cake pops have without a doubt become one of those most popular sweet treat trends in years. We have the wonderful Bakerella, Angie Dudley, to thank for introducing us to such a fun treat. Whenever I show up at a party or get together with cake pops, they are always very well received and very much enjoyed.
While cake pops are certainly a fun treat to share and eat, they can be a challenge to create. I am by no means an expert cake pop maker, but I have spent some time making cake pops using three different methods, and thought I would put that information together in one post, as well some great resources on other sites to help you in creating cake pops.
My Three Different Methods Of Making Cake Pops
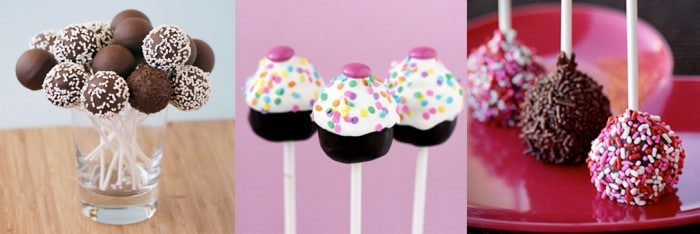
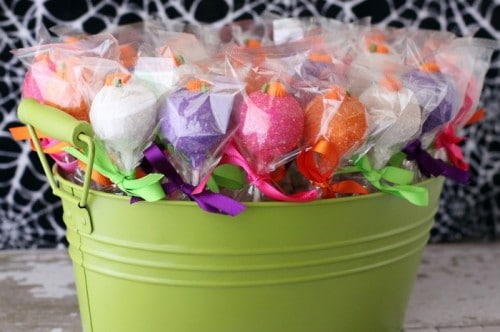
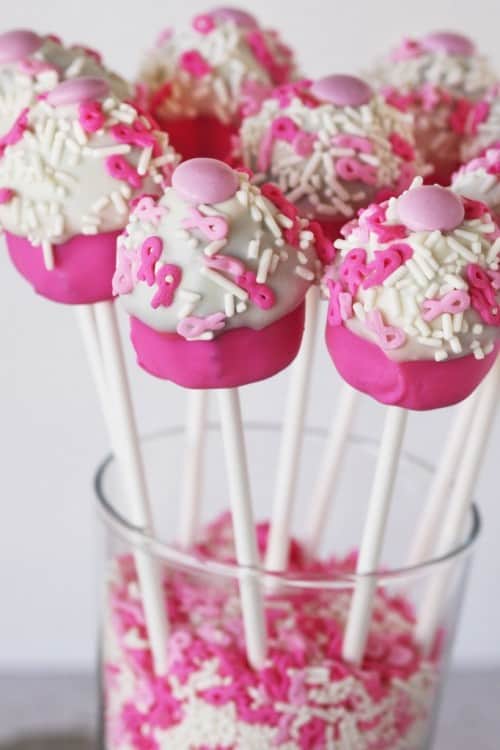
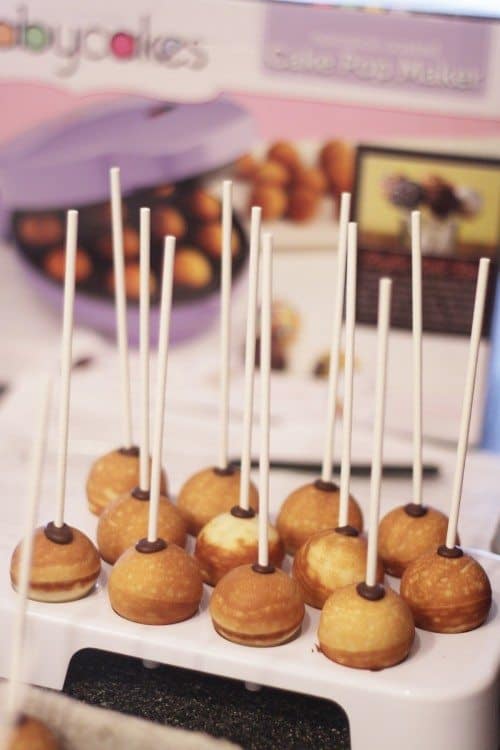
I have three different methods I use to make cake pops. In the photo above you see my cake pops (left to right) made using:
- Babycakes Cake Pop Maker,
- My Little Cupcake Cake Pop Mold
- The “original” method, using a baked cake and frosting mashed together and shaped.
My preferred methods are with the Babycakes Cake Pop Maker or the My Little Cupcake Mold. If I need to make a lot of cake pops, I always go with my Babycakes.
If I’m making a small batch and want to spend a bit more time decorating to them, I go with the My Little Cupcake Molds. A big plus to the My Little Cupcake method is that you can do it without baking anything.
And that leaves us with the original method. I have been pretty honest that I just do not love the original method. I don’t know why – I mean I love cake, I love frosting, but together, it just doesn’t do it for me. I will say that original cake pops made with homemade frosting taste worlds better to me than canned frosting. The plus side of this method is you don’t have to buy any equipment. The downside to me is having to bake a cake first to make them, and I’m often so pressed for time, that this extra step is enough to make me go another way.
Because there is so much to share about each method, I’m going to break each one into it’s own post…
1. Babycakes Cake Pop Maker – Tips, Tricks, Advice and Ideas
2. My Little Cupcake Cake Pop Molds – Tips, Tricks, Advice and Ideas
3. The original method – Tips, Tricks, Advice and Ideas for making cake pops (coming soon!)
Dipping And Decorating Cake Pops
One thing each method has in common is that once the ball or shaped cake is prepared, it needs to be dipped in chocolate and decorated, so we will spend the rest of this post focusing on that aspect.
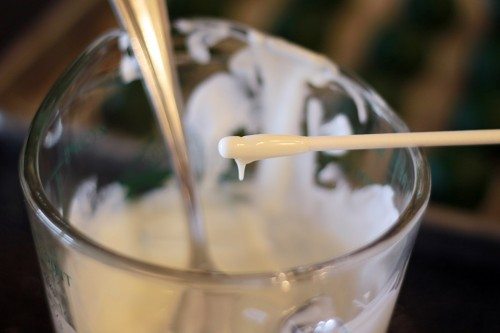
Getting Cake Pops Onto The Stick – And Keeping Them There
Skipping this step has never, ever, worked for me, and almost always results in my cake pop jumping ship and taking a swim in the chocolate. I never make cake pops (or chocolate covered marshmallows, or cookie pops or ANYTHING on a stick) without doing this.
After I have all of my cake pops on sticks that have been dipped in chocolate, I then put them in my freezer. Chilling them helps set the chocolate and make the stick, chocolate and cake all come together like a happy little sugar filled family. Chilling the cake pops also helps set your chocolate more quickly when you dip the cake pops (so you don’t spend 20 minutes waiting for each cake pop to quit dripping chocolate).
Cake Pops Cracking
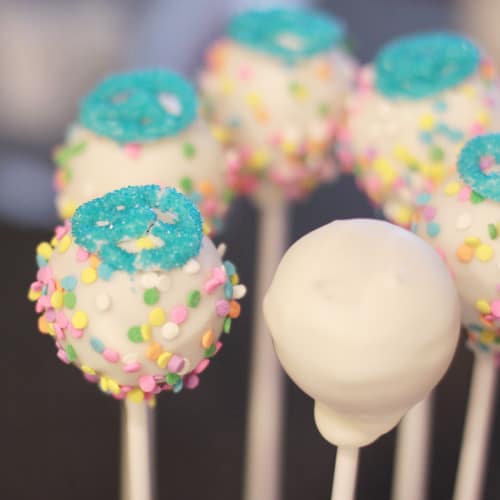
Another way I deal with this issue is that I do a “first dip” into chocolate, not add sprinkles, and let it sit. I then redip them in a second layer of chocolate, and decorate. Kind of like a crumb coat in frosting a cake. This sort of seals the crack into the first layer, leaving the second and outer layer looking nice and pretty, and yay – more chocolate! This is also an option if you make your cake pop and the chocolate hardens before you get the sprinkles on it. Just dip it again!
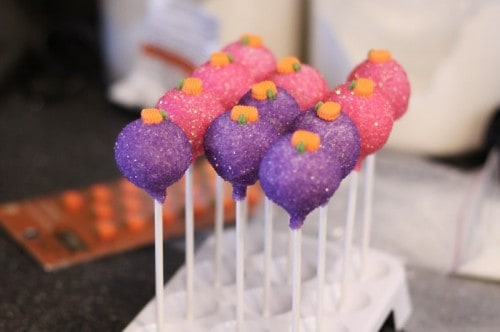
My other solution is my solution to many decorating challenges – I just completely coat them in sprinkles. I find sprinkles hide a lot. For as much as I bake, I am not a decorator, I’m just really good at liberal use of sprinkles. If you notice a big crack after you’ve already added your sprinkles, you can add more chocolate, either by drizzling it on or even using a toothpick, and then topping it with sprinkles. Or go for an artistic drizzle of chocolate all over, which will help hide the cracks.
I won’t lie – often many of my cake pops have cracks in them. For the most part I think most people are more than thrilled to eat a cake pop despite it having a crack in it. I try not to sweat it, and tell myself that a cake pop with a crack beats no cake pop! But sometimes we want them to be just right. Here are some other sites that you can check out for more tips and advice on the chocolate on the cake pop cracking issue…
Prevent Cracks In Cake Pop Shells from Honeycomb Events & Design
Why Do Cake Pops Crack from Beki Cook’s Cake Blog
Cake Pops, Balls & Truffles: Troubleshooting & FAQ from Veronica’s Cornucopia
Tricks Of The Trade from The Cake Pop Connection
Chocolate Coating Cracking from Chocolate Candy Mall
Cake Pops Falling Off The Stick
Dipping my cake pop sticks into the chocolate, then putting them into the cake pops and letting the chocolate set has helped this problem for me immensely. I do have a few other things that help with this issue.
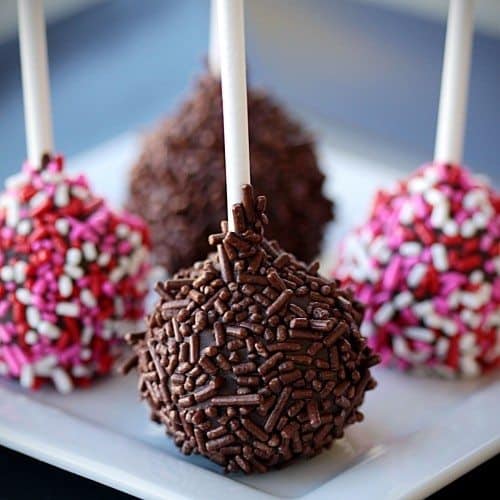
2. When dipping the cake pop into the chocolate, dip it in and get it out – don’t twirl it around. Sometimes half of my cake pop is dipped and the other half I spoon the chocolate over while it’s in the bowl. Twirling it in the chocolate increases the chances it will stay in the chocolate. 🙂
3. I never tap the stick on the side of the bowl too hard when trying to get the excess chocolate off. Too hard of a tap and bam, cake pop in bowl. I tend to do a very gentle tap or two on the side of my bowl, and then twirl my cake pop, slowly and constantly, over the bowl to let the excess chocolate drip off. I also twirl my cake pop slowly. I’ve seen some videos of people whipping their cake pops around, and that’s not worked out well for me.
4. Holding on to the cake pop until the chocolate is close to set. Once the chocolate sets, usually the cake pop and stick are pretty good friends. When I rush it and stick my cake pops into my holder or styrafoam too fast, this is when I’ve sometimes had a problem.
Here are some other sites you can check out with information about preventing your cake pops from falling off of the sticks…
Common Cake Pop Issues & Tutorials from Miss Candiquik
Cake Pop Tutorials and Q & A from Not Rachel Ray
How To Get The Sticks To Stay In The Cake Pops from Babycakes
FAQ from My Little Cupcake
Cake Pops Tutorial from Mandy Walls Photography
How Do I Get My Chocolate Smooth And My Sprinkles To Stick
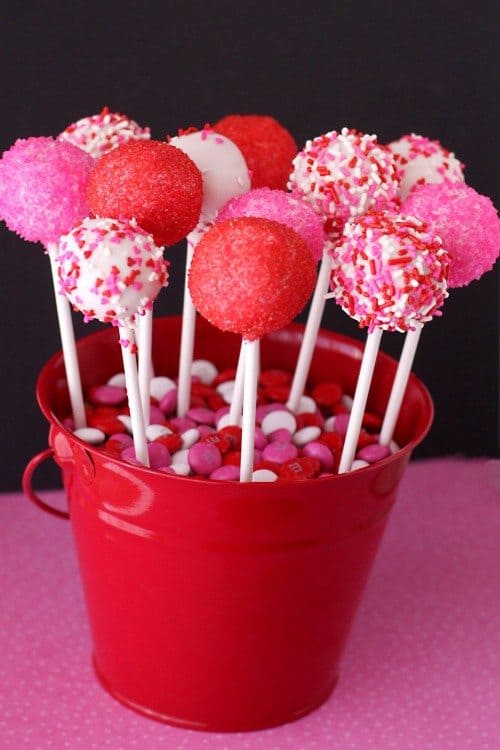
I have an “always keep moving” thing when I make cake pops – the slow twirling of the cake pop until the chocolate sets. It’s a bit of a balancing act to find when to add the sprinkles and when to put the cake pop down. If you put the sprinkles on too soon, they can slide off and take the chocolate with them. Wait too long and they won’t stick. There is definitely a sweet spot time wise to adding the crystals, and I think a lot of it just takes some practice and patience to find what works.
I like to stick to lighter sprinkles when I make my cake pops, the ones that weigh the least, such as sanding sugar, sugar crystals, jimmies and the like. In find the sanding sugar and sugar crystals are the easiest. When I see cake pops decorated with M&M’s and chocolate chips, honestly I have no clue how they are doing that, though I’m pretty sure it probably requires more patience than I have.
I do not submerge my cake pops in sprinkles. I tend to hold the cake pop over a bowl, and sprinkle on over it, catching the excess sprinkles. Often this is more dumping on sprinkles than it is sprinkling them. While this video is of me making pretzels, you can see my dumping sprinkles on technique, if one could call it that. Obviously my strong tapping of the pretzel on the bowl is not what you would want to do with your cake pops. 🙂
Here are a few videos that might be helpful…
Easy Cake Pops Recipe – How To Make Cake Pops The Easy Way
How To Make, Dip And Decorate Cake Pops
I will be going into more detail in upcoming posts about the different ways I create the actual cake part of the cake pop, but hopefully some of the information here can be helpful. Make sure to check out the great links and videos – they are really helpful!
Do you have any tips or tricks you’d like to share?



Stephanie says
Thanks so much! I am a new cake pop maker and decided I should read up on making them before I try and make 30 of them! Thanks for the great tips and advice!!!
Debbie says
Thanks for your tips. I am planning to bake at least 300 cake pops for my daughters sweet 16. I will need to make them in advance for I will not have the time to do it. I was hoping to just make the cake pops and freeze the balls only for a couple of weeks then defrost them a couple of days prior to our event and place the sticks and decorate them. I know cake pops are best fresh. I was hoping for your opinion. Also I plan on freezing them in vaccum sealed packing that has always worked great with other items I’ve had to freeze.
Ina says
you saved my life, I love you :DDDDD!!!! my goddamn pops cracked and I was freaking out, but thanks to your tips….UFF ! THANK YOUUUUUUUU <3
Wendy says
I lucked up and found a babycakes set at Sam’s Club, and I hace used regular cake mix with great results!! I was having difficulties though, and I appreciate your tips and advice. Thank you so much!!!
Lorrain says
I stumbled upon your site when searching on how to frost cakepops. So, they have to be frosted in chocolate? I actually made a green velvet cakepop earlier because I never seem to have red.
Christi says
Lorrain, I’m big on saying there are no rules with something like that – you do what you want and what works for you. I have only used chocolate coatings (and white chocolate) for my cake pops – the chocolate sets and hardens, seals in the cakeball, works well for decorating, so on and so forth, but that doesn’t mean that’s the only way to do it! It’s the only way I’ve done it, but I’m all for everyone experimenting in the kitchen. 🙂
T E says
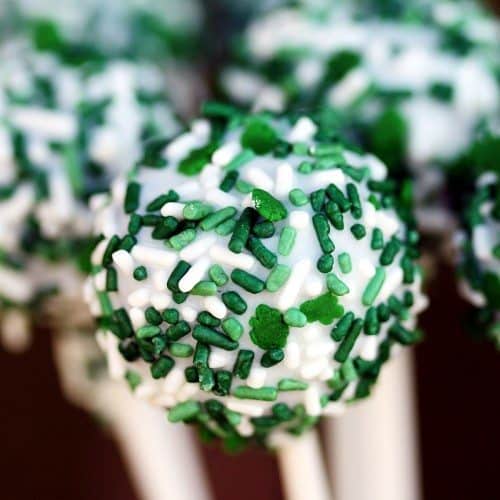
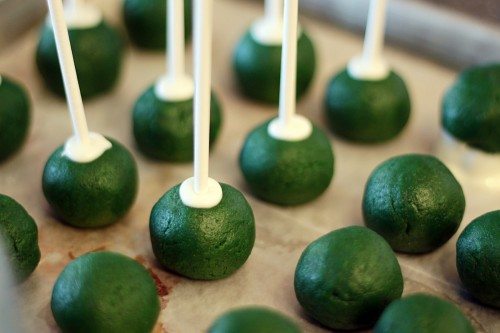
I am just wondering, as I am relatively new to cake-pop making, if the picture above of the green cakeballs with the sticks in them – are they already baked? They really look like dough still, or are they cookie pops? They don’t appear the same as my baked cake pops. Please elaborate…
And BTW – this blog is awesome! Thank you for sharing all of this information so beautifully and thoroughly. I have it bookmarked to refer to whenever I pull out and use my Cake Pop Maker. Love it!!!
Christi says
TE – the green ones are from Green Velvet Cake (baked) combined with frosting. The post is here. I do both the bake the cake into a ball method and the bake a cake, crumble it up and mix with frosting method. http://www.lovefromtheoven.com/2012/02/16/green-velvet-cake-pops-st-patricks-day-treats-sweets/
Julie says
Living in the tropics means chocolate coating does not set. Can anyone tell me how I can coat the cake pops in something that will harden and set?
Christi says
Julie, what types of chocolate coating have you tried?
Corisandra says
Thank you! I am in a pinch, short of time and supplies, so I was looking for tested and tried methods! A huge hug, my daughter will be very happy when she sees them. I’m of course counting on it all working out 😉
Lea says
Hi,thank you so much for the very helpful tips. I can’t believe how frustrating it can be to making this little yums. I just made my first batch of cake pops, using asstd. cakes n frostings. But i enjoyed every minute of making it. I guess i made it too big. My last cake will be way smaller n not too heavy for the stick to hold onto. itll probably be a lot better.I hope to finish the last batch tomorow. I still have to practice more. Thanks again!
CLAUDETTE says
I love your sense of humor. Must admit, I haven’t tried making them yet so my question might be silly, but… Can I use a thin’ish icing with powdered sugar, whipping cream and a flavored extract for coating my pops?
Christi says
Claudette, I think you want something that is going to harden and become solid for cake pops. I mean in theory, you could use anything, but if you want to transport them and not have them be a mess, then the chocolate coating is the way to go. I’m sure a thin downed glaze would work, almost like what you see on donut holes. But your idea does sound yummy!