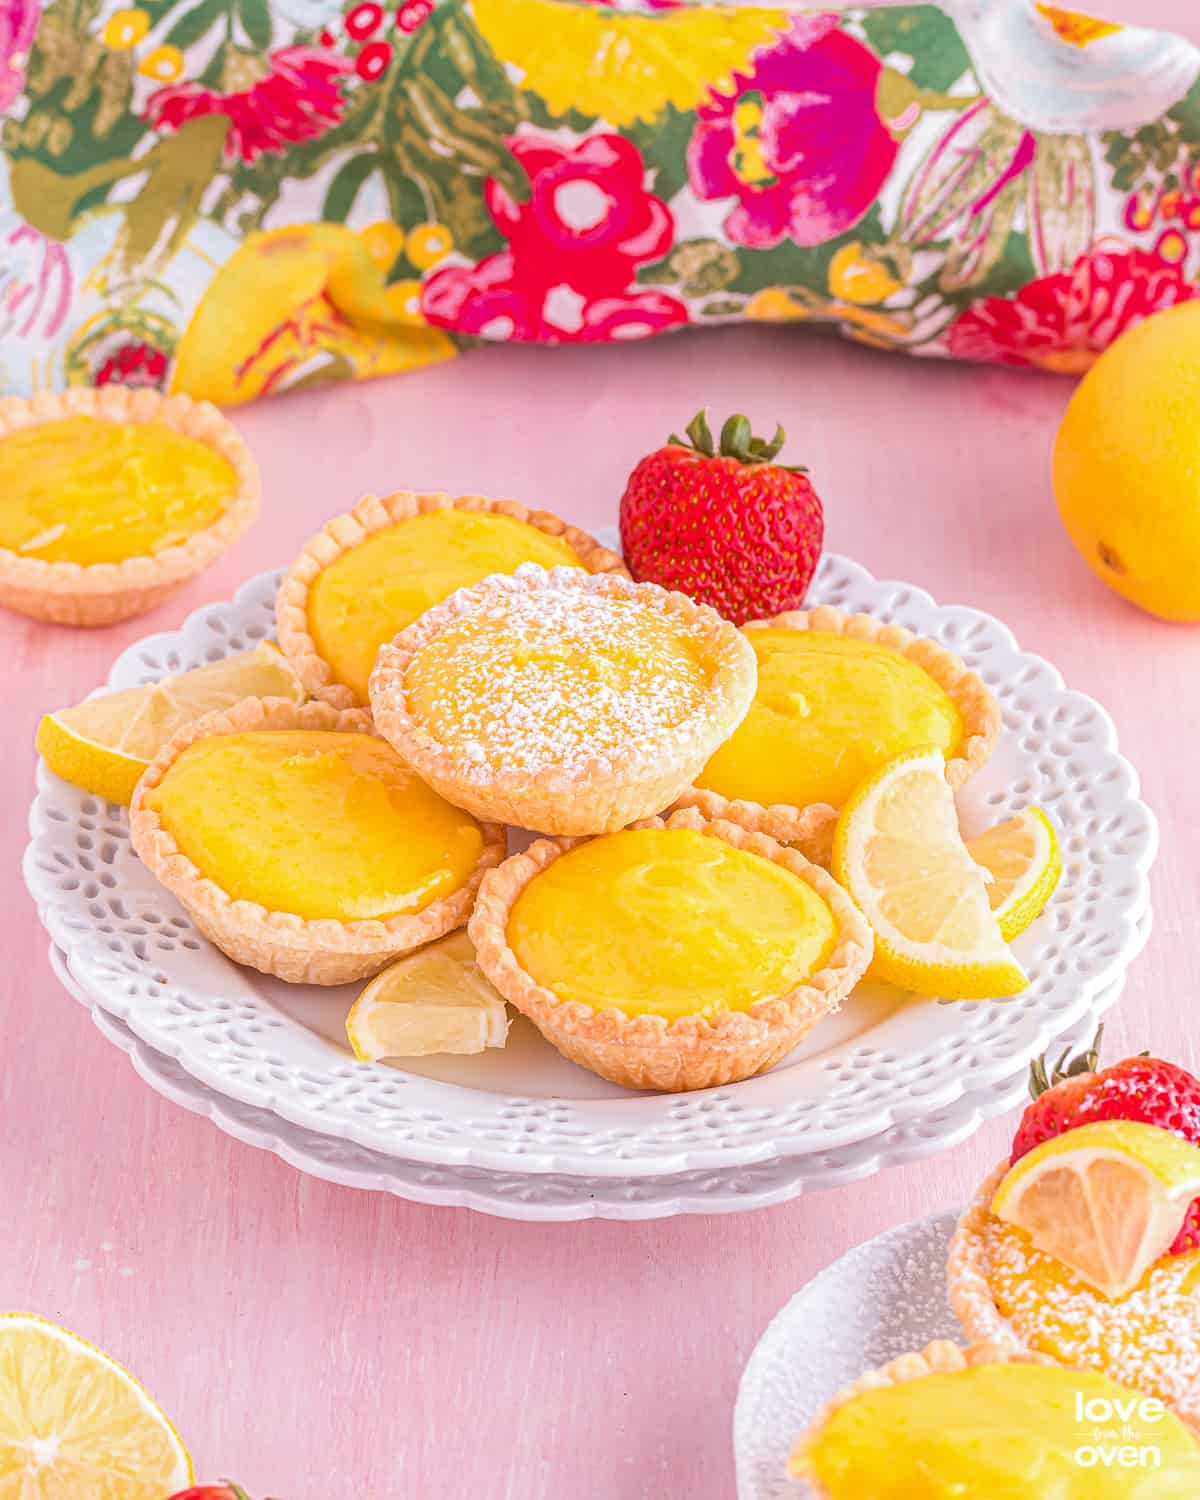
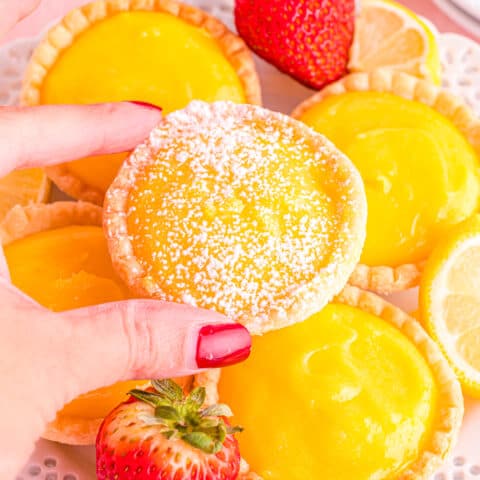
Lemon Tarts make the most adorable spring dessert that you won’t be able to resist. A gooey, citrusy custard filling sits perfectly inside the cutest little tart shells making this a fruity and fun treat you can enjoy all season long.
These mini lemon tarts would look lovely at a spring picnic, or on a dessert spread at an afternoon tea party!

Reasons You’ll Love This
Soooo Cute! – Oh Em Gee, how darn cute are these little lemon tartlets? You almost don’t want to eat them, that’s how adorable they are.
Fruity and Fun – Move over rich, chocolatey desserts! It’s time for lemon to shine; and boy do they shine bright thanks to this incredible recipe.
Spring Dessert – Nothing screams spring like a lovely lemon tart.
Handheld Treats – No fork or knife needed to enjoy this sweet treat!
Holiday Baking – Need an idea for an Spring treat? Maybe you’re on the lookout for the perfect Mother’s Day dessert? Either way this recipe fits the bill perfectly.
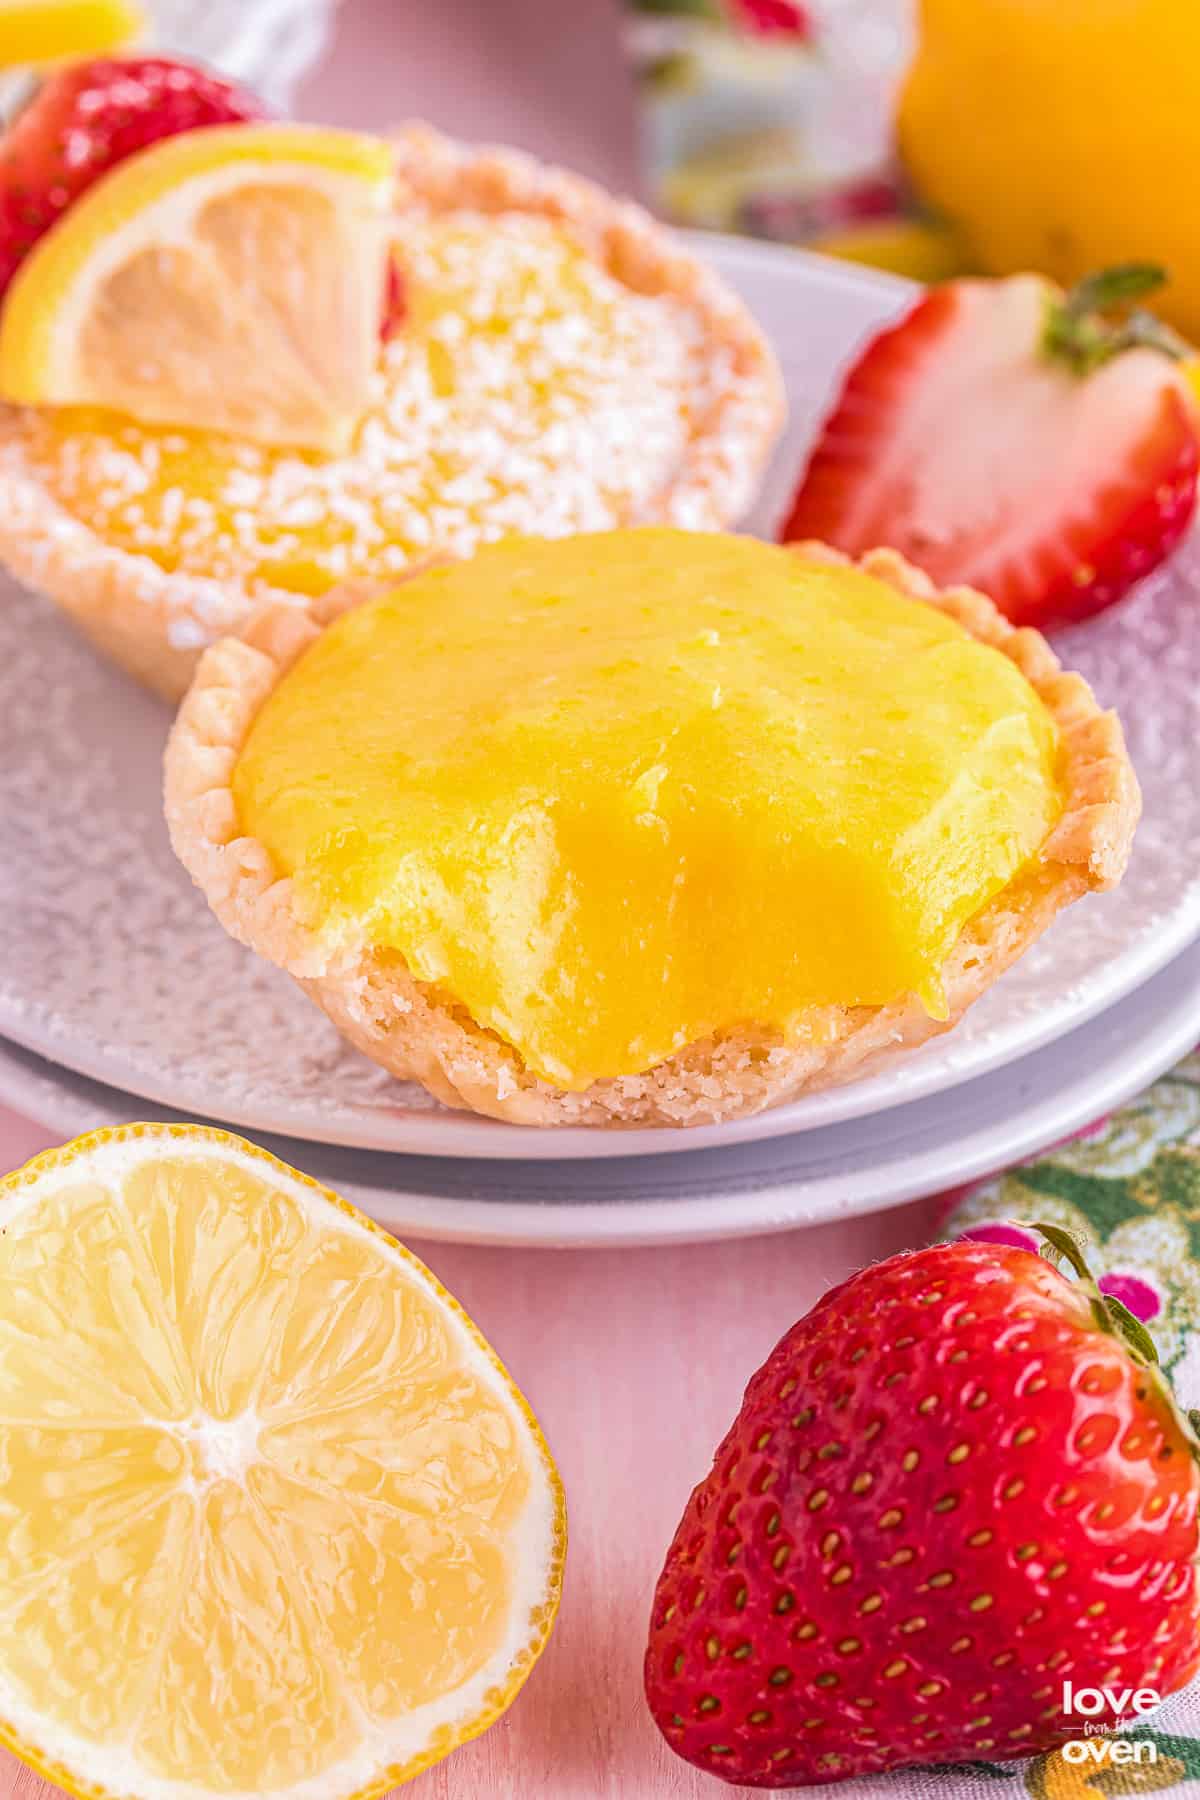
This is the closest you’ll get to baking sunshine into a dessert. I mean, they’re even shaped like little round circles of sunshine! If no one has complimented your baking skills in a while, just make them some of these and then you’ll never hear the end of it.
Let’s discuss how to make Lemon Tarts, as well as the ingredients that are needed. Please take note that below you will find discussion, expert tips, and answers to frequently asked questions about this recipe to help you recreate it in your kitchen. If you *just* want the recipe itself, scroll down. The full printable recipe itself, with exact measurements and instructions, is found at the bottom of this page.
Ingredient Info
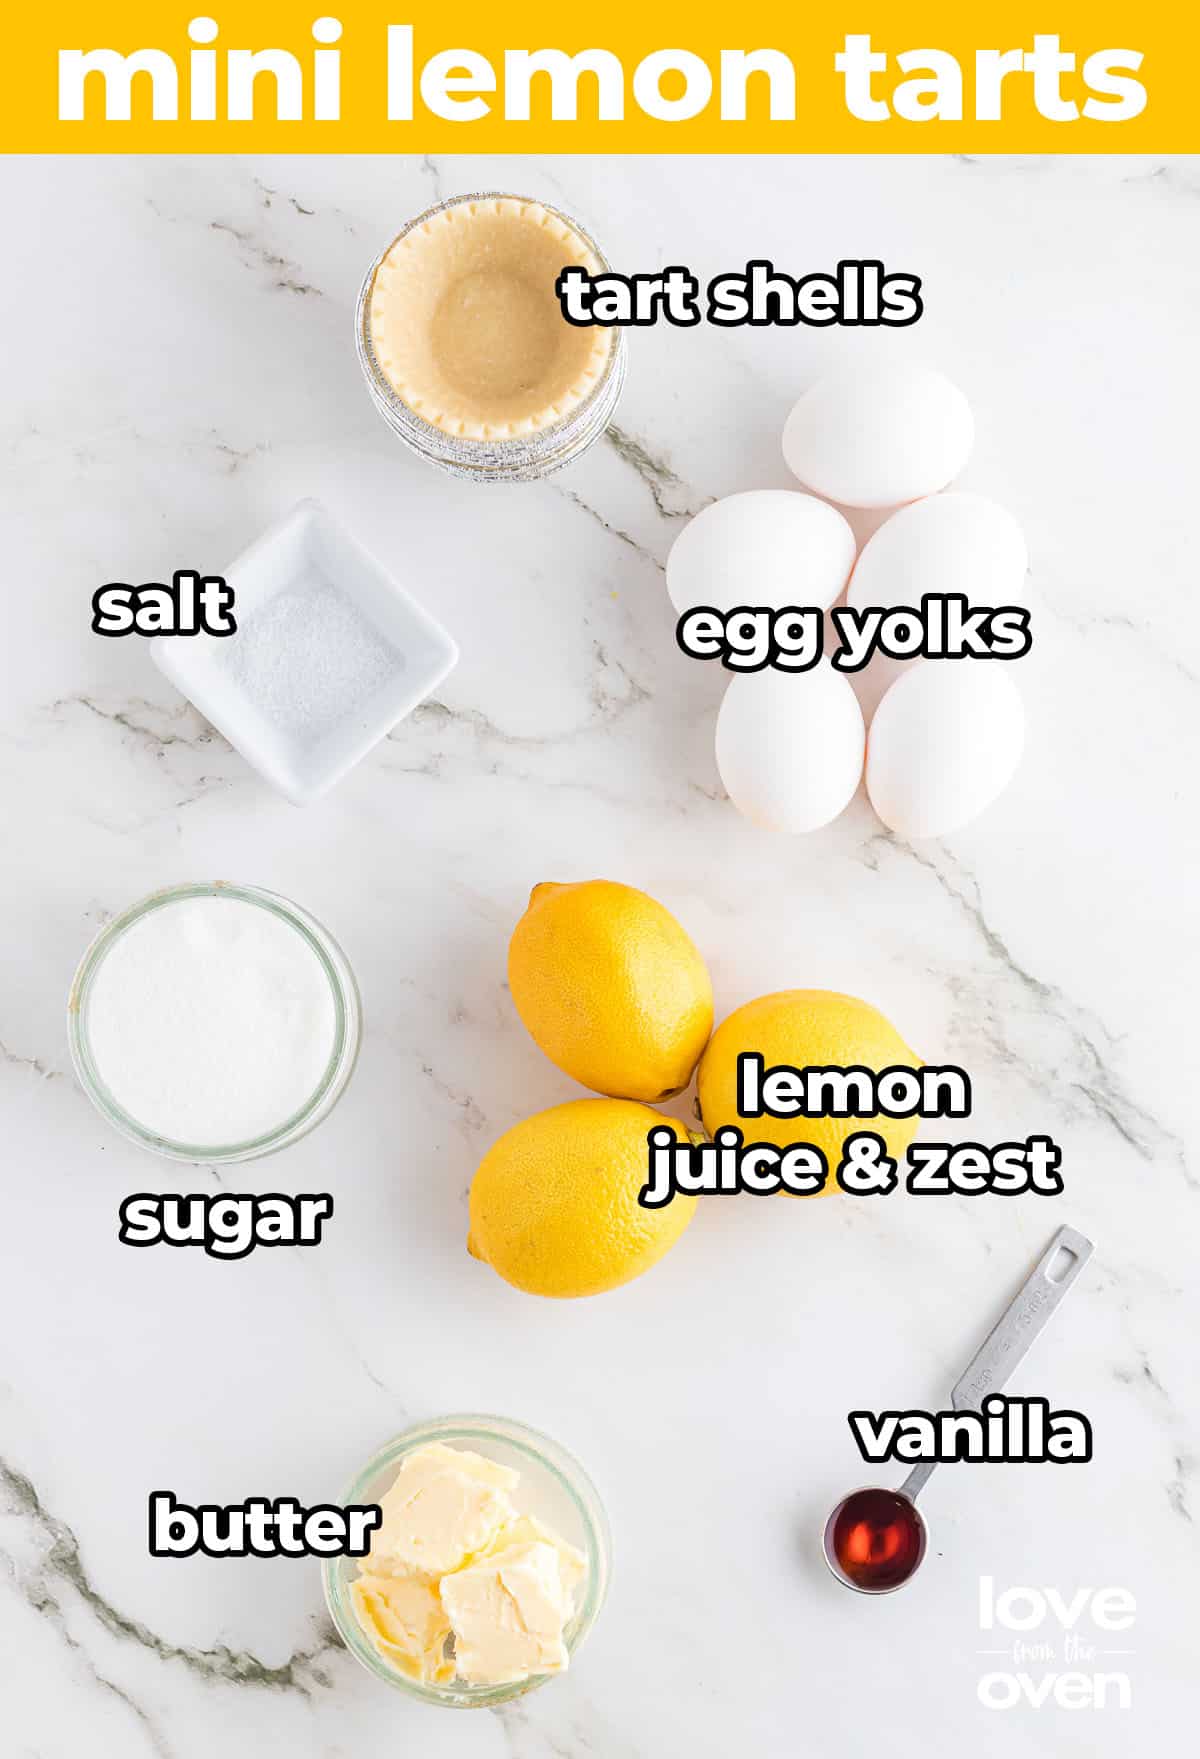
- Tart Shells – Take it easy and just buy the premade tartlet shells at the grocery store. Unless you have a recipe for a tartlet dough, you can use that instead. You can use frozen pastry shells, mini pie crusts, phyllo shells, whatever you like.
- Lemons – It’s always highly encouraged to use fresh lemons for any baking recipe, unless specified otherwise. You’ll need lemons for the zest and the juice.
- Egg Yolks – Egg yolks are the key ingredient in any custard recipe. You can save the egg whites in a container and use them to make a meringue topping, or for breakfast the next day!
- Sugar – White granulated sugar is best for this recipe.
- Butter – Unsalted butter is ideal; you don’t want your custard to come out salty.
Step By Step Instructions
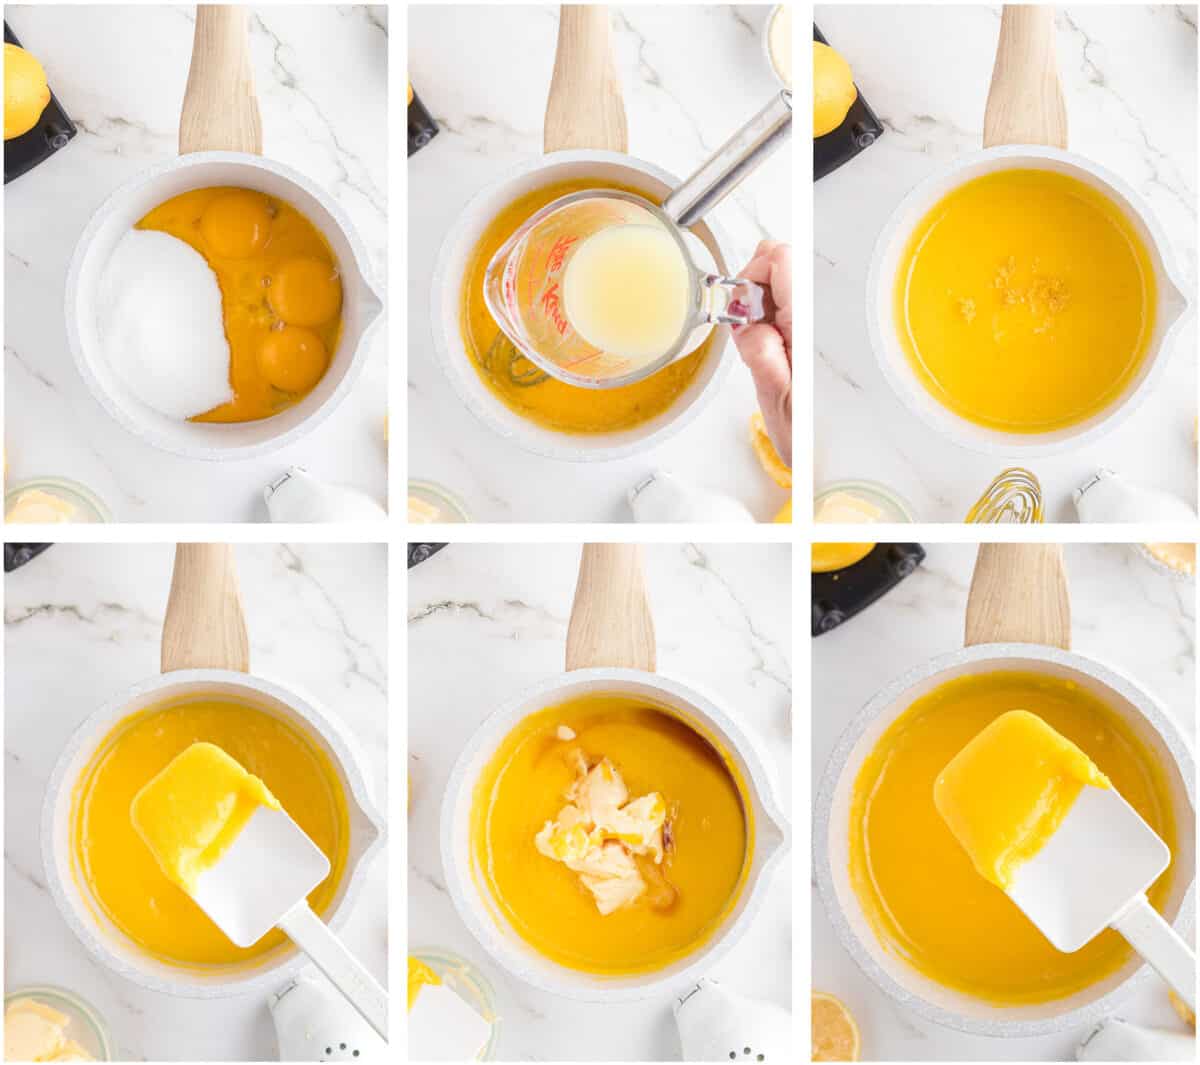
- Start by zesting and juicing the lemons. Set that aside and begin on making the custard. In a medium sized saucepan over medium heat, add the egg yolks, sugar, and a small pinch of salt. Whisk that together continuously for about a minute or until the sugar dissolves completely.
- Add in the lemon juice and continue to whisk continuously for another minute or so.
- Sprinkle in the lemon zest.
- Grab a silicone spatula and continue to stir the mixture over low heat for about 10 minutes or until the custard has thickened and has a smooth, velvety texture.
- Once thickened, take the saucepan off the heat. Add the butter and vanilla to the curd, stir to combine, then allow it to cool off to the side.
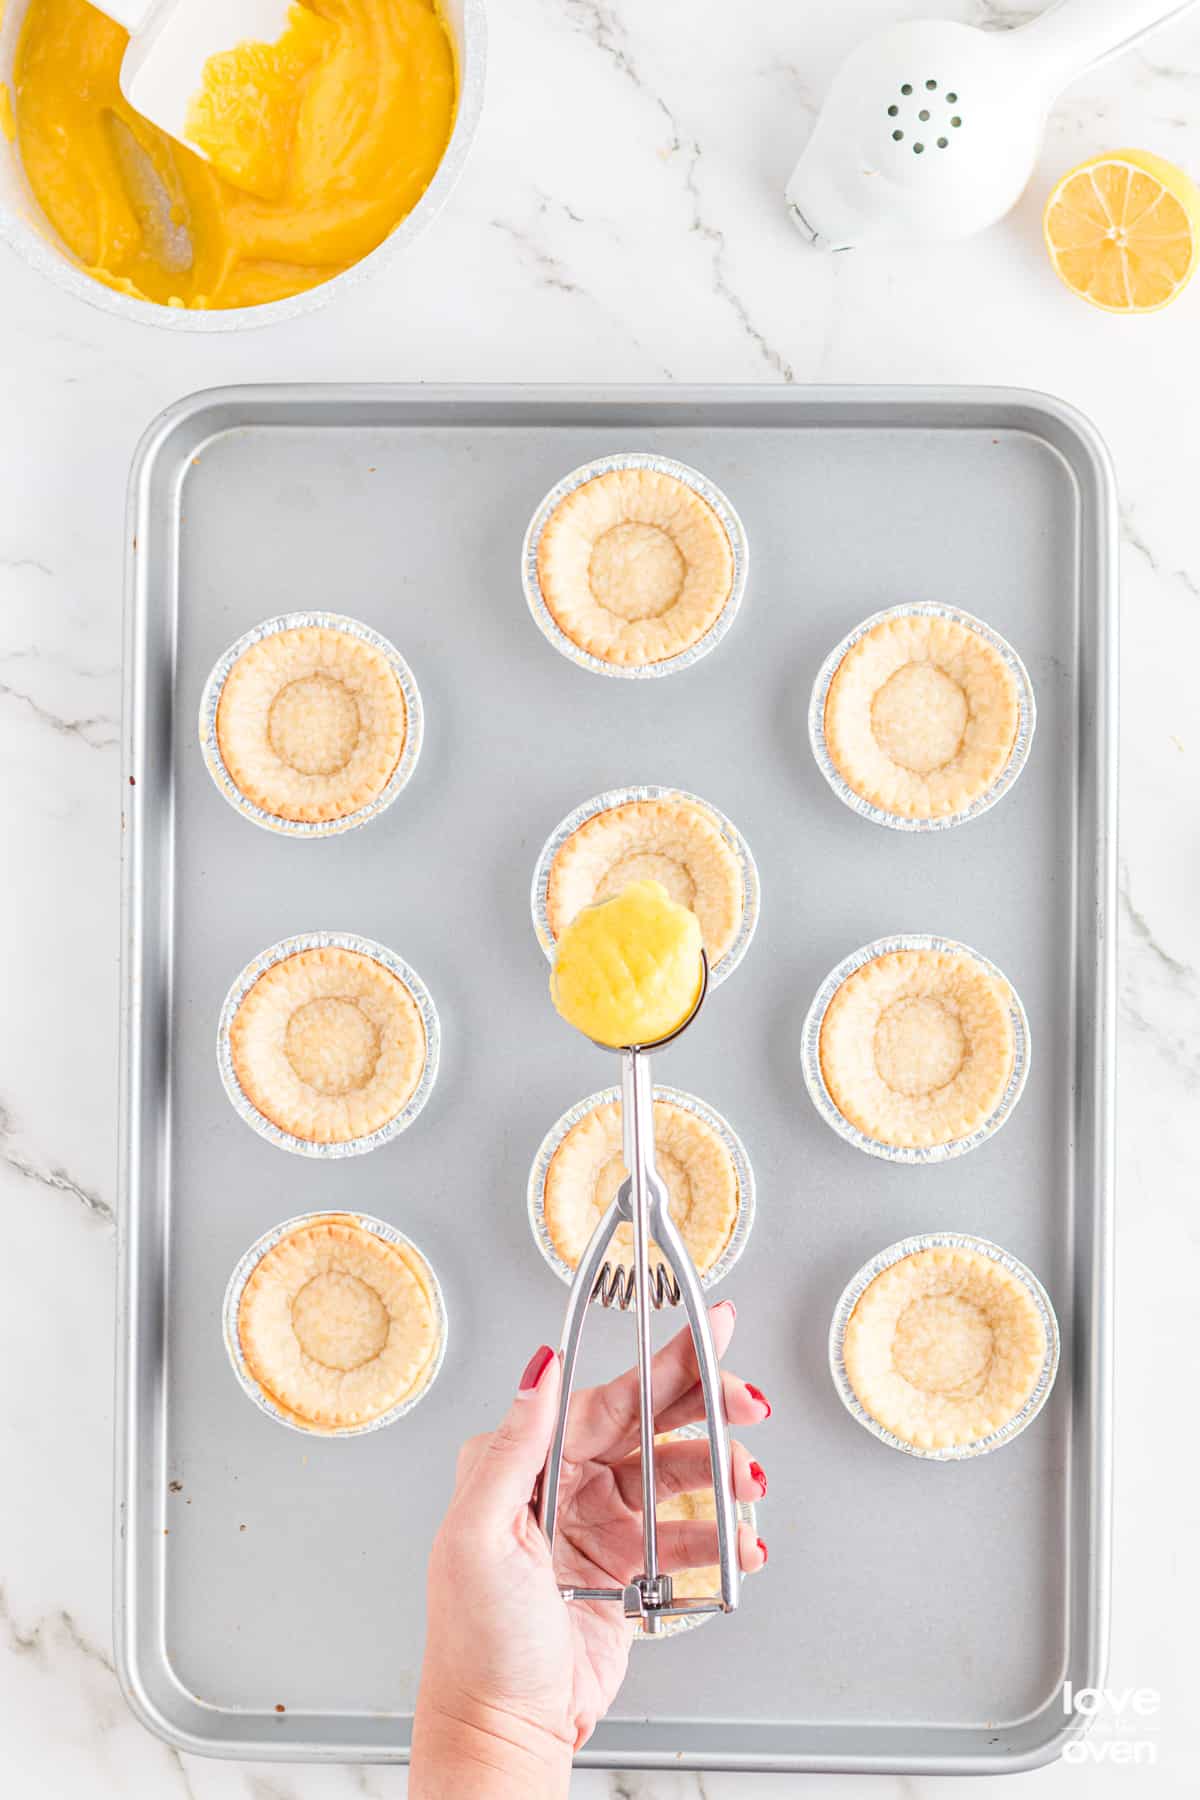
- While the custard cools, bake the tart shells as directed on the packaging, if using frozen shells. Remove them from the oven and let them cool on a cooling rack. Once both the shells and curd have cooled down to about room temperature, use a medium sized cookie scoop to take about a tablespoon and a half of the curd filling and place it in the center of the shells. Let them set at room temperature, then garnish the top with powdered sugar, whipped cream, or berries if you’d like. Serve and enjoy!
Tips and Advice
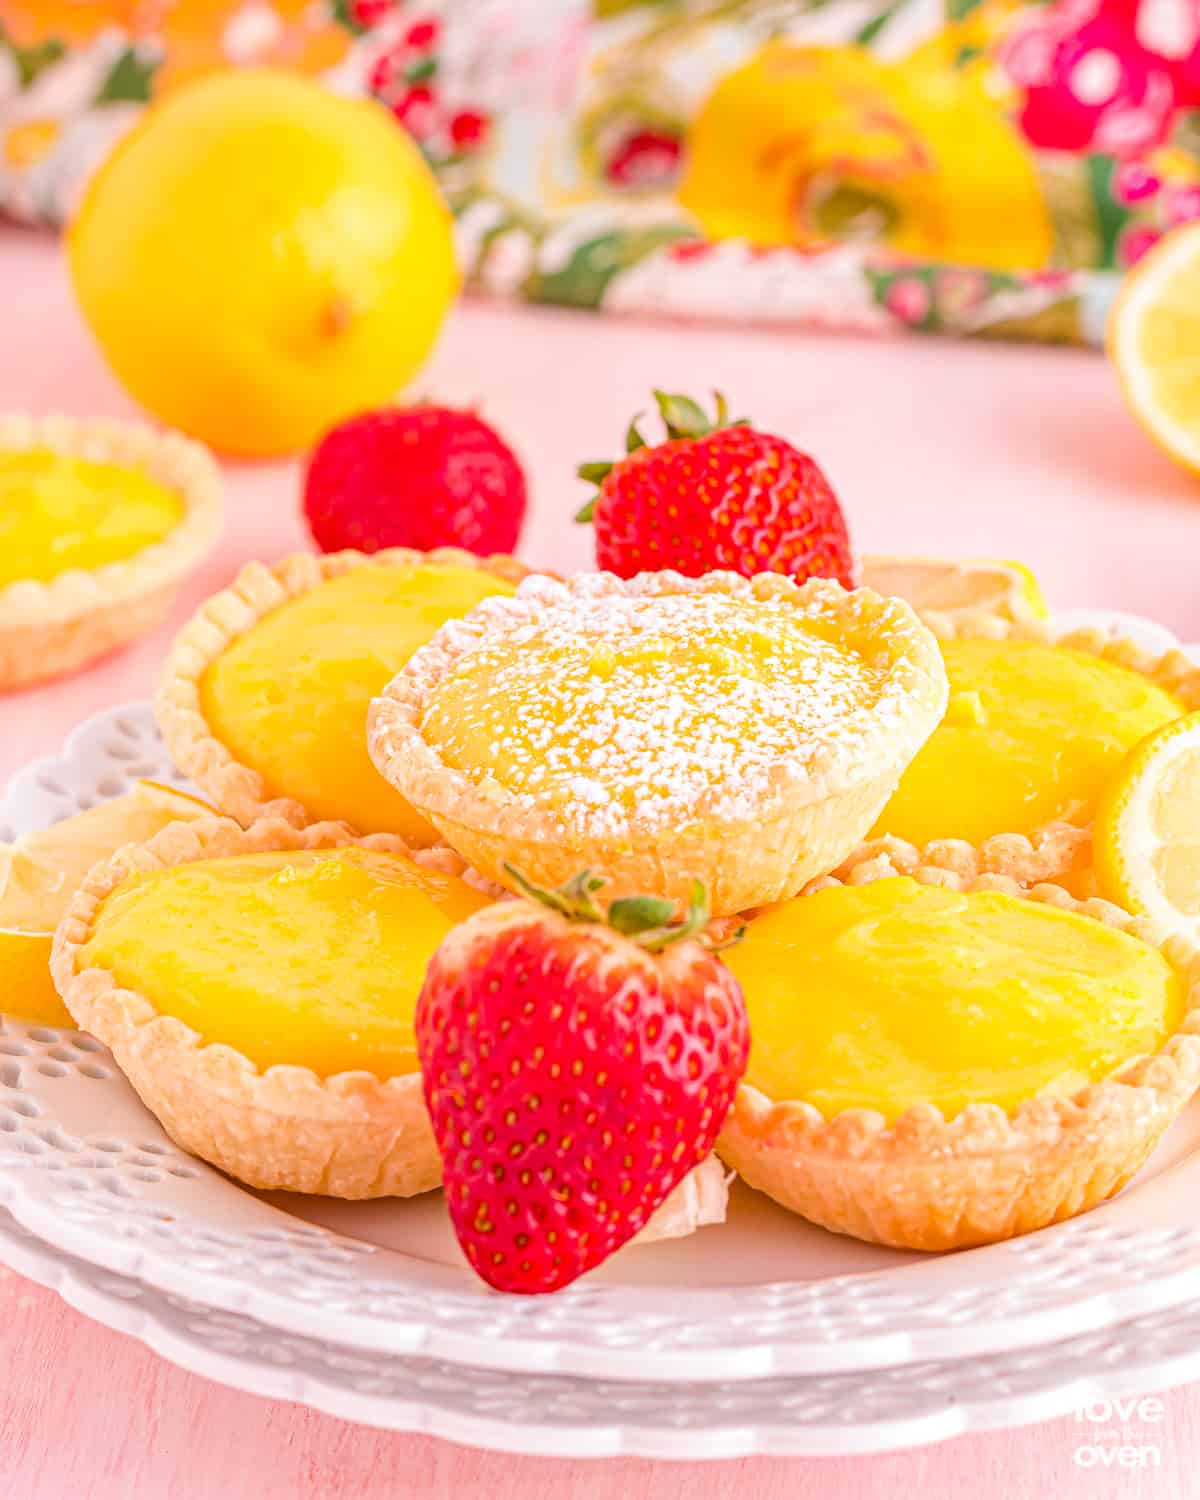
Storage – These mini lemon tarts taste best when eaten the day of, but if you have leftovers, you can save them in an airtight container, ungarnished, in the fridge for 2-3 days.
Equipment – For this recipe you’ll need a lemon zester, a lemon juicer, a large saucepan, a baking tray, a cookie scoop and something to stir with.
TART tips!
Don’t take your eyes off the curd while it’s on the stove! A constant stirring and adjustment of the heat will ensure that the custard comes out silky smooth. Along with that, let the tart shells and curd cool completely before filling, otherwise the tart shells will become soggy.
Also it’s best to let the final product set at room temperature, but if you’re in a rush, you can chill them in the fridge for an hour to set completely before garnishing.
Lastly, if you want to try and squeeze a few more tarts out of this recipe, you don’t have to add such a heaping scoop of filling to the tart shells. Instead, add a little less to each, and have 2 or 3 more tarts.
FAQs
This could be because you added the lemon juice to the saucepan before the eggs and sugar were completely combined. Lemon juice will cause eggs to curdle unless the sugar has completely dissolved into the eggs.
There are a few things you can do to make sure these lemon tarts don’t turn out soggy. First, allow the tart shells and lemon curd to cool at room temperature completely before filling the shells. Second, you want to serve them right away. There’s no sound tips and tricks to fully prevent sogginess from ever happening, but there are ways to avoid it from happening so fast.
It’s best to serve these mini lemon tarts at room temperature! You can chill them in the fridge then serve if you prefer them to be cold. I don’t recommend serving them hot.
Recipes You’ll Love
If you want more recipes that make it feel like sunshine is beaming through your kitchen, check out a few more of these bright, springtime recipes you’re bound to enjoy!
- Lemon Curd
- Strawberry Lemon Cupcakes
- Lime Cake
- Raspberry Crumble Cookies
- Sugar Cookie Fruit Pizza
- Easy Key Lime Pie
More Lemon Recipes You’ll Love!
Lemon Tarts
Ingredients
- 5 large egg yolks
- 1/2 cup granulated sugar
- 1/4 cup fresh lemon juice approximately 1 1/2 small lemons
- 1 tablespoon lemon zest approximately 1 lemon
- 6 tablespoons unsalted butter
- pinch salt
- 1 teapoon vanilla extract
- 9 mini tart shells or pastry shells these can be frozen, made from scratch or even a shelf stable premade phyllo dough shell
Instructions
- Juice and zest lemon and set aside.
- In a small saucepan, combine the egg yolks, sugar, and a pinch of salt. Whisk on medium heat for 1 minute or until there is no grain to the mixture.
- Add the lemon juice and cook for another minute whisking to combine.
- Next, add the lemon zest and using a silicone spatula stir the mixture until thickened on low heat for 10 minutes. Be sure to continue stirring to keep the smooth velvety texture.
- After the mixture has thickened remove it from the heat and stir in the butter and vanilla extract until combined and silky in texture. Allow the lemon curd filling to cool.
- IF USING FROZEN TART SHELLS: While the lemon curd is cooling, bake pastry shells according to package directions and allow them to cool on a cooling rack.
- Fill cooled tart shells using a medium cookie scoop or with about a tablespoon and a half of the lemon curd filling.
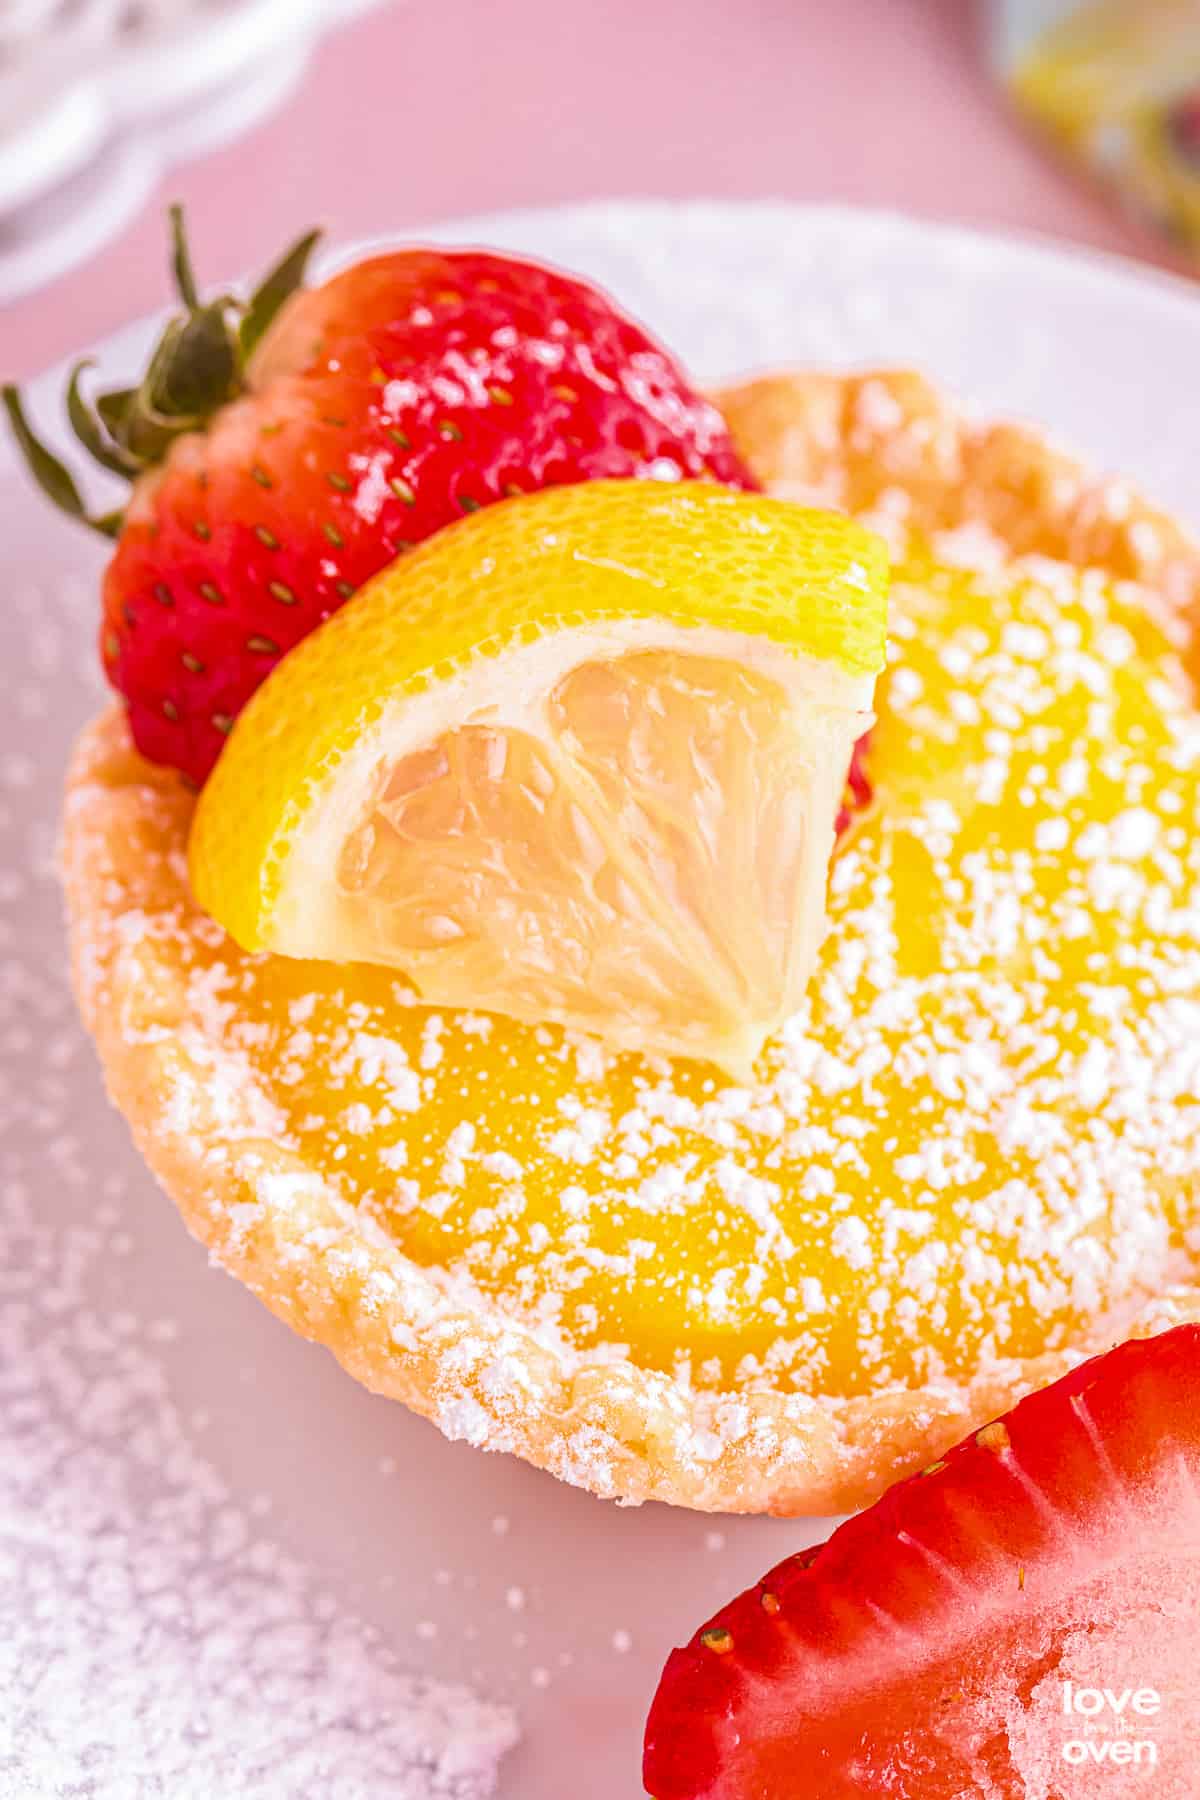
- Serve at room temperature if you are in a rush but for best results chill them for at least one hour and enjoy! Garnish with berries and a dusting of powdered sugar or whipped cream.
Notes
Nutrition
Disclaimer
Nutrition information is estimated as a courtesy. If using for medical purposes, please verify information using your own nutritional calculator. Percent Daily Values are based on a 2000 calorie diet.


A. Wood says
Do you know of a recipe like the lemon tarts Van de Kamp’s bakery used to make in the 1950s? The lemon was folded inside a croissant-like pastry that when baked was crispier than a croissant, about the size of a plump mini-croissant–not baked in a tart pan–the lemon filling was completely enclosed. The texture of the lemon was not like a custard, but like the clear distinct lemon texture of a good lemon meringue pie filling. The bakery packed them four in a box.
Thank you.
Anonymous says
I will make this recipe, my family likes lemon desert
judith says
THIS IS GREAT WE ALWAYS BUY THOSE LITTLE FRUIT PIES IN THE GROCERIE STORES AND I HAVE BEEN SAVING THE LITLE FOIL TINS AND I SAID MAYBE SOME DAY ILL FIDN A USE FOR THEM AND THIS IS IT .I AM GOING TO TRY THI S THEY LOOK SO GOOD