An OREO® Ice Cream Cake is a delicious way to celebrate any occasion! Made with genuine OREO Cookies, premium vanilla ice cream, and whipped icing topping, you’re sure to see smiles when you serve up a slice of this cake from I Love Ice Cream Cakes! Thank you to I Love Ice Cream Cakes for sponsoring this post. All opinions are my own.
Reasons To Make An Oreo Ice Cream Cake
- Cake, Ice Cream and OREOS – everyone’s favorites are combined into one delicious treat.
- From big moments to life’s everyday little moments, an ice cream cake makes every moment even sweeter.
- It’s easy to add your own toppings to this cake or any cake from I Love Ice Cream Cakes to create a cake that’s unique and party perfect.
- Skip the work it takes to make the cake, and focus on the fun part – decorating!
These cakes from I Love Ice Cream Cakes come in many sizes and delicious flavors ready for any occasion: Carvel, OREO and REESE’S.
OREO Ice Cream Cake
While my family loves ice cream cakes, truth be told I don’t exactly enjoy making them. Lucky for them, and me, I Love Ice Cream Cakes makes it easy. They offer many different ice cream cakes in the bakery freezer case or freezer section of my local grocery stores (and you can also order online)!
It’s so easy to pick up a delicious, ready made ice cream cake to share with family and friends. While great straight from the package, I love to customize them for holidays and special occasions. I’ve even shared an Ice Cream For Breakfast Cake! Today I’m sharing a fun way to celebrate the 4th of July with an adorable Red, White and Blue Ice Cream Cake!
How To Dress Up A Store Bought Cake
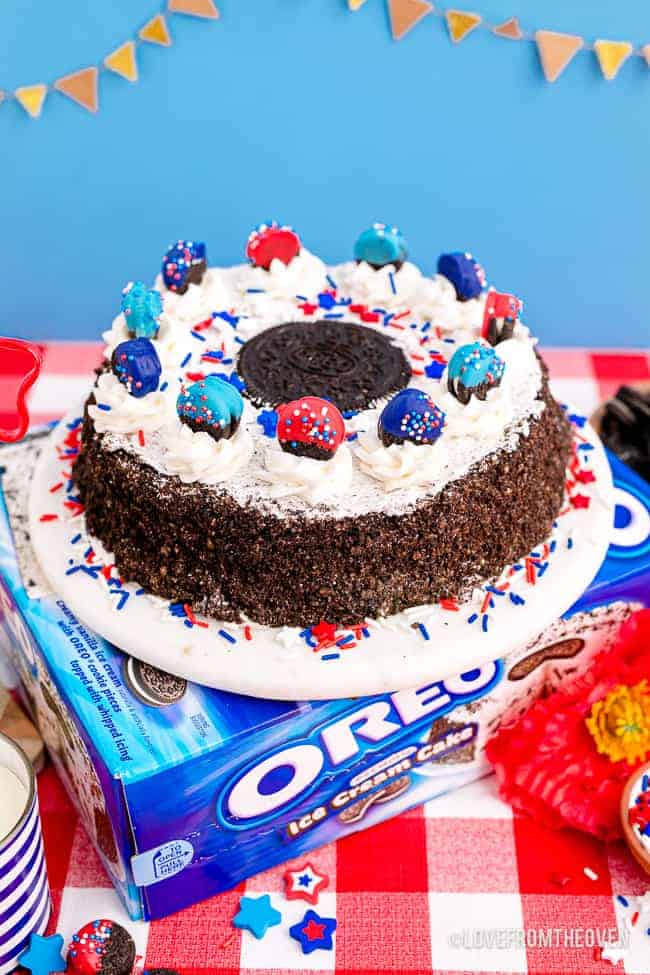
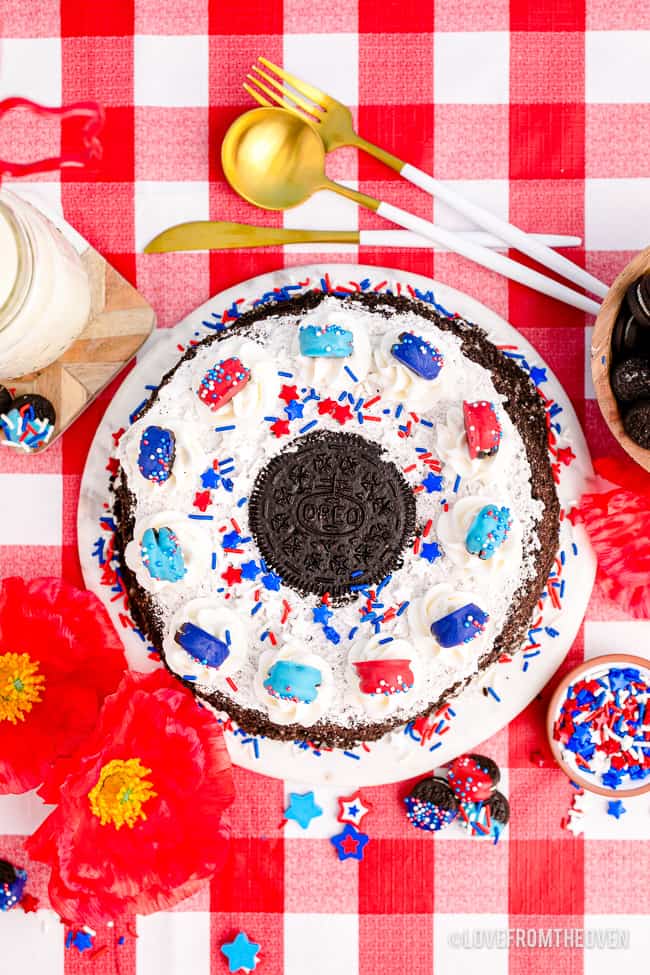
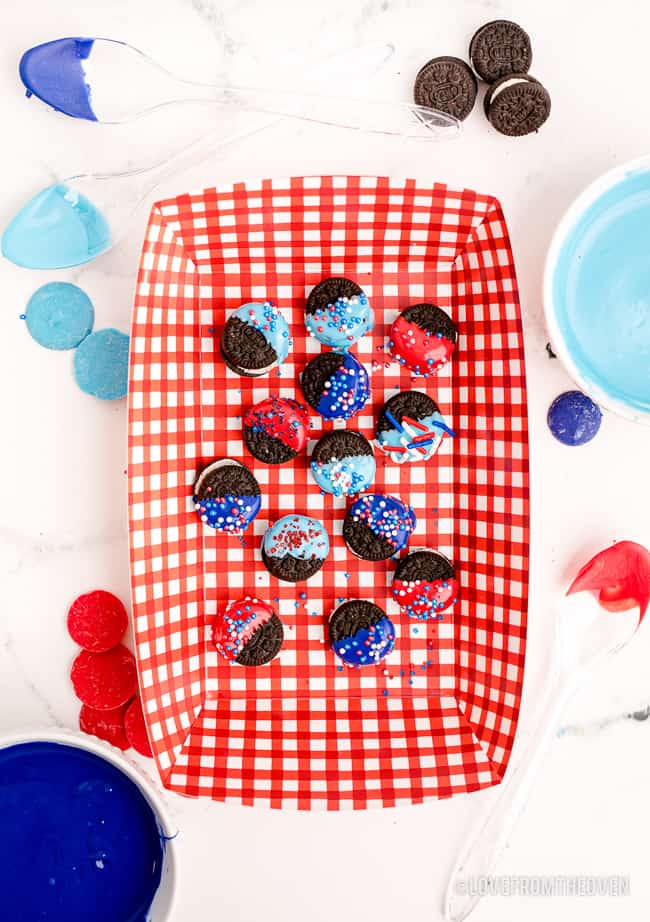
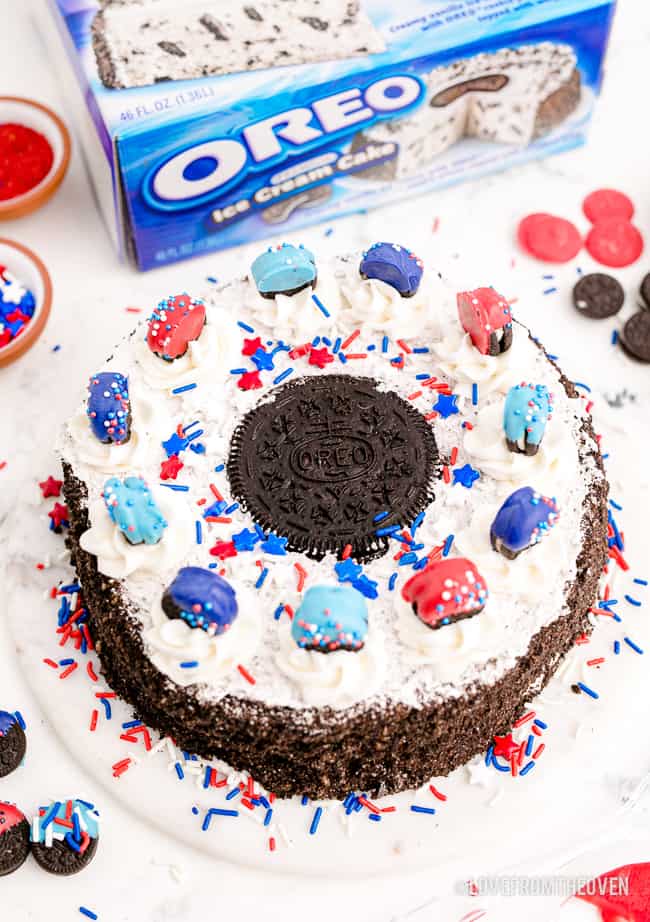
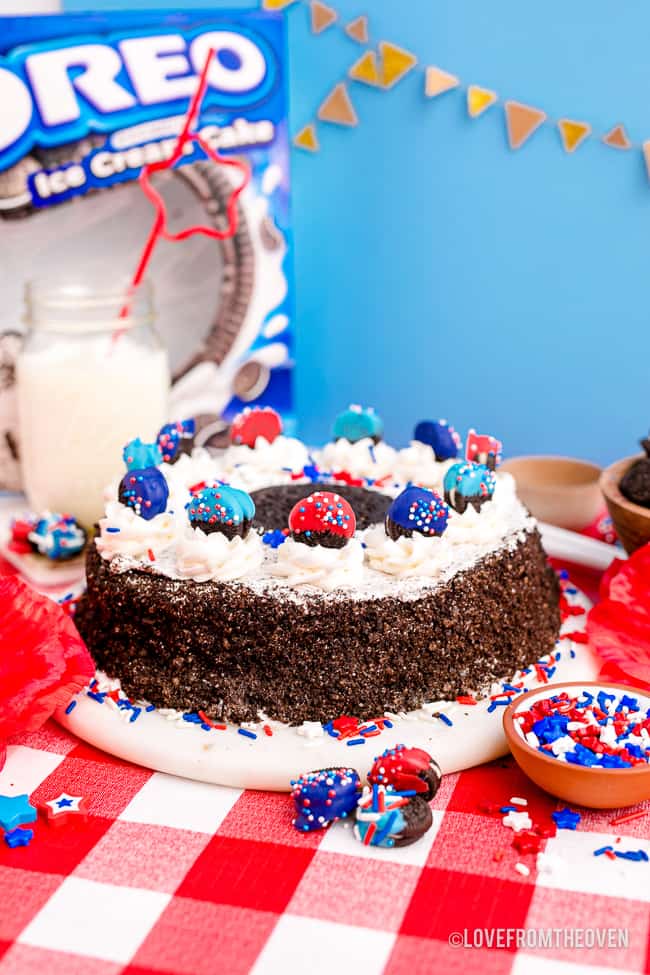
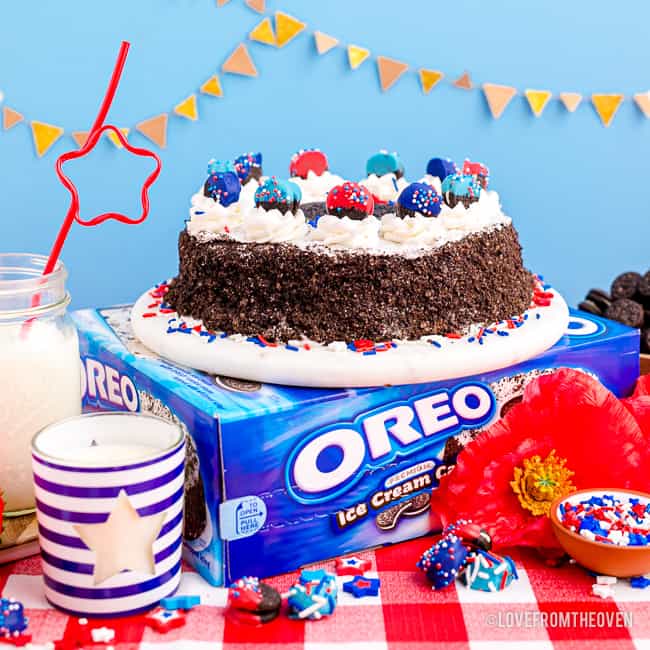
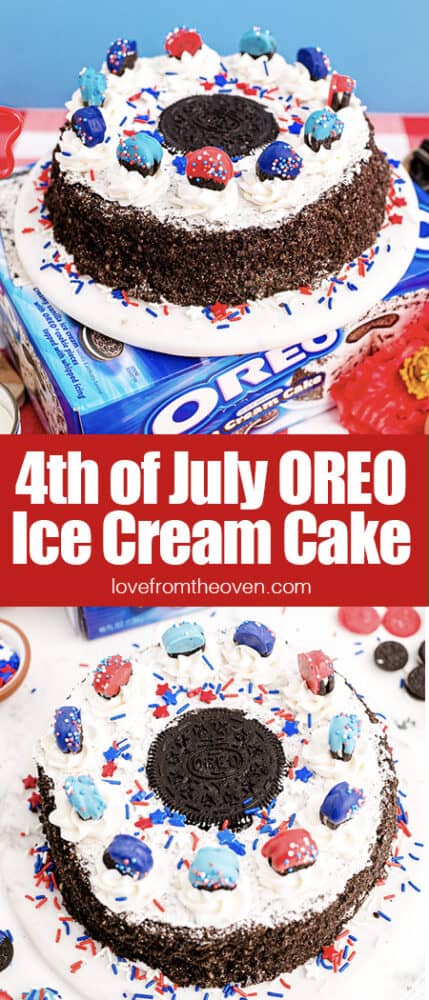
It’s so easy to create a show stopping cake in a matter of minutes! For this red, white and blue cake, I used an I Love Ice Cream Cakes OREO Ice Cream Cake and embellished it with festive Chocolate Dipped OREOS.
How To Decorate A Store Bought Cake
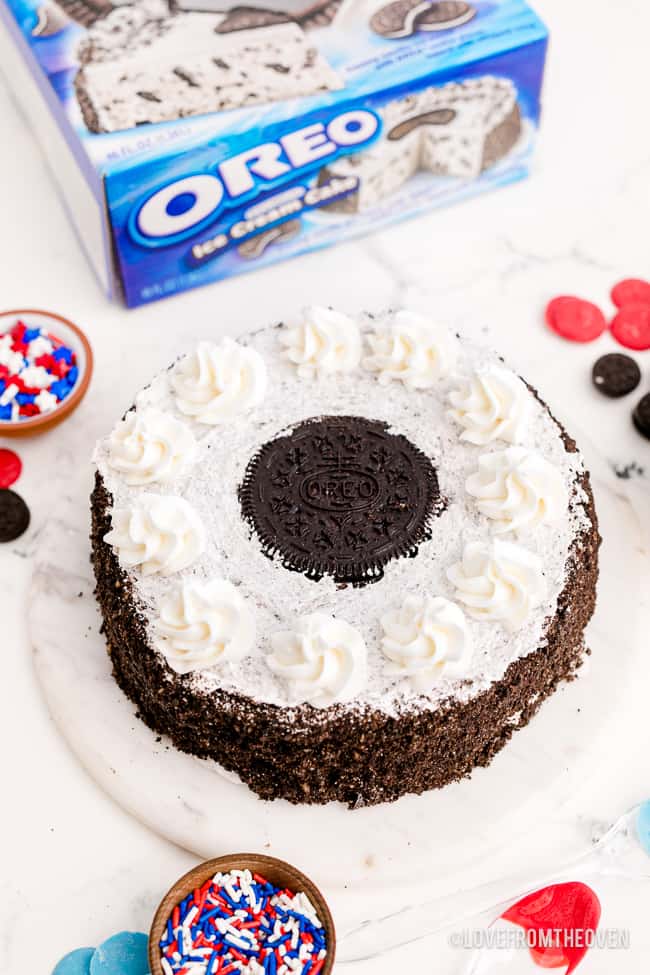
Start by removing your OREO Ice Cream Cake from the box. You can leave it on the cardboard base it comes with or your can transfer it to a cute cake plate using a large spatula.
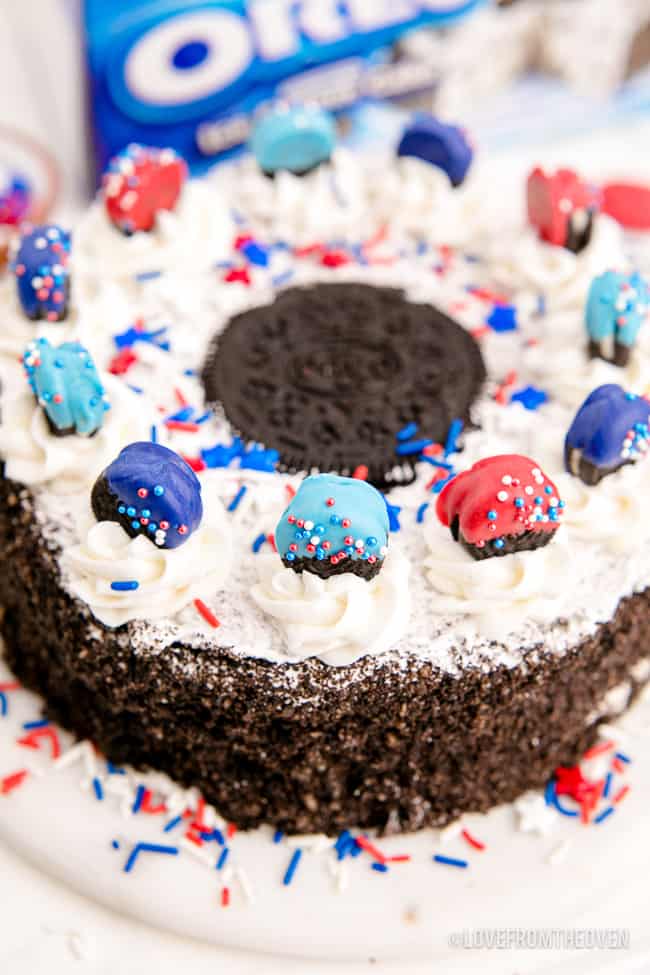
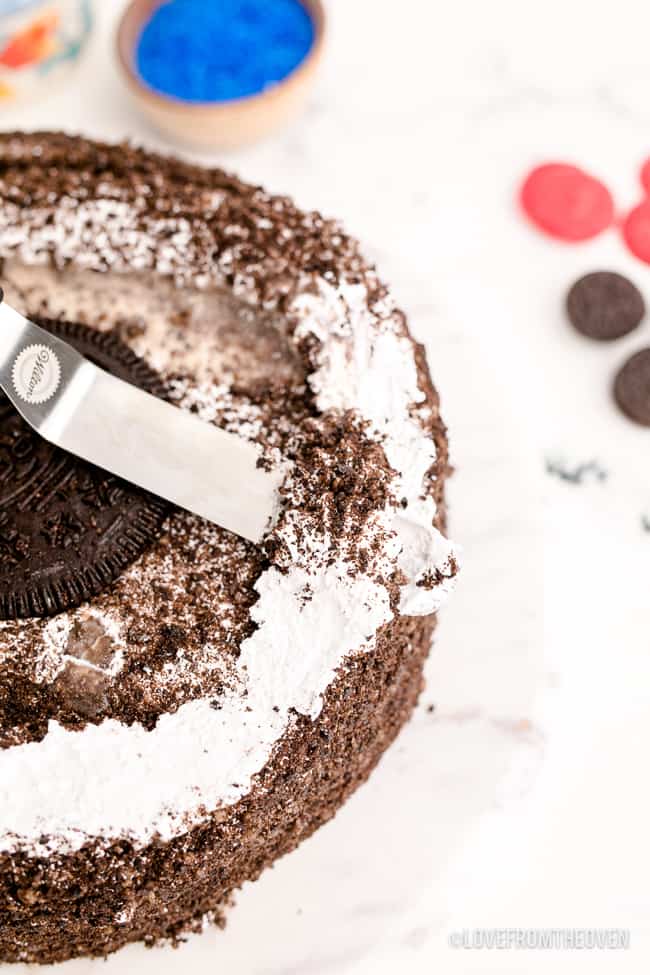
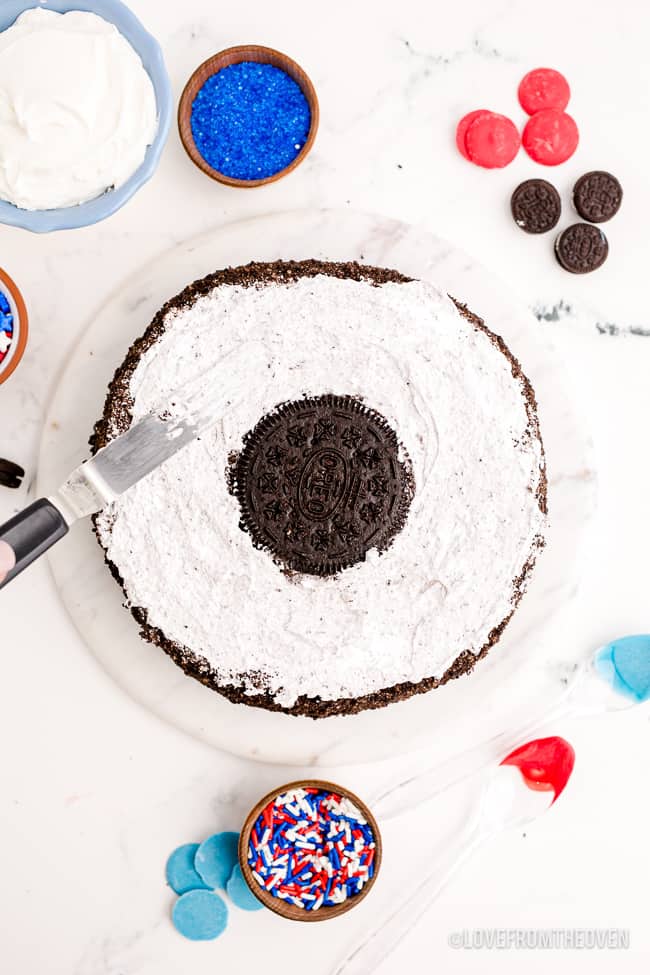
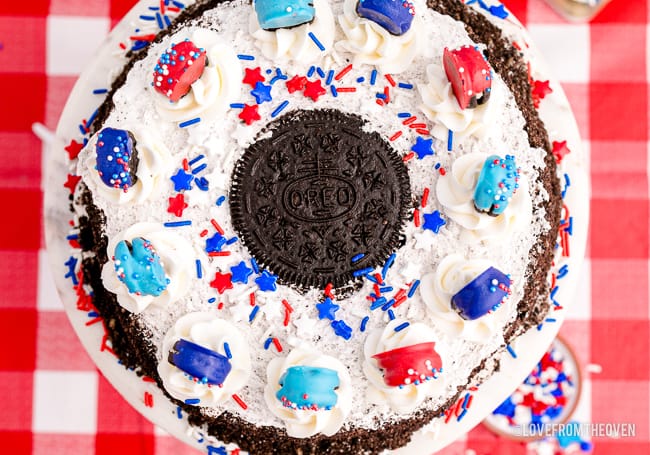
Use a butter knife or spatula to smooth out the piped icing and frost the entire top of the cake around the large OREO in the center.
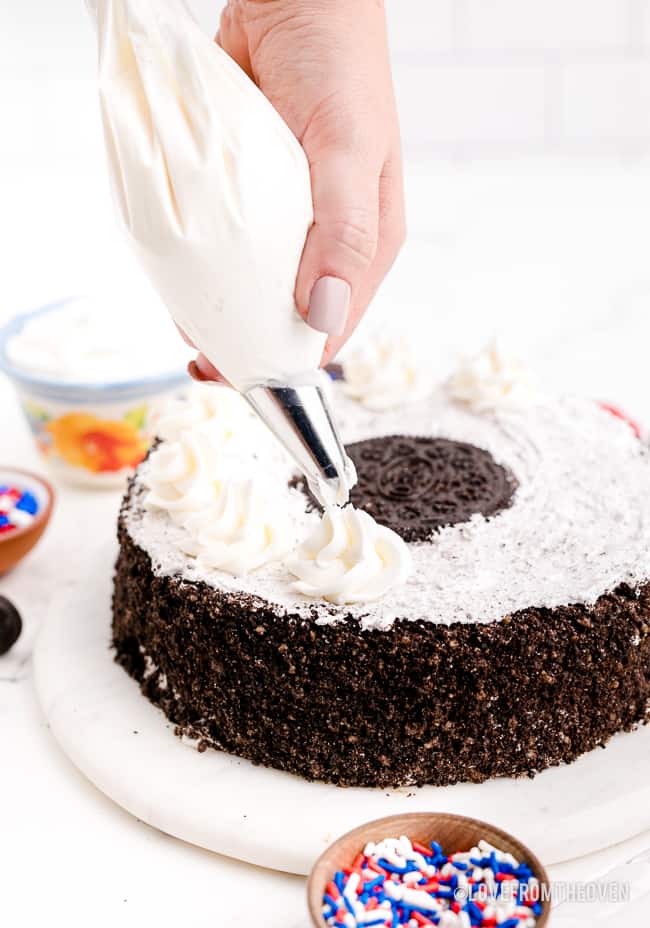
Using a piping (or gallon size baggie with a small hole cut out of the corner) filled with frosting, pipe rosettes all the way around the ridge of the cake.
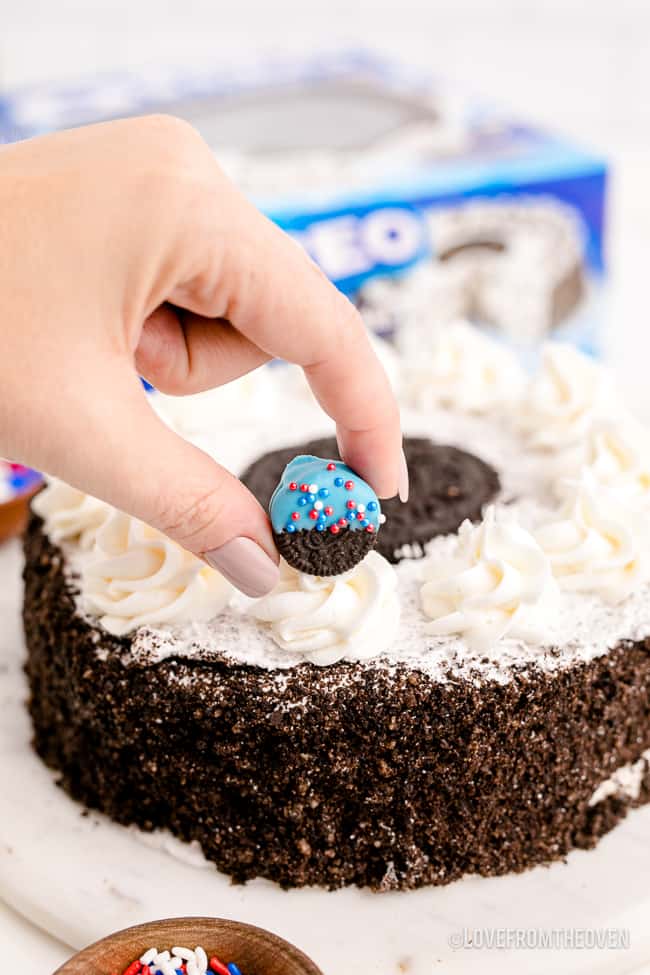
Then place your decorated Mini OREOS on top of each rosette and sprinkle the top with more red, white and blue sprinkles!
That’s all it takes to create a show stopping ice cream cake that your friends and family will rave about!
For a festive Fourth of July twist, carefully add some sparklers for the big reveal! Make sure this part is handled entirely by adults for safety.
Tips & Tricks
Preparing
Make sure your cake is fully frozen prior to decorating. Ideally you should purchase your cake a day or two prior to decorating and sharing. It’s best to have your ice cream cake nice and frozen when you take it out to decorate. You can put it back in the freezer after decorating until ready to serve.
Serving
When you are ready to serve your ice cream cake, use a large serrated knife that you run under hot water and quickly dry off before cutting. The heat on the knife will help slice through the cake easily.
Storing
Make sure to cover your cake very tightly once it’s been taken out of its original box and return it to your freezer at low temps. This cake is best when eaten after cut – it’s rare we have leftovers when I make it!
For another delicious Oreo dessert, try my No-Bake Oreo Cheesecake.
I hope your family enjoys this delicious OREO Ice Cream Cake as much as mine does. You can find many different ice cream cakes in the bakery freezer case or freezer section of your local grocery store or order online using the product locator at ILoveIceCreamCakes.com.
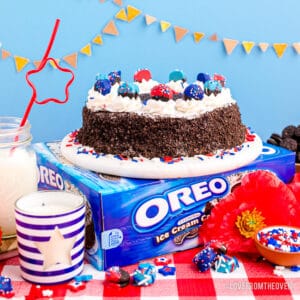
OREO Ice Cream Cake
Ingredients
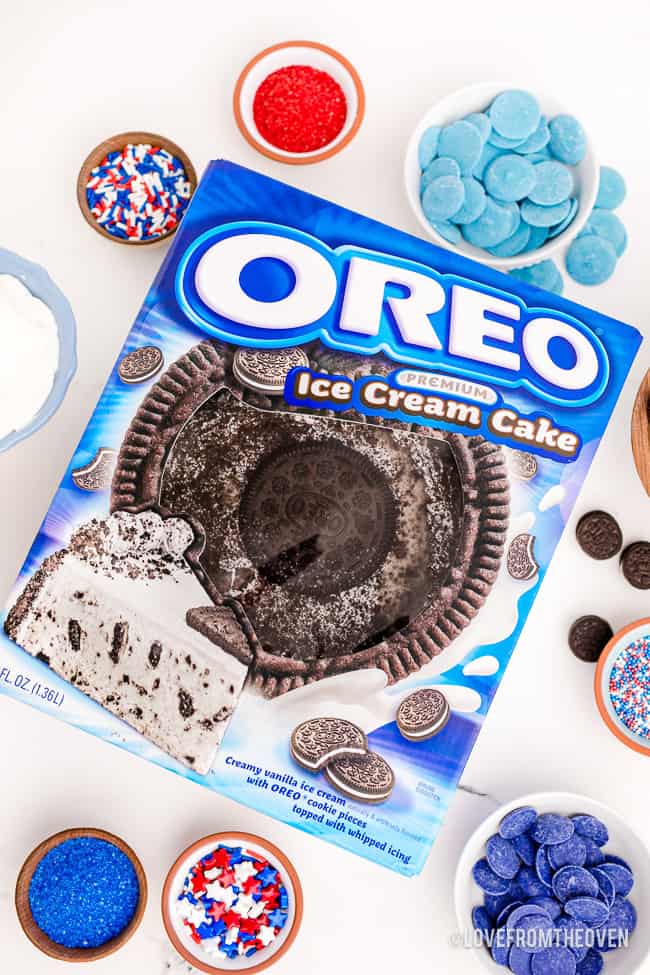
- 1 OREO Premium Ice Cream Cake
- 1/2 cup buttercream icing or whipped topping
- red, white and blue sprinkles
- 1 batch Chocolate Dipped OREOS
Instructions
- Take your OREO Ice Cream Cake out of the freezer and remove it from the box. You can leave it on the cardboard base it comes with or your can transfer it to a cute cake plate using a large spatula.
- Use a butter knife or spatula to smooth out the piped buttercream and frost the entire top of the cake around the large OREO in the center.
- Using a piping bag (or gallon size baggie with a small hole cut out of the corner) filled with icing, frosting or whipped topping, pipe rosettes all the way around the ridge of the cake.
- Place your decorated Mini OREOS on top of each rosette and sprinkle the top with more red, white and blue sprinkles!
Notes
Disclaimer
Nutrition information is estimated as a courtesy. If using for medical purposes, please verify information using your own nutritional calculator. Percent Daily Values are based on a 2000 calorie diet.
Photography by Rachel Kowalchuk.


Leave a Reply