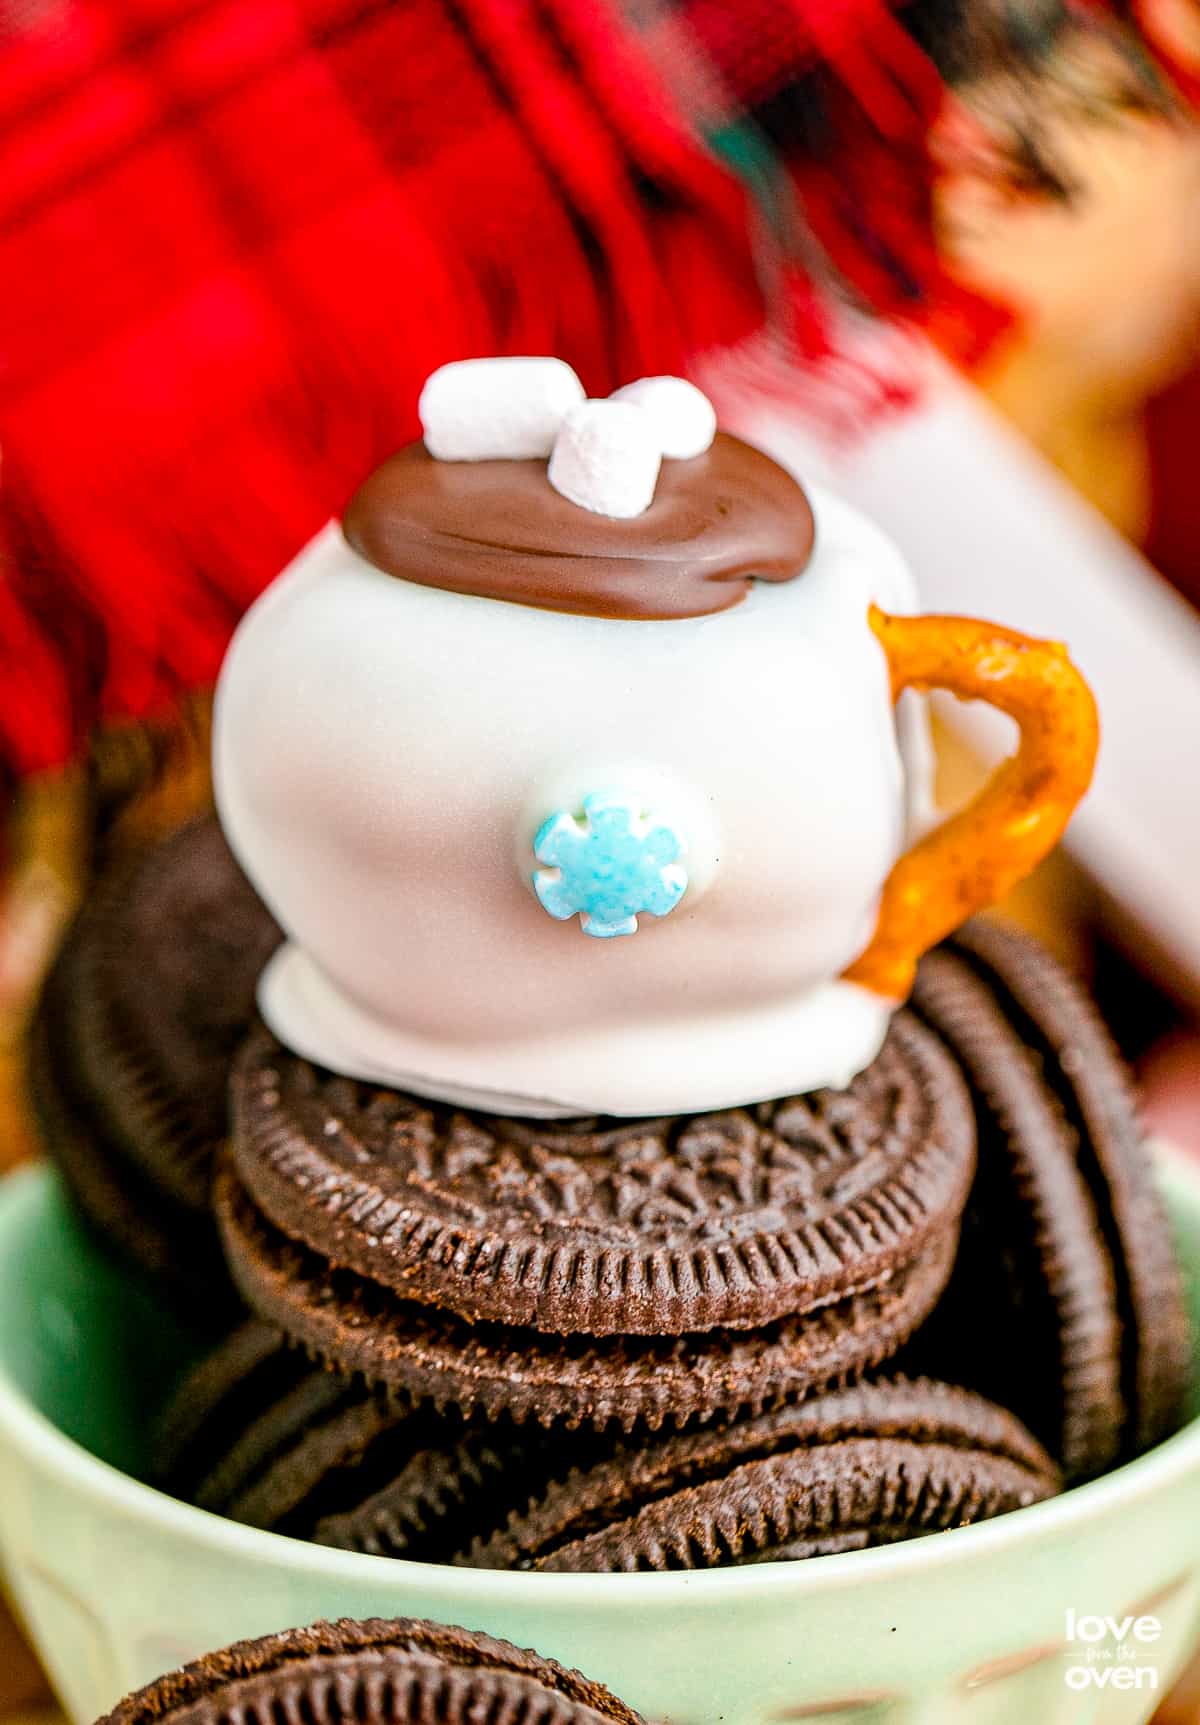
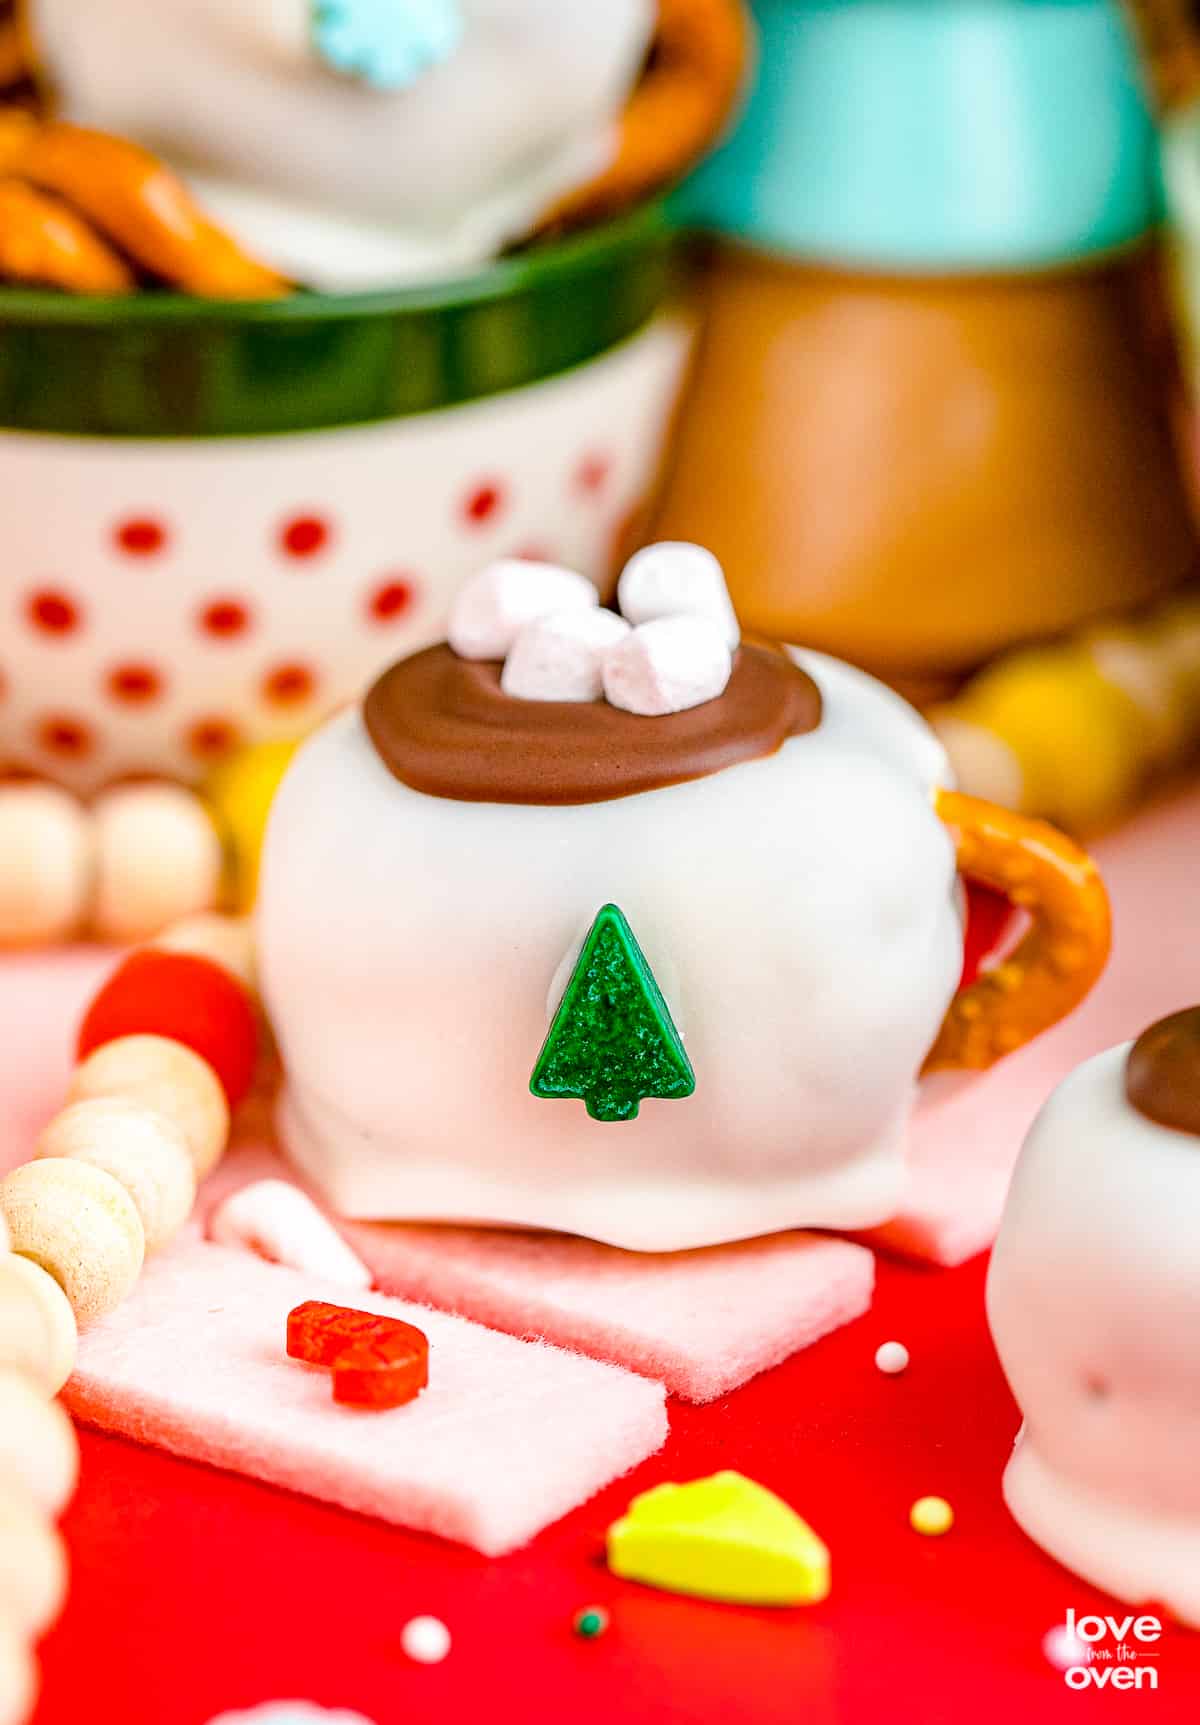
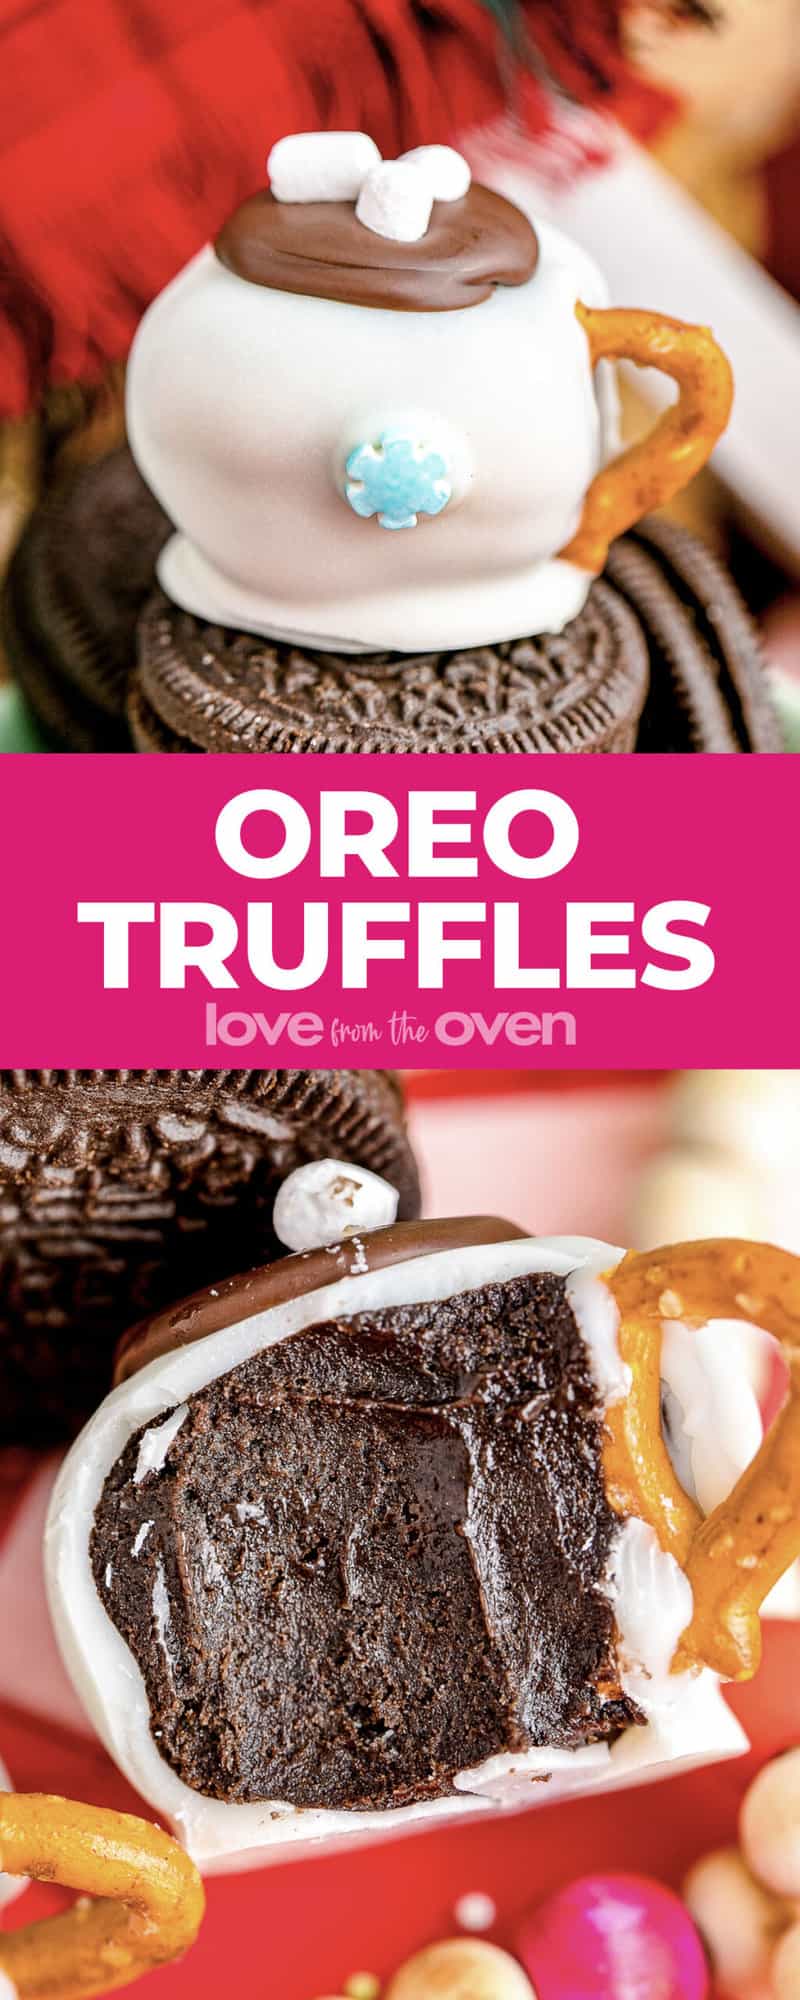
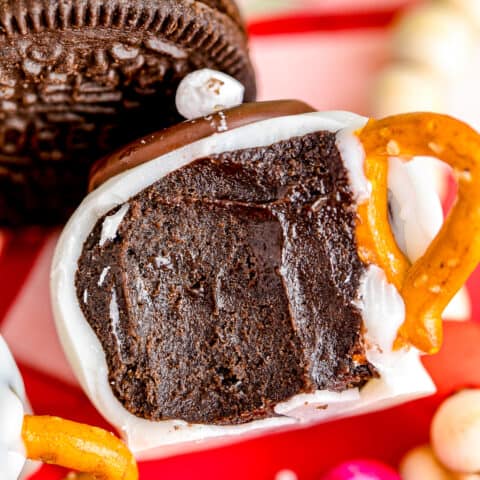
This easy Oreo Truffle Recipe is a holiday season must make. Rich and creamy Oreo filling is surrounded by white chocolate, and made to look like an adorable mug of hot cocoa. While they are almost too cute to eat, these delicious treats are downright irresistible!
Reasons You’ll Love This Recipe
Holiday Favorite – If you’ve never had an Oreo Truffle, also referred to an Oreo Ball, you are in for a treat. They are always a favorite at parties and on Christmas cookie trays!
No Bake – One of the best things about these Oreo Truffles is no baking is required, all you need is a few seconds of microwave time.
So Easy – You only need three main ingredients, plus a few decorative ones, to make these truffles. Hands on time is just a few minutes!
Adorable – While all Oreo Truffles are DELISH, these ones look like little mugs of Hot Chocolate! They are sure to impress your friends and family.
Creative – If you are looking for something a little different to bring to a holiday party or potluck, these cute little treats are a perfect choice.
Flavor Fun – You can make these with different varieties of Oreos and use different flavors of almond bark or candy coating to create a variety of flavor combinations.
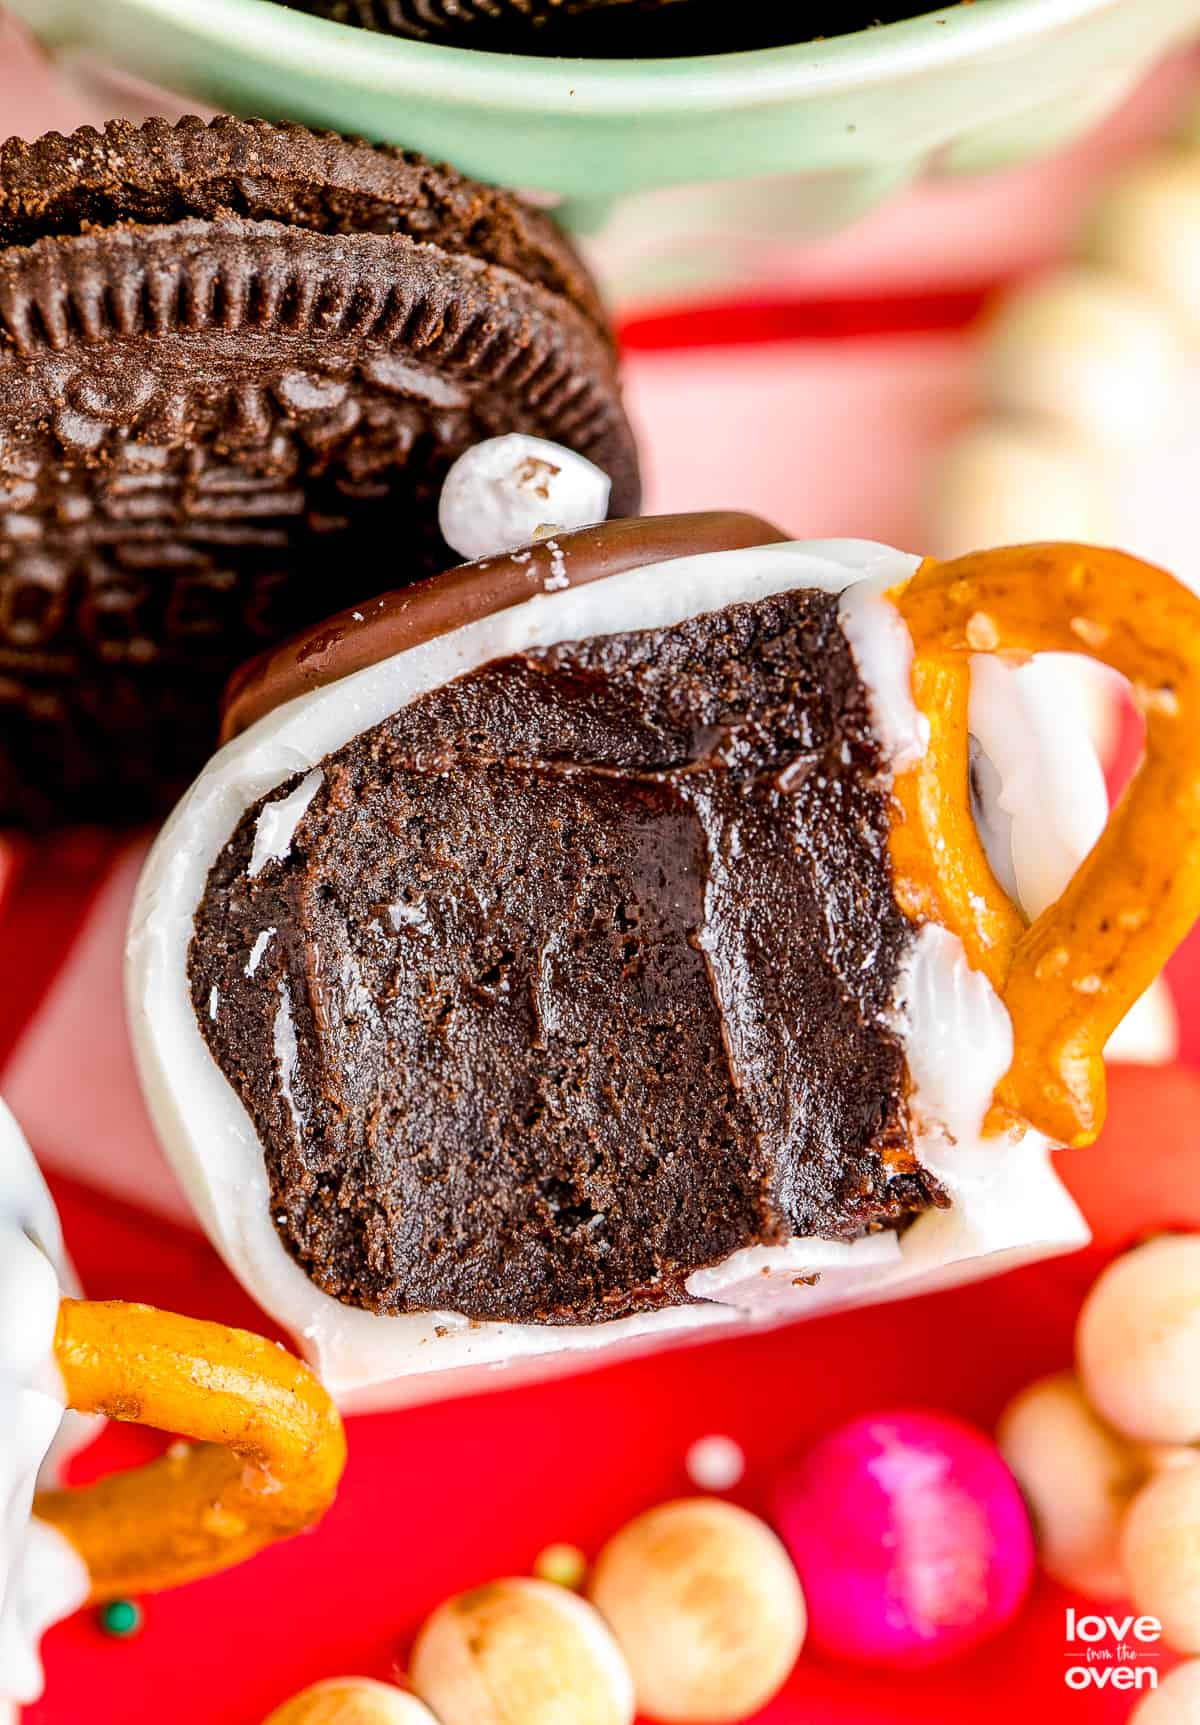
When you make as many sweets and treats as I do, it can be hard to have favorites. But hands down, Oreo Truffles are one of my all time favorites. The combo of Oreos and cream cheese, all wrapped up in chocolate (especially white chocolate) is pure magic in my book.
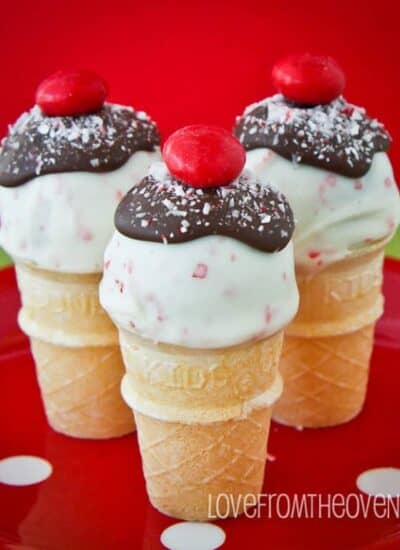
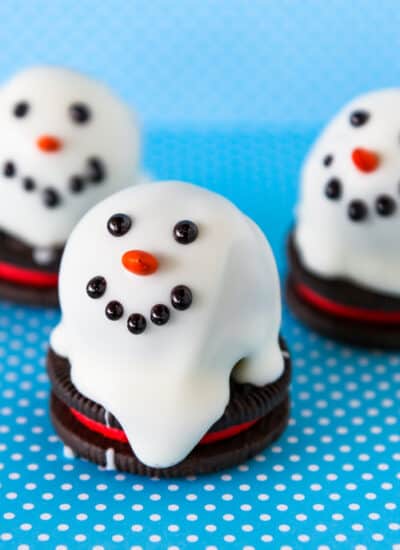
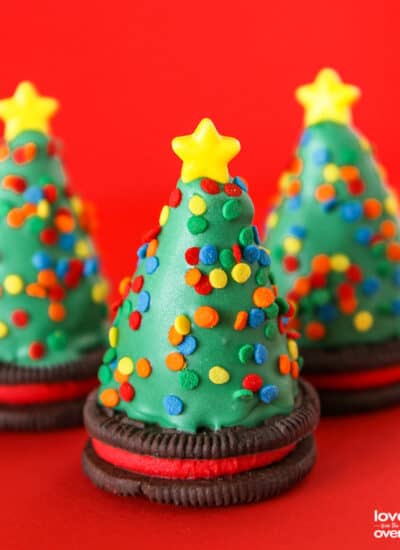
In the past I’ve shared Oreo Truffle Trees and Santa Hats, Oreo Truffle Mini Cones and Melting Snowman Oreo Balls. Today I’m excited to share another adorable way to make Oreo truffles, by turning them into darling little Hot Cocoa Mugs!
Ingredients and Substitutions
Let’s discuss how to make this recipe, as well as the ingredients that are needed. The full printable recipe itself, with exact measurements and instructions, is found at the bottom of this page.
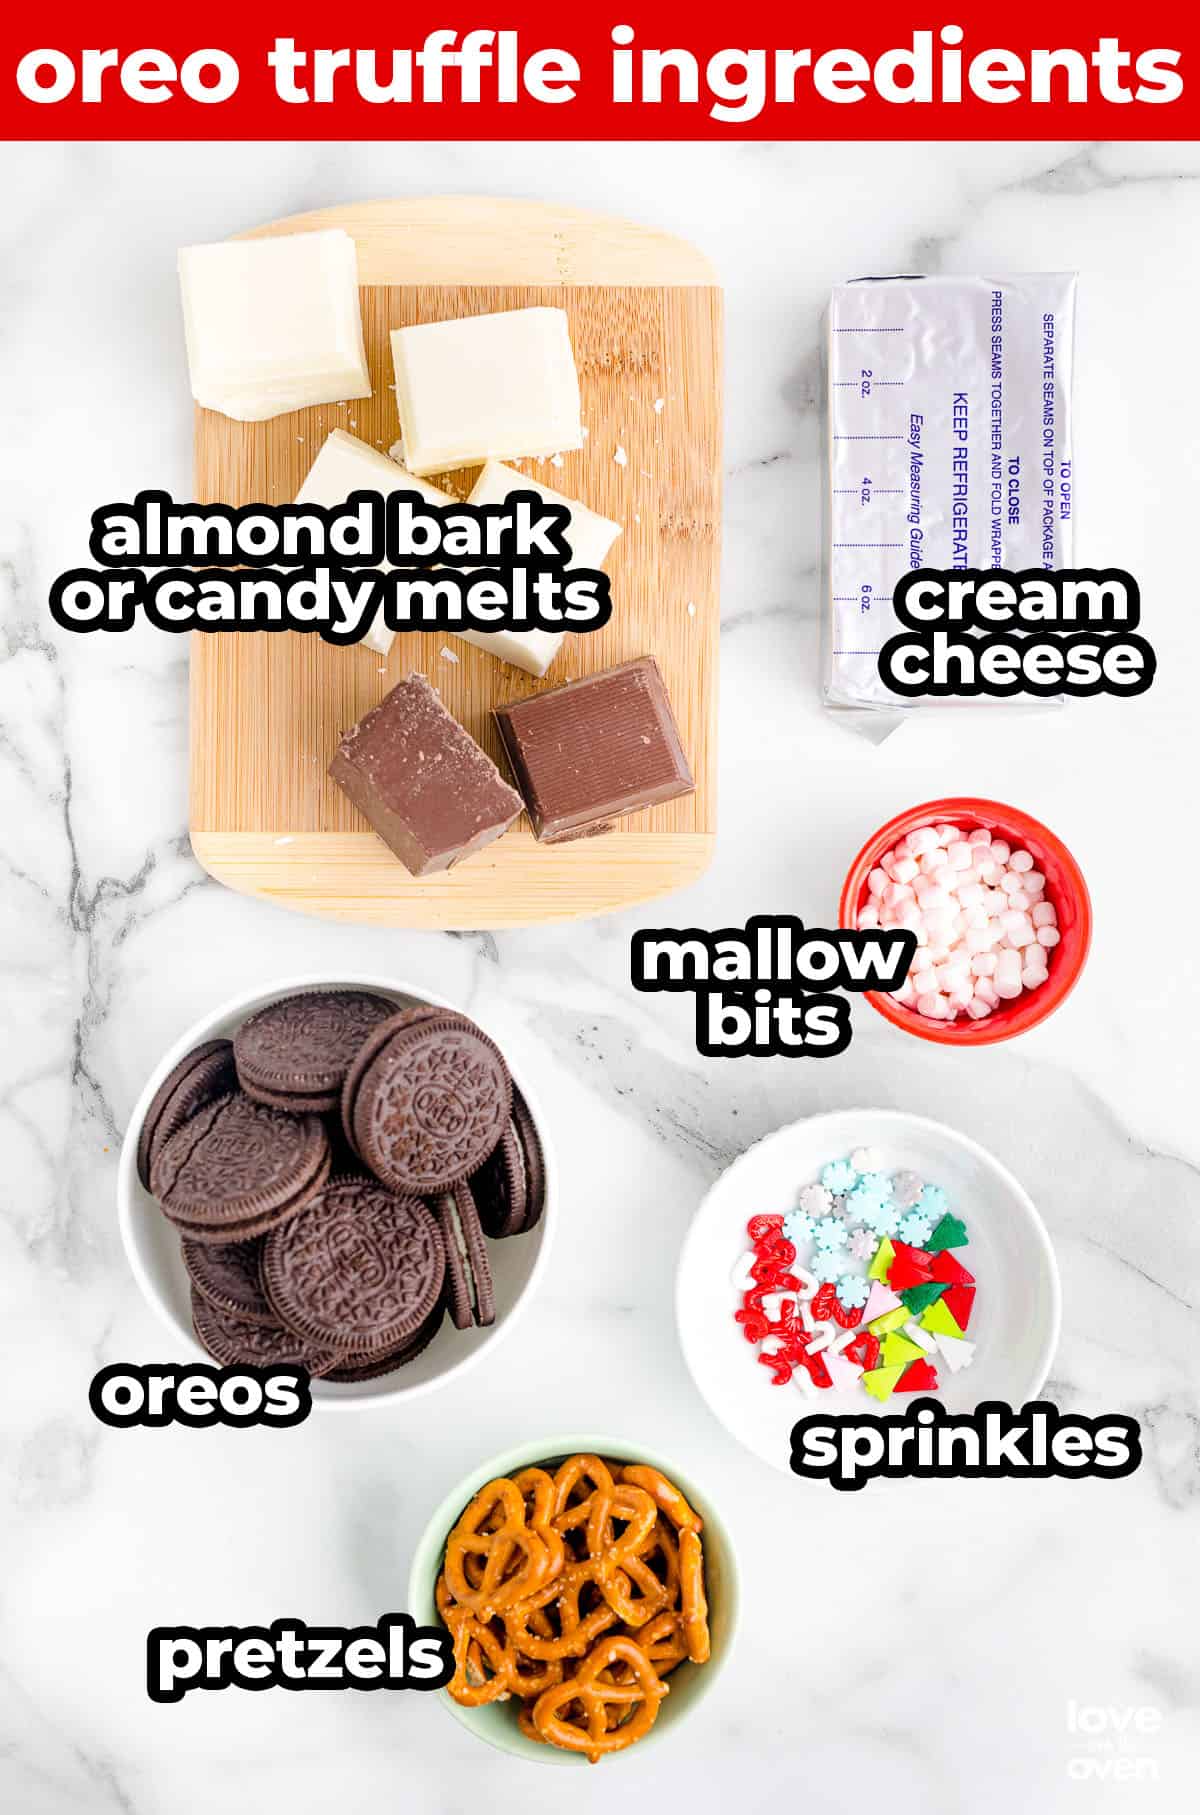
- Oreos – You can definitely use different varieties of Oreos, but do not use the Double Stuff variety. Also, you do not need to seperate the cookies or take out the filling, just crush them with the filling in them.
- Cream Cheese – Make sure you use brick cream cheese, not the kind that comes in a tub. You also want it to be softened which makes it blend much more easily. I also recommend using the full fat version, the low fat doesn’t work quite as well.
- Almond Bark – You can use almond bark, or candy melts. Feel free to switch up the colors and flavors. How cute would little light blue cocoa mugs be!?
- Pretzels – You’ll use pretzel pieces to make the handles for your mugs.
- Mallow Bits – You want to make sure to use dehydrated marshmallow bits, not mini marshmallows. Mini marshmallows will be too large for these bite size truffles. Marshmallow bits are much smaller. My favorite choice for this is Jet Puffed Bits. I use these in my popular Hot Chocolate Cookies. You’ll even find my cookie recipe on the side of the container! You can find other brands at the store, on Amazon and even in the baking section of craft stores.
- Sprinkles – You can decorate your little mugs with whatever sprinkles you like! Here are the cute little tree sprinkles as well as the snowflake and candy cane sprinkles that I used.
How To Make Oreo Truffle Hot Cocoa Cups
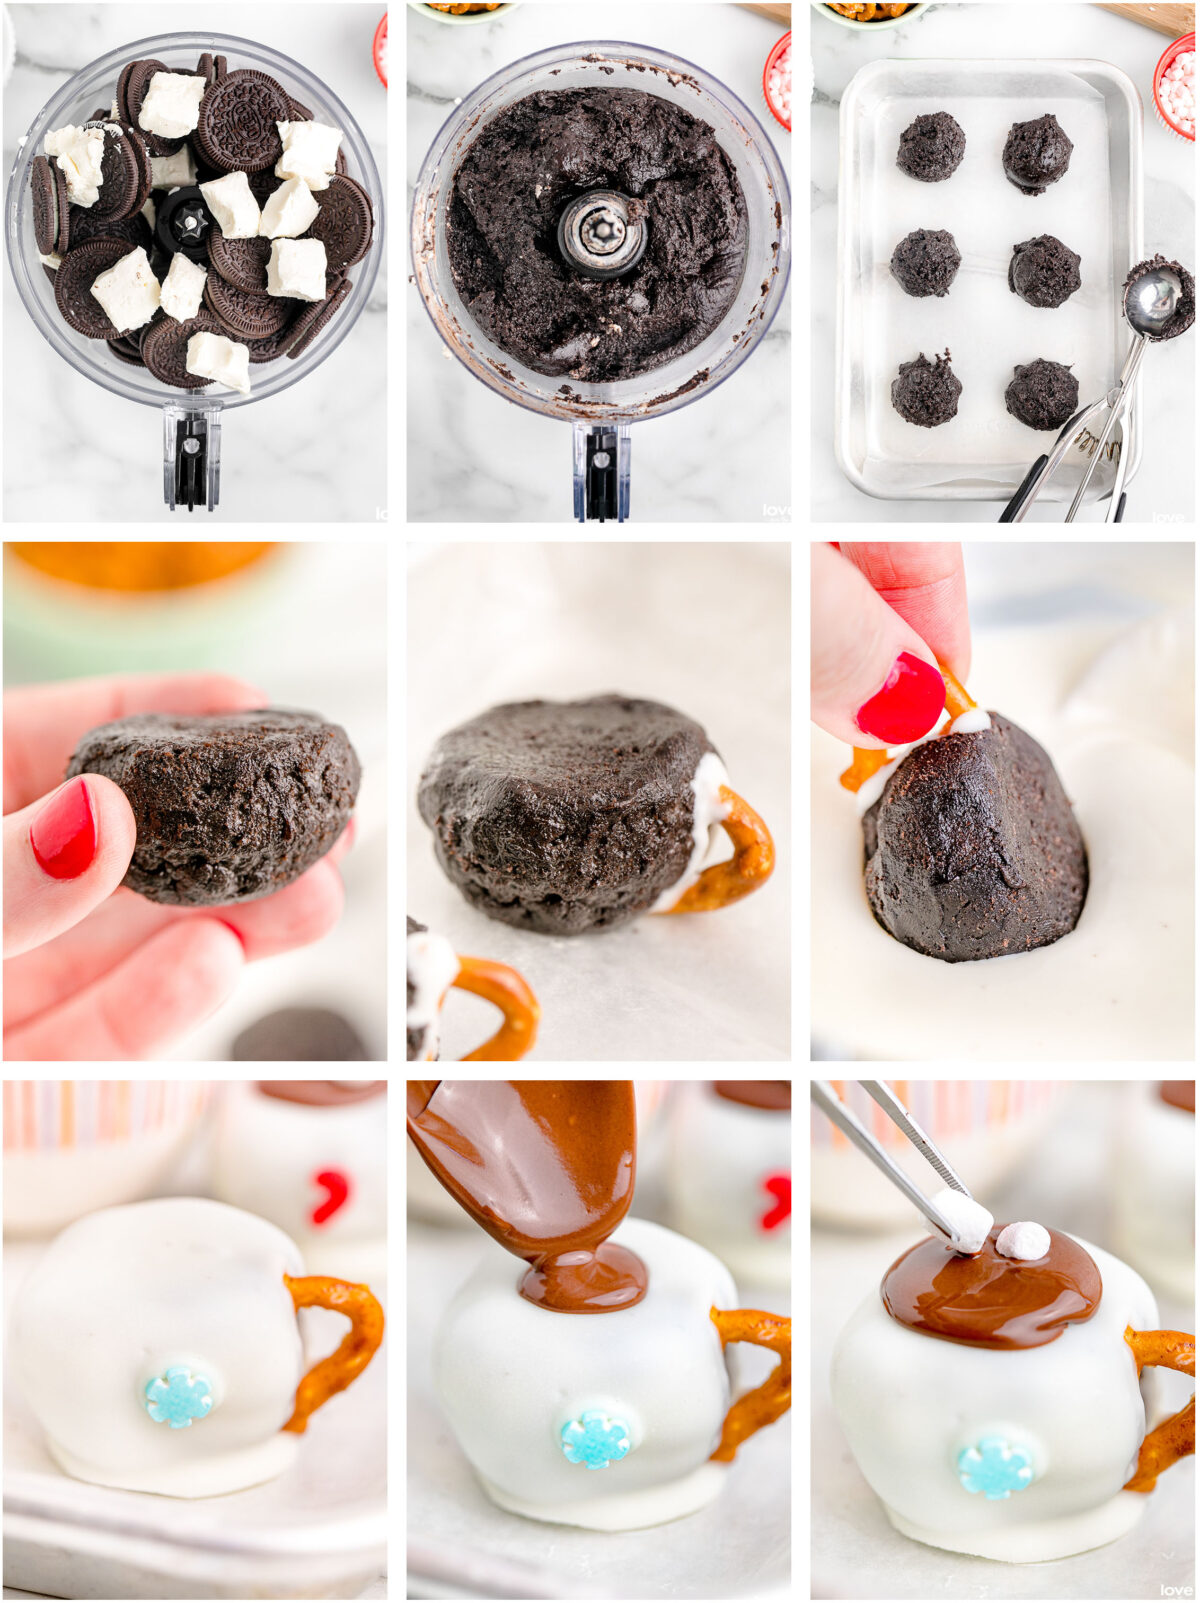
- Add half of the Oreos to a food processor, layer on half of the softened cream cheese cubes, add the rest of the Oreos and cream cheese then pulse together on high until combined and smooth. This may take a while because the ingredients are thick. Be sure to stop the processing every so often to scrape down the sides if needed.
- Line a baking sheet with wax paper and use a 1-inch cookie scoop to scoop out uniform half spheres of Oreo ball mixture. Place each scoop on the lined baking sheet, dome side facing up, then place in the freezer for 15 minutes to firm up.
- When there is about 5 minutes remaining of chill time, heat the white chocolate and chocolate in microwavable safe bowls according to the package instructions. (Usually 1 minute on full power, stir and continue in 30 second intervals until melted). Set these on your workstation when melted and take the chilled Oreo balls out of the freezer
- Pick up an Oreo ball dome, one at a time. Smooth out the outside layers with your hands and turn the flat side up towards the ceiling. The Oreo ball should now resemble a teacup.
- One by one, dip the tips of the pretzel handle in white almond bark and place them into the sides of the cup to make an entire mug. Place each back on the baking sheet and repeat the process with all Oreo balls.
- Place the baking sheet back in the freezer for 15 minutes so the handle hardens within the Oreo truffle ball.
- Check your chocolates to make sure they are still warm and spreadable. Heat them both for 30 seconds more if needed while the hot cocoa mugs are chilling.
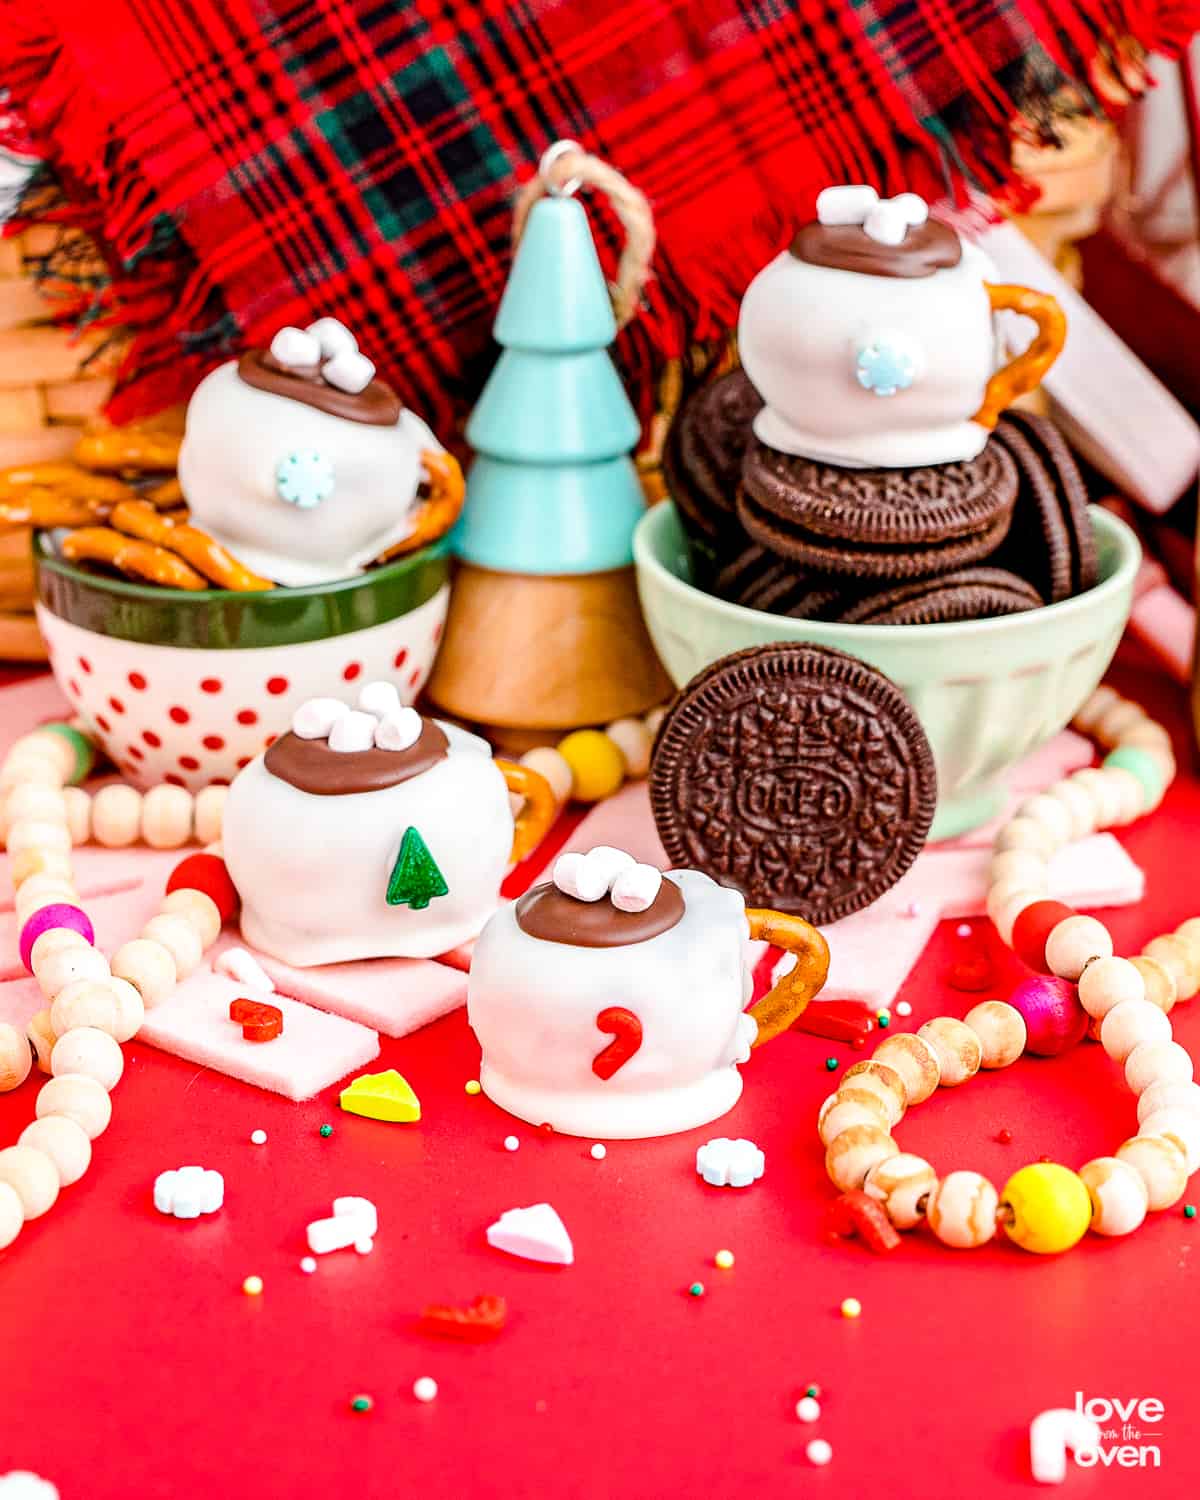
- Finally, dip each of the hot cocoa Oreo mugs into white chocolate covering completely and set them on the baking tray adding sprinkles immediately as you work before the chocolate hardens.
- Then lightly dollop chocolate to the tops of each mug once the white chocolate has set and add your tiny marshmallow bits to the top to finish the look.
- Place back in the refrigerator for at least 1 hour to allow the Oreo balls to completely set up.
Recipe Tips and Advice
Storage – I recommend storing these in the refrigerator and taking them out 30 minutes to 1 hour before serving. They are a bit easier to eat when the chocolate coating has softened a bit, but they hold up better when they are cold. These Oreo Truffles will keep for up to 2 weeks in an airtight container in the refrigerator.
No Food Processor, No Problem – If you don’t have a food processor, place your Oreos in a Ziplock freezer bag and crush with a rolling pin. Crush as finely as possible.
Creative Options
Mix it up! Try different flavors of Oreos. Some great options include Mint, Peanut Butter, Dark Chocolate, Java Chip, Brookie or Birthday Cake Oreos. Also get creative with different colors and flavors of candy melts or almond bark.
More Oreo Filled Recipes
If you love this Oreo Truffle Recipe as much as I do, try some of these delicious recipes!
- No Bake Oreo Cheesecake
- Oreo Dirt Cake
- Easy Oreo Cheesecake Bars
- Oreo Stuffed Cookies
- Cookies and Cream Fudge
And don’t miss my Sugar Cookie Truffles!
Oreo Truffles
Equipment
Ingredients
- 14.3 ounce package of Oreos approximately 35 Oreos
- 8 ounces cream cheese softened and cut into cubes
- 12 ounces white/vanilla almond bark
- 6 ounces chocolate almond bark
- 20 mini pretzels break each one to make the handle shape
- 1/4 cup marshmallow bits dehydrated marshmallow bits, NOT mini marshmallows
- Christmas sprinkles
Instructions
- Add half of the Oreos to a food processor, layer on half of the softened cream cheese cubes, add the rest of the Oreos and cream cheese then pulse together on high until combined and smooth. This may take a while because the ingredients are thick. Be sure to stop the processing every so often to scrape down the sides if needed.
- Line a baking sheet with wax paper or a silicone baking mat, and use a 1-inch cookie scoop to scoop out uniform half spheres of Oreo ball mixture. Place each scoop on the lined baking sheet, dome side facing up, then place in the freezer for 15 minutes to firm up.
- When there is about 5 minutes remaining of chill time, heat the white chocolate and chocolate in microwavable safe bowls according to the package instructions. (Usually 1 minute on full power, stir and continue in 30 second intervals until melted). Set these on your workstation when melted and take the chilled Oreo balls out of the freezer.
- Pick up an Oreo ball dome, one at a time. Smooth out the outside layers with your hands and turn the flat side up towards the ceiling. The Oreo ball should now resemble a teacup.
- One by one, dip the tips of the pretzel handle in white almond bark and place them into the sides of the cup to make an entire mug. Place each back on the baking sheet and repeat the process with all Oreo balls.
- Place the baking sheet back in the freezer for 15 minutes so the handle hardens within the Oreo truffle ball.
- Check your chocolates to make sure they are still warm and spreadable. Heat them both for 30 seconds more if needed while the hot cocoa mugs are chilling.
- Finally, dip each of the hot cocoa Oreo mugs into white chocolate covering completely and set them on the baking tray adding sprinkles immediately as you work before the chocolate hardens.
- Next lightly dollop chocolate to the tops of each mug once the white chocolate has set and add your tiny marshmallow bits to the top to finish the look.
- Place back in the refrigerator for at least 1 hour to allow the Oreo balls to completely set up.
Notes
Nutrition
Disclaimer
Nutrition information is estimated as a courtesy. If using for medical purposes, please verify information using your own nutritional calculator. Percent Daily Values are based on a 2000 calorie diet.


Leave a Reply