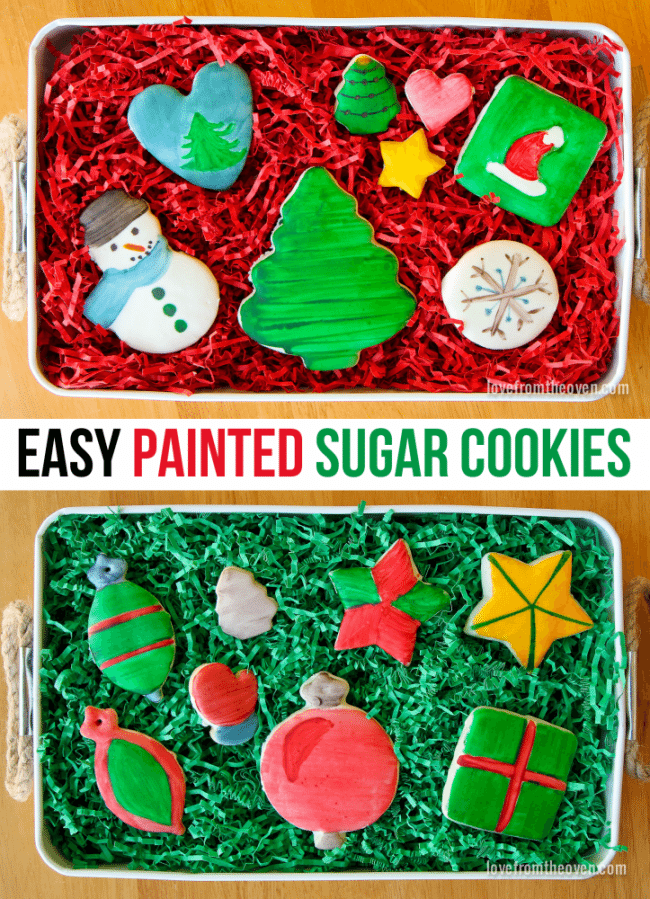
I have such a fun post for you today. Last week I shared some tips for keeping your holiday cookie decorating pretty and easy, and today I’m going to show you a really FUN way to decorate cookies.
I’m excited to be working with my friends at McCormick this holiday season to share some great tips for your holiday and Christmas cookie making, baking and decorating.
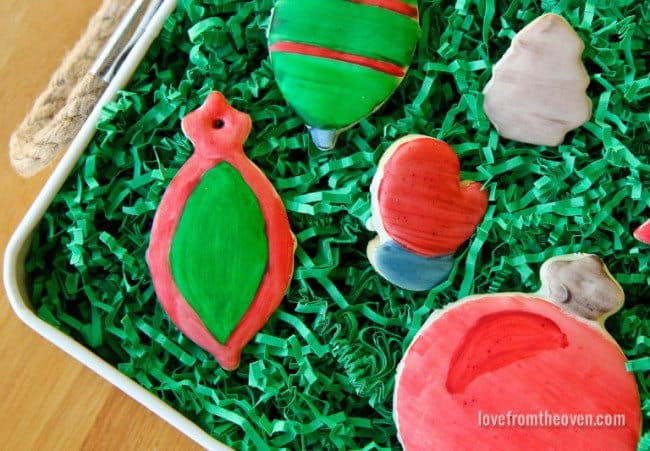
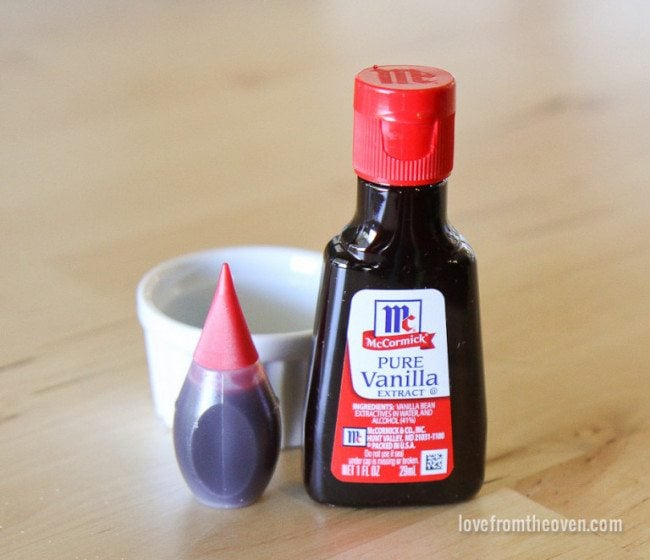
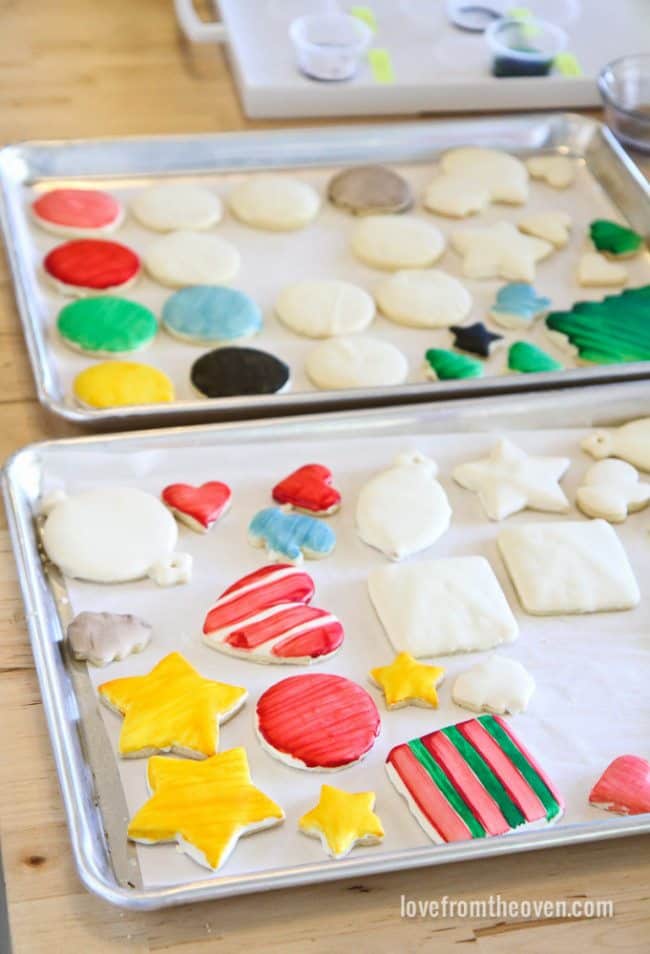
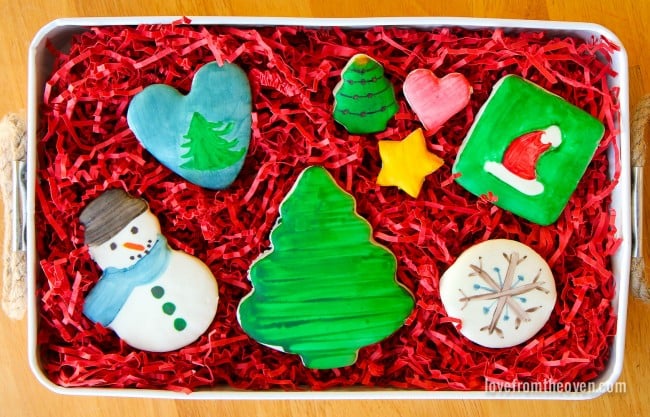
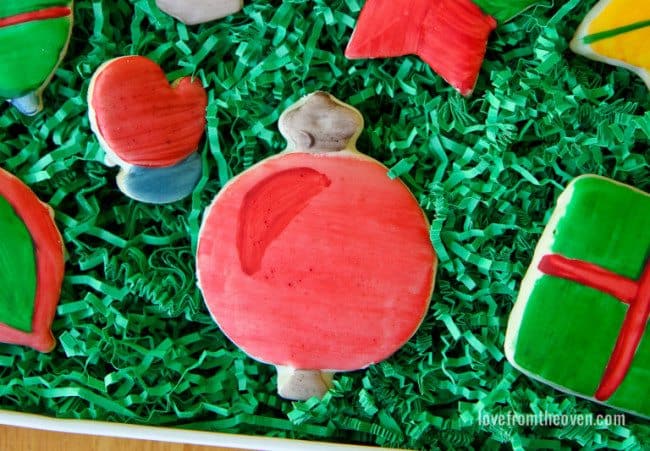
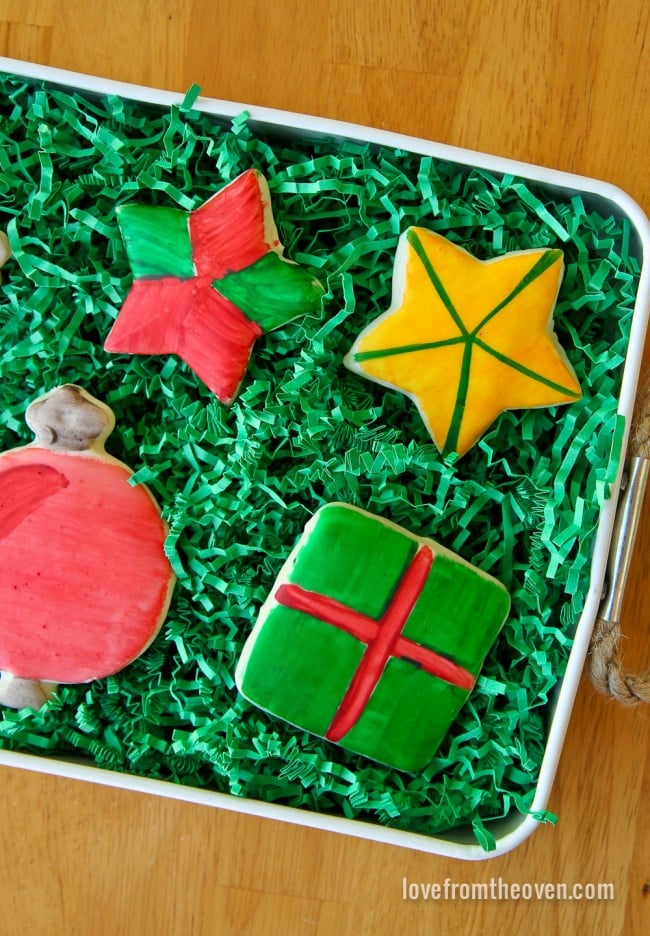
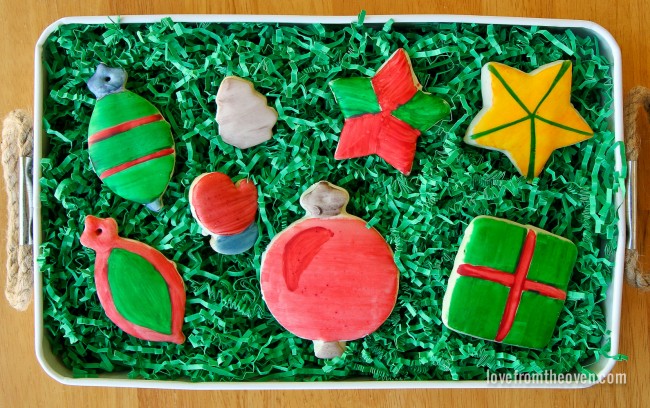
Did you know that you can PAINT your cookies? My friends at McCormick have the most fabulous technique called Flavor Painting. By combining McCormick’s Vanilla or Lemon Extracts, with McCormick Food Coloring, you can make Flavor Paints, a fragrant mix of vanilla or lemon extract and food color . Look how bright and vibrant the colors are! You can even get a true red, which we all know can be a challenge with frosting.
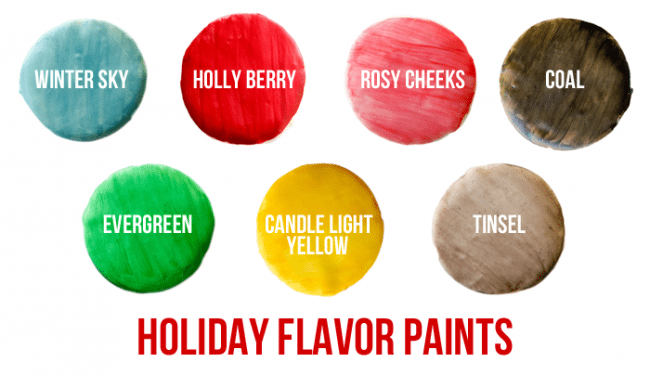
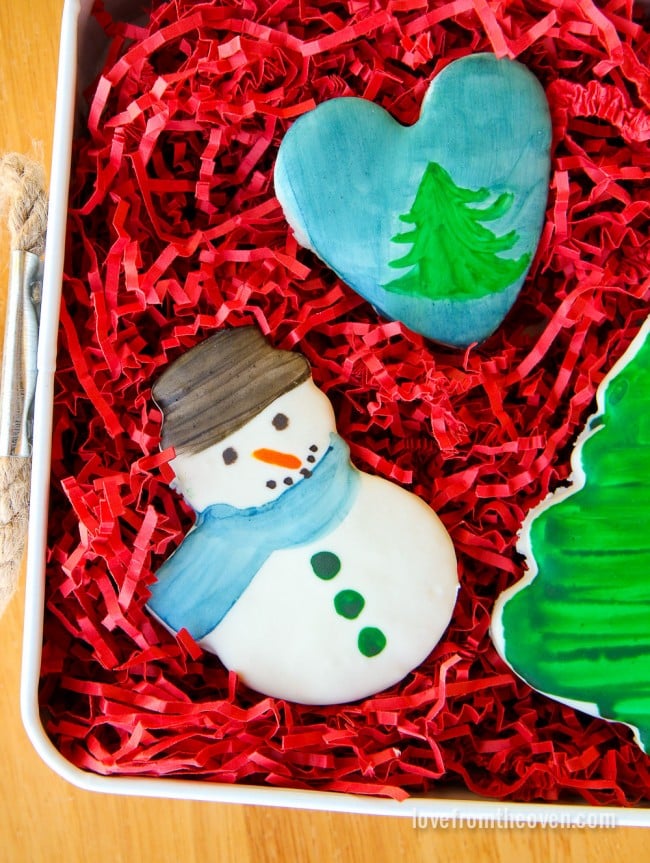
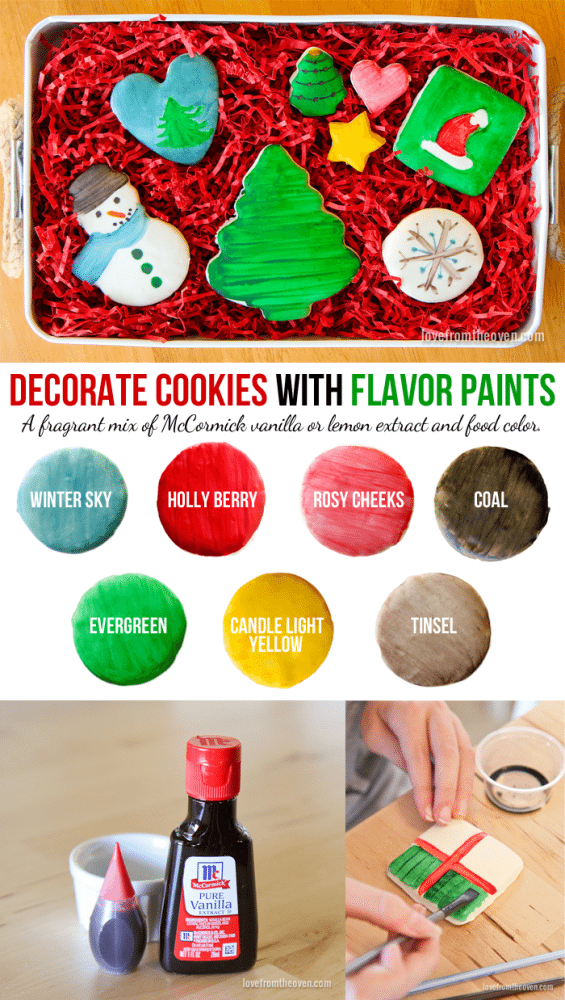
Guys, this is SO cool. And it’s really easy. McCormick has put together specific formulas to create your colors. I worked with their Holiday Flavor Paints color palette, which includes Winter Sky, Holly Berry, Rosy Cheeks, Coal, Evergreen, Candle Light Yellow and Tinsel. I was really excited to see how bright and intense the colors are.
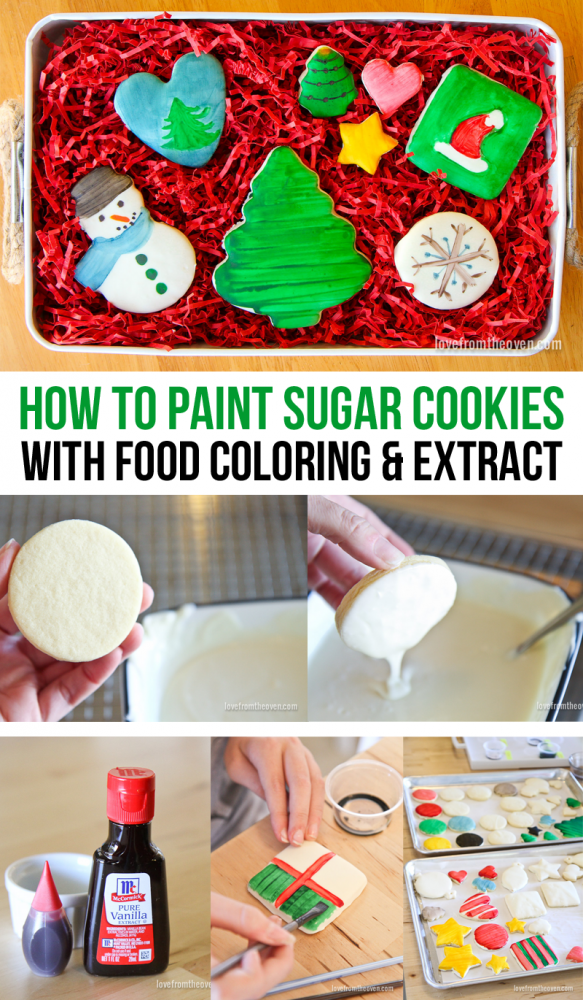
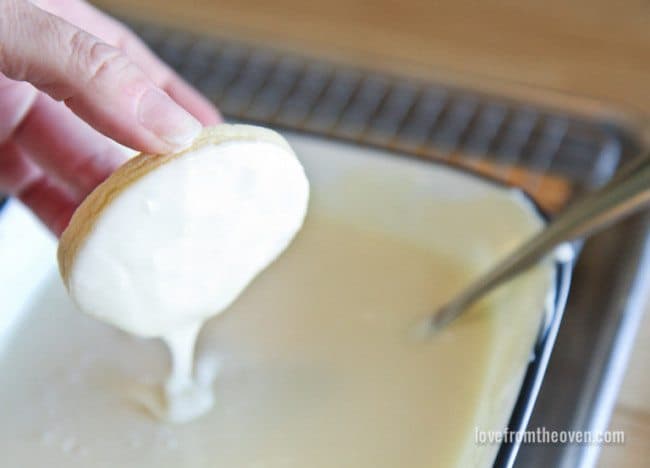
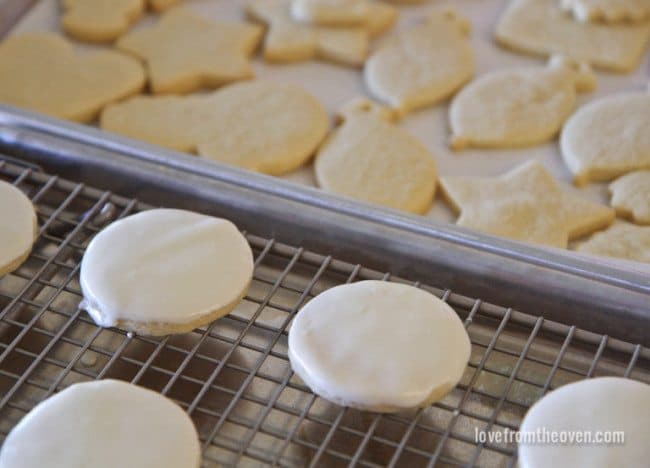
You start by making your sugar cookies (recipe at the bottom of post). After letting them cool, you dip them into melted frosting, which dries into a perfect surface to paint on.
After all of your cookies have been dipped into frosting and given time to dry, you are ready to paint! By following the recipes McCormick has created for different colors, you will have a gorgeous variety of Flavor Paints.
Here is how to create these beautiful Holiday Flavor Paints:
Winter Sky: 1/2 teaspoon McCormick® Pure Lemon Extract and 2 drops McCormick® Blue Food Color
Holly Berry: 1/2 teaspoon McCormick® Pure Vanilla Extract and 1/4 teaspoon McCormick® Red Food Color
Rosy Cheeks: 1/2 teaspoon McCormick® Pure Vanilla Extract and 5 drops McCormick® Red Food Color
Coal: 1/2 teaspoon McCormick® Pure Vanilla Extract and 1/4 teaspoon McCormick® Black Food Color
Evergreen: 1/2 teaspoon McCormick® Pure Lemon Extract and 1/4 teaspoon McCormick® Green Food Color
Candle Light Yellow: 1/2 teaspoon McCormick® Pure Lemon Extract and 1/4 teaspoon McCormick® Yellow Food Color
Tinsel: 1/2 teaspoon McCormick® Pure Vanilla Extract and 1 drop McCormick® Black Food Color
Holiday Cookie Tip: 1/4 tsp = 25 drops.
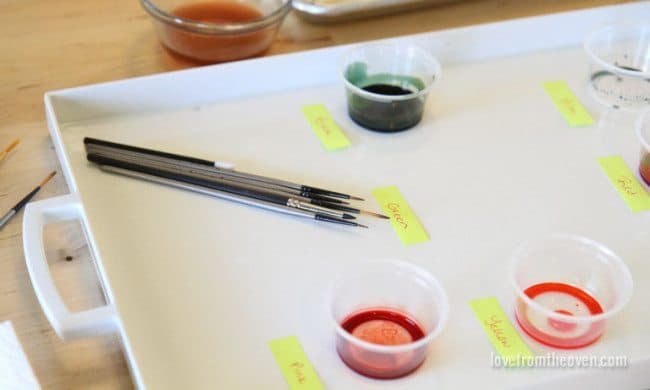
I had some small disposable containers that I picked up at my local grocery store that worked perfectly. I picked up an inexpensive pack of paintbrushes at the store, probably better than using the ones my kids have painted their craft projects with.
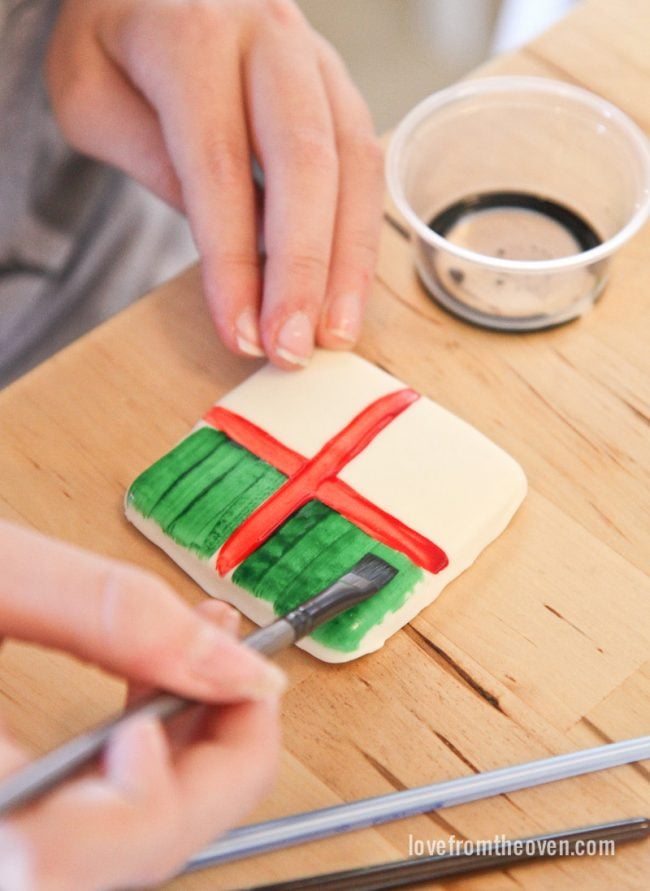
And then it’s time to paint! My creative 11 year old daughter absolutely loved this, and has already put in her request to Flavor Paint again with her friends. I love how intense the colors are – I wasn’t quite expecting them to pop the way they do. So pretty!
I already have ideas for Flavor Painting for Valentine’s Day!
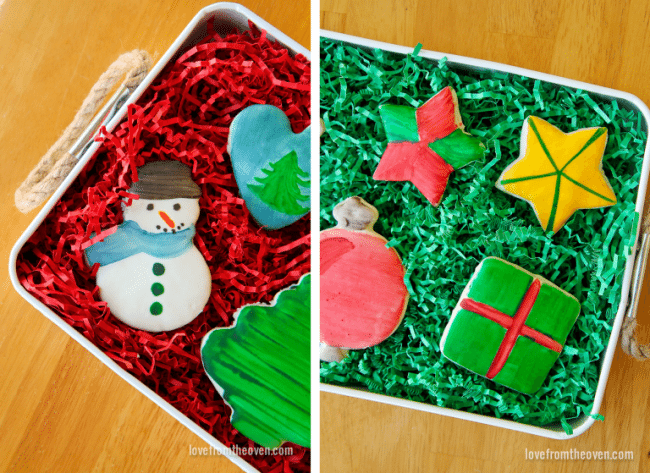
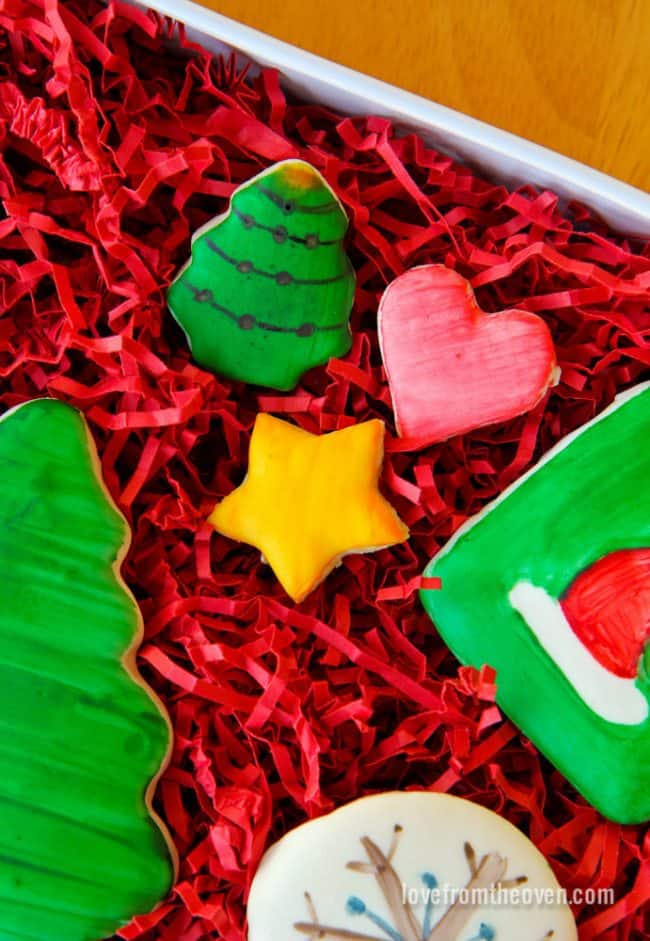
The results are so fun, and produce a really unique look on cookies.
I adore the snowman cookie my daughter painted!
Holiday Cookie Tip: Try Flavor Painting for a fun and unique way to decorate your holiday cookies.
Holiday Cookie Tip: Make a quick and easy glaze for cookies by warming canned white frosting in the microwave.
Holiday Cookie Tip: Follow McCormick’s guide for mixing the perfect Flavor Paint colors.

Holiday Cookies With Flavor Paint
Ingredients
Cookies
- 2 1/3 cups flour
- 1 teaspoon baking soda
- 1 teaspoon McCormick® Cinnamon Ground
- 1/4 teaspoon McCormick® Nutmeg Ground
- 1/4 teaspoon salt
- 1 1/4 cups sugar
- 1 cup 2 sticks butter, softened
- 1 egg
- 2 teaspoons McCormick® Pure Vanilla Extract
Frosting
- 2 containers 16 each ounces white frosting
McCormick Food Coloring and Vanilla and Lemon Extracts
Instructions
- 1. Mix flour, baking soda, cinnamon, nutmeg and salt in medium bowl. Set aside. Beat sugar and butter in large bowl with electric mixer on medium speed until light and fluffy. Add egg and vanilla; mix well. Gradually stir in flour mixture on low speed until well mixed. Refrigerate 2 hours or until firm.
- 2. Preheat oven to 375°F. Roll dough on generously floured surface to 1/4-inch thickness. Cut out shapes with holiday cookie cutters. Place on ungreased baking sheets.
- 3. Bake 8 to 10 minutes or until lightly browned. Cool on baking sheets 1 minute. Remove to wire racks; cool completely.
- 4. Spoon 1 container of the frosting into medium microwavable bowl. Microwave on HIGH 20 to 30 seconds, stirring every 10 seconds. (Frosting should be a pourable consistency.) Dip tops of cookies into frosting. Microwave remaining container of frosting as needed. Place frosted cookies on wire rack set over foil-covered baking sheet. (The baking sheet will catch drips.) Let stand 10 minutes or until frosting is dried. Different frostings can have different drying times, and some may take longer.
- 5. Prepare desired colors of Holiday Flavor Paints. Using small clean paint brushes, paint designs on cookies.
- Holiday Flavor Paints:
- Winter Sky: 1/2 teaspoon McCormick® Pure Lemon Extract and 2 drops McCormick® Blue Food Color
- Holly Berry: 1/2 teaspoon McCormick® Pure Vanilla Extract and 1/4 teaspoon McCormick® Red Food Color
- Rosy Cheeks: 1/2 teaspoon McCormick® Pure Vanilla Extract and 5 drops McCormick® Red Food Color
- Coal: 1/2 teaspoon McCormick® Pure Vanilla Extract and 1/4 teaspoon McCormick® Black Food Color
- Evergreen: 1/2 teaspoon McCormick® Pure Lemon Extract and 1/4 teaspoon McCormick® Green Food Color
- Candle Light Yellow: 1/2 teaspoon McCormick® Pure Lemon Extract and 1/4 teaspoon McCormick® Yellow Food Color
- Tinsel: 1/2 teaspoon McCormick® Pure Vanilla Extract and 1 drop McCormick® Black Food Color
Disclaimer
Nutrition information is estimated as a courtesy. If using for medical purposes, please verify information using your own nutritional calculator. Percent Daily Values are based on a 2000 calorie diet.
Make sure to check out my previous post full of great tips for your holiday cookie making, baking and decorating!
I hope these tips will help make your holiday cookie decorating easier! Stay tuned for more tips in the coming weeks, and follow along on Instagram where I am sharing my tips (and some behind the scenes cookie making) at LoveFromTheOven #smartcookietips.
Disclaimer: As a holiday baking expert for McCormick, I am compensated for my posts. All text and opinions are however mine and mine alone!




Jules says
I haven’t tried cookie painting yet. I am getting ready to for this year. I was responding to the “don’t want to ice it and cover up the embossed design” comment. If you make sure the icing is really hot before you dip the cookies then only a thin layer will cling to the cookie. The cooker the icing the thicker the layer. Also, I have found a double boiler on the stove was better at getting the icing to the temp I want and keeping it there while i do the dipping (I make a lot of cookies at a time.) I put a glass bowl over a small pot with water and get the icing melted. Then transfer the whole thing to the dipping counter. The hot water helps keep the icing the right amount melted. I am super Excited to try cookie painting!! Thank you so much for the recipe!!
Lisa says
Of allowing these paints to dry, can they then be used as a paint your own cookie by wetting a paintbrush then “painting” the dried paint onto the sugar cookie?
Christi Johnstone says
Hi Lisa, can’t say I’ve tried that, so I don’t know.
Melanie says
Can you use anything in place of the lemon extract?
Christi Johnstone says
Melanie, another clear extract would work. Pure vanilla will tint the color, so just go with something clear. I believe I’ve used a raspberry extract in the past.
Lauren W says
5 stars!
I did this with my 4 and 2 year olds. They really enjoyed painting. You can’t taste the extract on the cookies and the paint does not spread – it stays where you paint it. The icing made the cookies almost too rich; the dye is so vibrant that I think it would still look great on a non-frosted cookie. Or I recommend only icing small cookies or spooning on and spreading a very thin layer of frosting. If you have little ones painting, make sure they where an apron or something you don’t mind getting food coloring on. Thank you for this idea.
Michelle Polk ? says
Can you use other extracts: like Almond or Peppermint?
Christi says
Absolutely!
Barbara Scarr says
Hello. How would l make a lavender and light green color paint? And also a champagne color? Thanks
Christi says
Barbara, I believe you can actually get white food coloring. It’s probably something you’d have to order or get at a baking store, but I’m thinking that is what you would need.
Elizabeth Yeow says
What kind of frosting should I buy for this project? Will anyone of the store bought frostings work? Thanks!
Christi says
Hi Elizabeth, any of the store bought frostings that are NOT the whipped variety (which say Whipped on the front of the container) should work. Have fun, it’s a fun project!
Angela says
Do you think this would work without dipping the cookies in icing? Just painting onto the cookie? I have holiday cookie cutters with designs indented and I would just like to be able to paint the designs. Not cover them with the frosting.
Christi says
I haven’t tried it but you could give it a go! I think the cookie would soak up more color given that it will be far more absorbent than the frosting layer would be. Good luck!
Donna says
Betty Crocker has a recipe out there on painting cookies, not the frosting. Uses egg yolks as a base for the food coloring. I haven’t tried it, but thought it looked interesting.
Jennifer says
I think you mean, ‘can you paint the frosting white background to the cookie instead of having the frosting dipped? (dipping would cover your pre-stamped designs). That would be my question. I want the prettiness of colors where I want them too. I think the white underneath layer helps, though I don’t want to overly sweeten an already delicious butter cookie. I am going to try a light handed painting of the white frosting for a base.