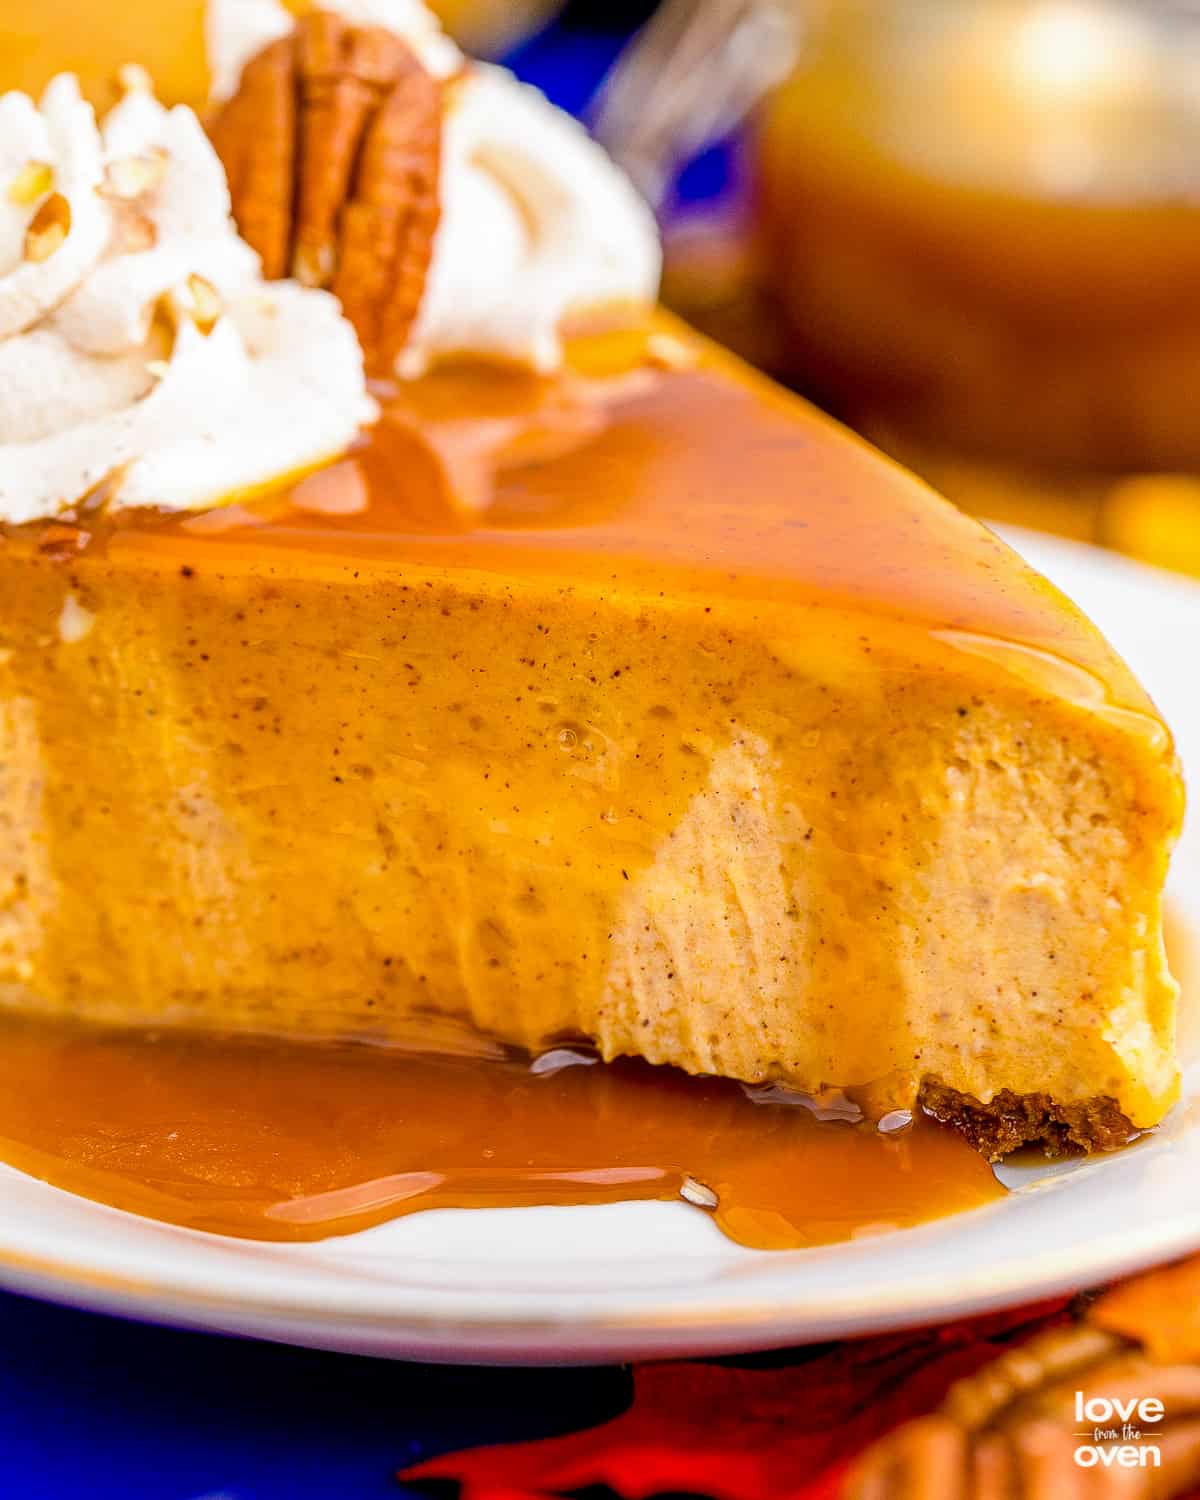
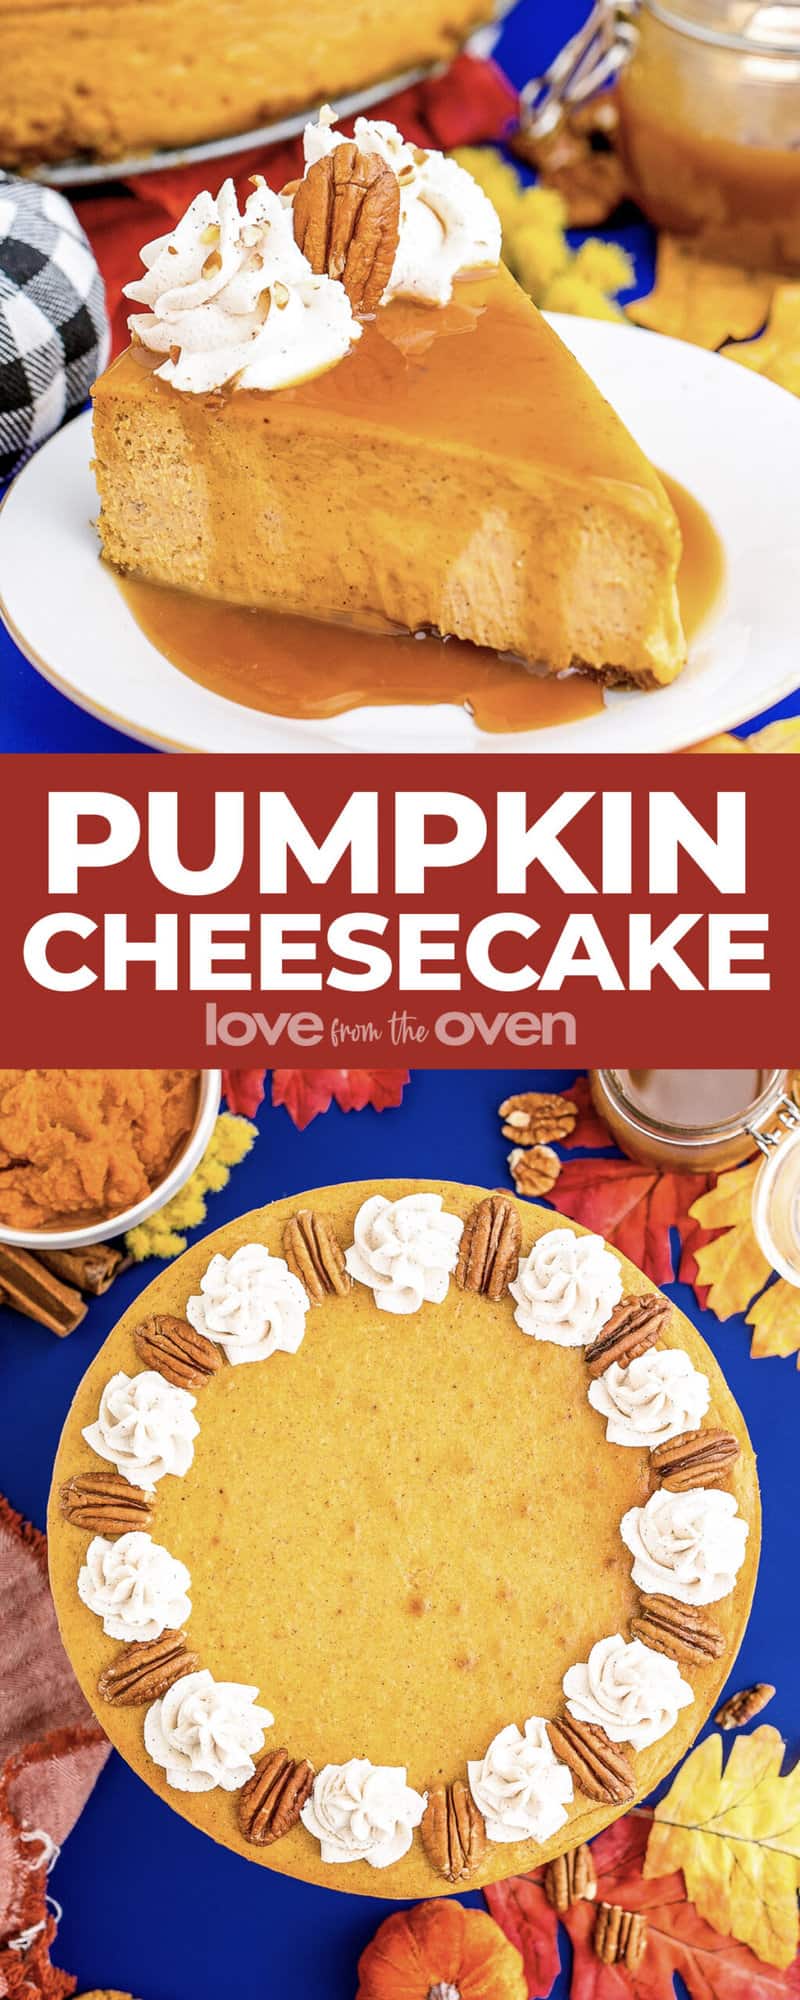
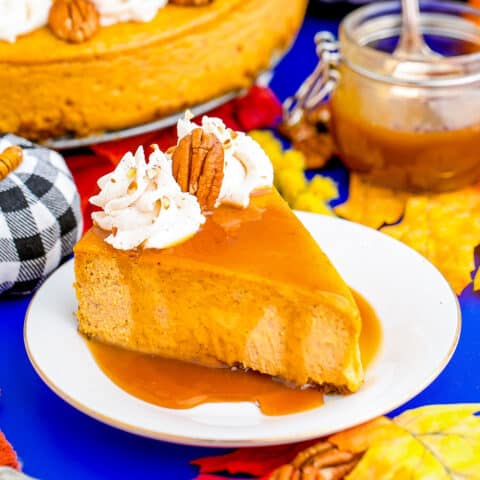
This incredible Pumpkin Cheesecake recipe is the perfect dessert to enjoy this fall. A creamy pumpkin flavored cheesecake sits on a gingersnap cookie crust, creating the perfect combo of fall flavors. If you love pumpkin pie and cheesecake, just wait until you enjoy them both at once with this easy recipe!
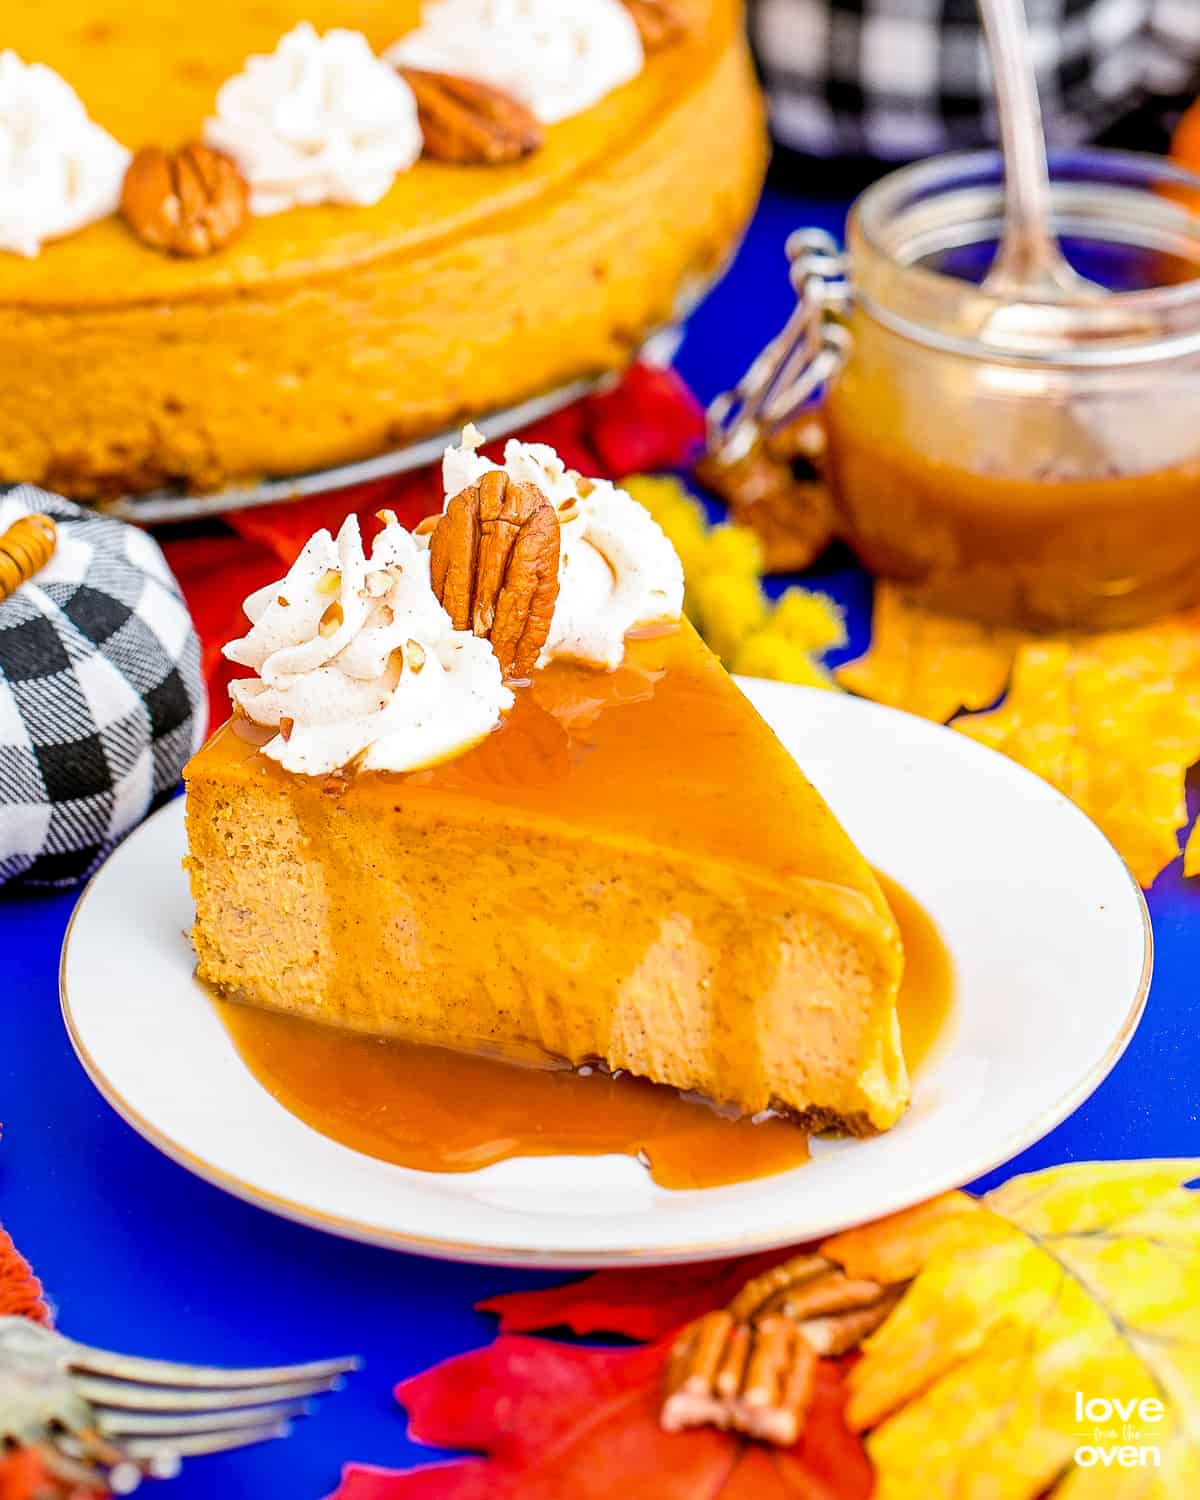
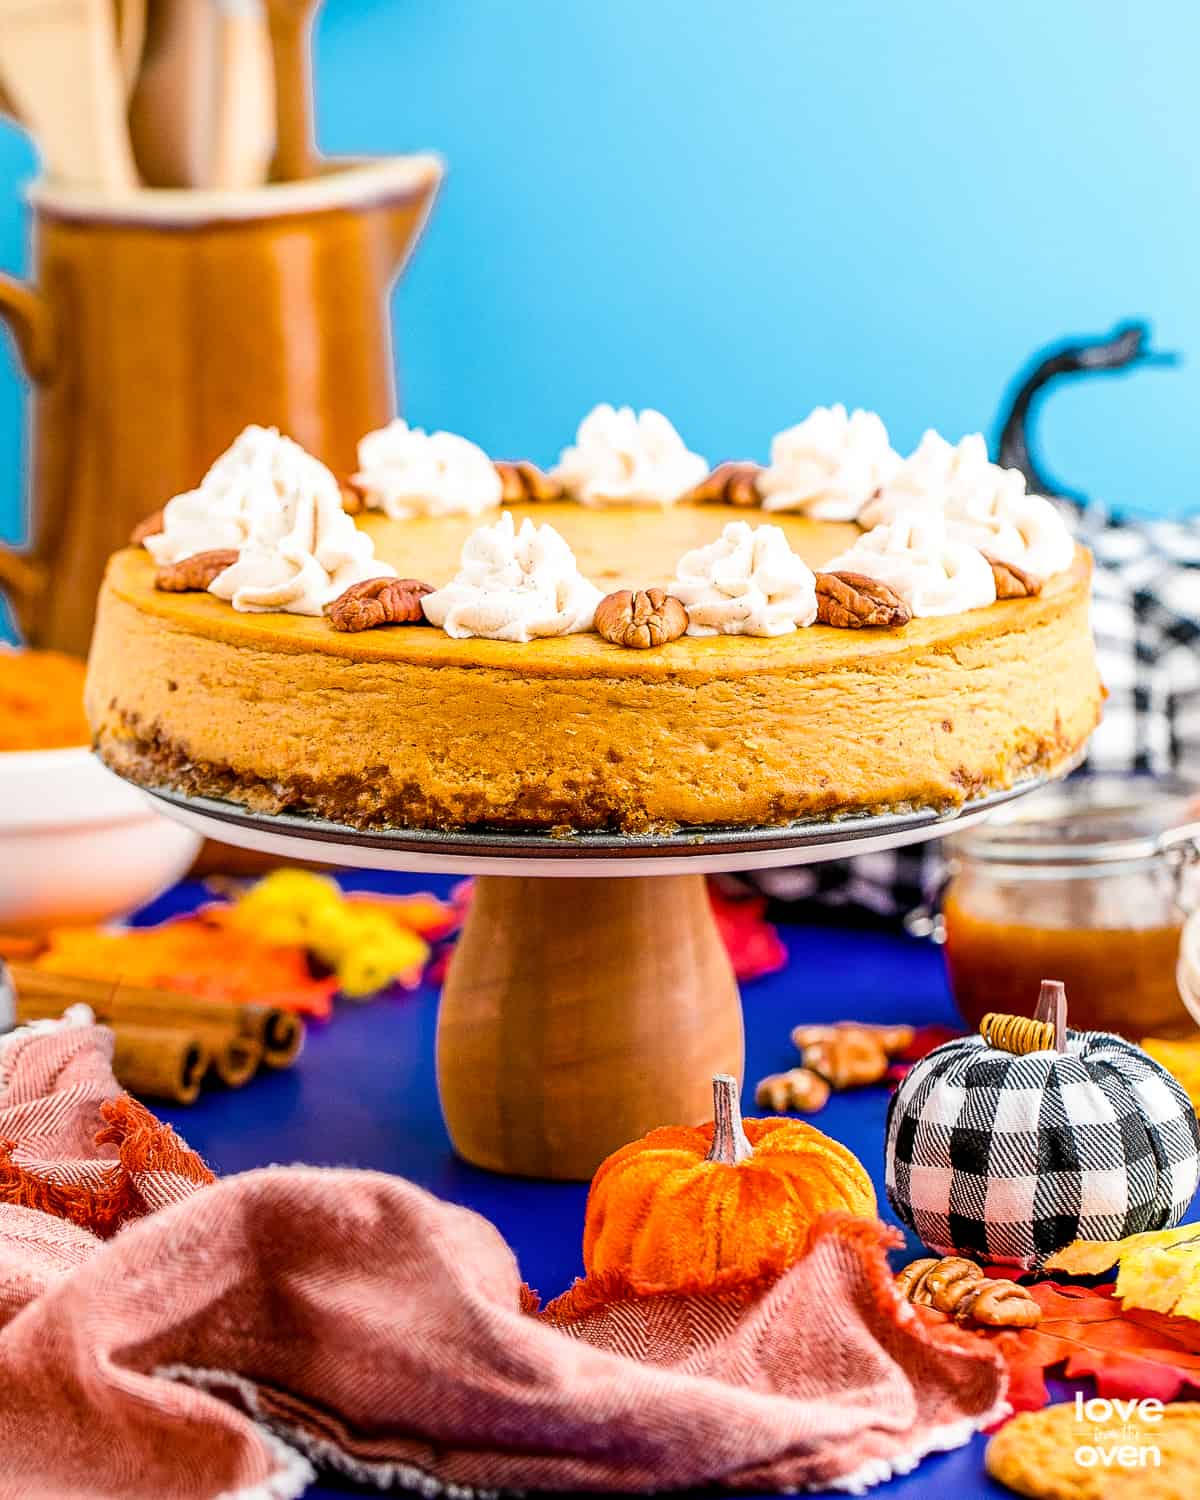
It’s never too early to start thinking about pumpkin desserts. In fact, this pumpkin pie cheesecake is so good, it would be more than acceptable to make it all year round! While making cheesecake can sometimes be a bit intimidating, this easy pumpkin cheesecake recipe is great for beginners!
Reasons You’ll Love This Recipe
Pumpkin Everything – If the recipe starts with the word ‘Pumpkin’ you just know it’s going to be delicious.
Rich and Creamy – Perfect for those nights when you want to dive your fork into a decadent, creamy dessert.
Fall Flavors – Not only does this recipe have pumpkin, but is filled with all your favorite fall spices.
Cheesecake, But Better – I know, who thought it could possibly get BETTER than cheesecake? Thanks to the pumpkin spice & gingersnap crust, this recipe changes the cheesecake game.
Pumpkin Pie? Goodbye! – OK, maybe not goodbye… but switch it up this holiday season and bring a pumpkin cheesecake to Thanksgiving dinner instead!
Ingredient Notes and Substitutions
This is an overview of the ingredients you will need to make this amazing Pumpkin Cheesecake Recipe. Important notes and substitutions for certain ingredients are discussed. The full printable recipe, with amounts and specific details, can be found at the bottom of the page.
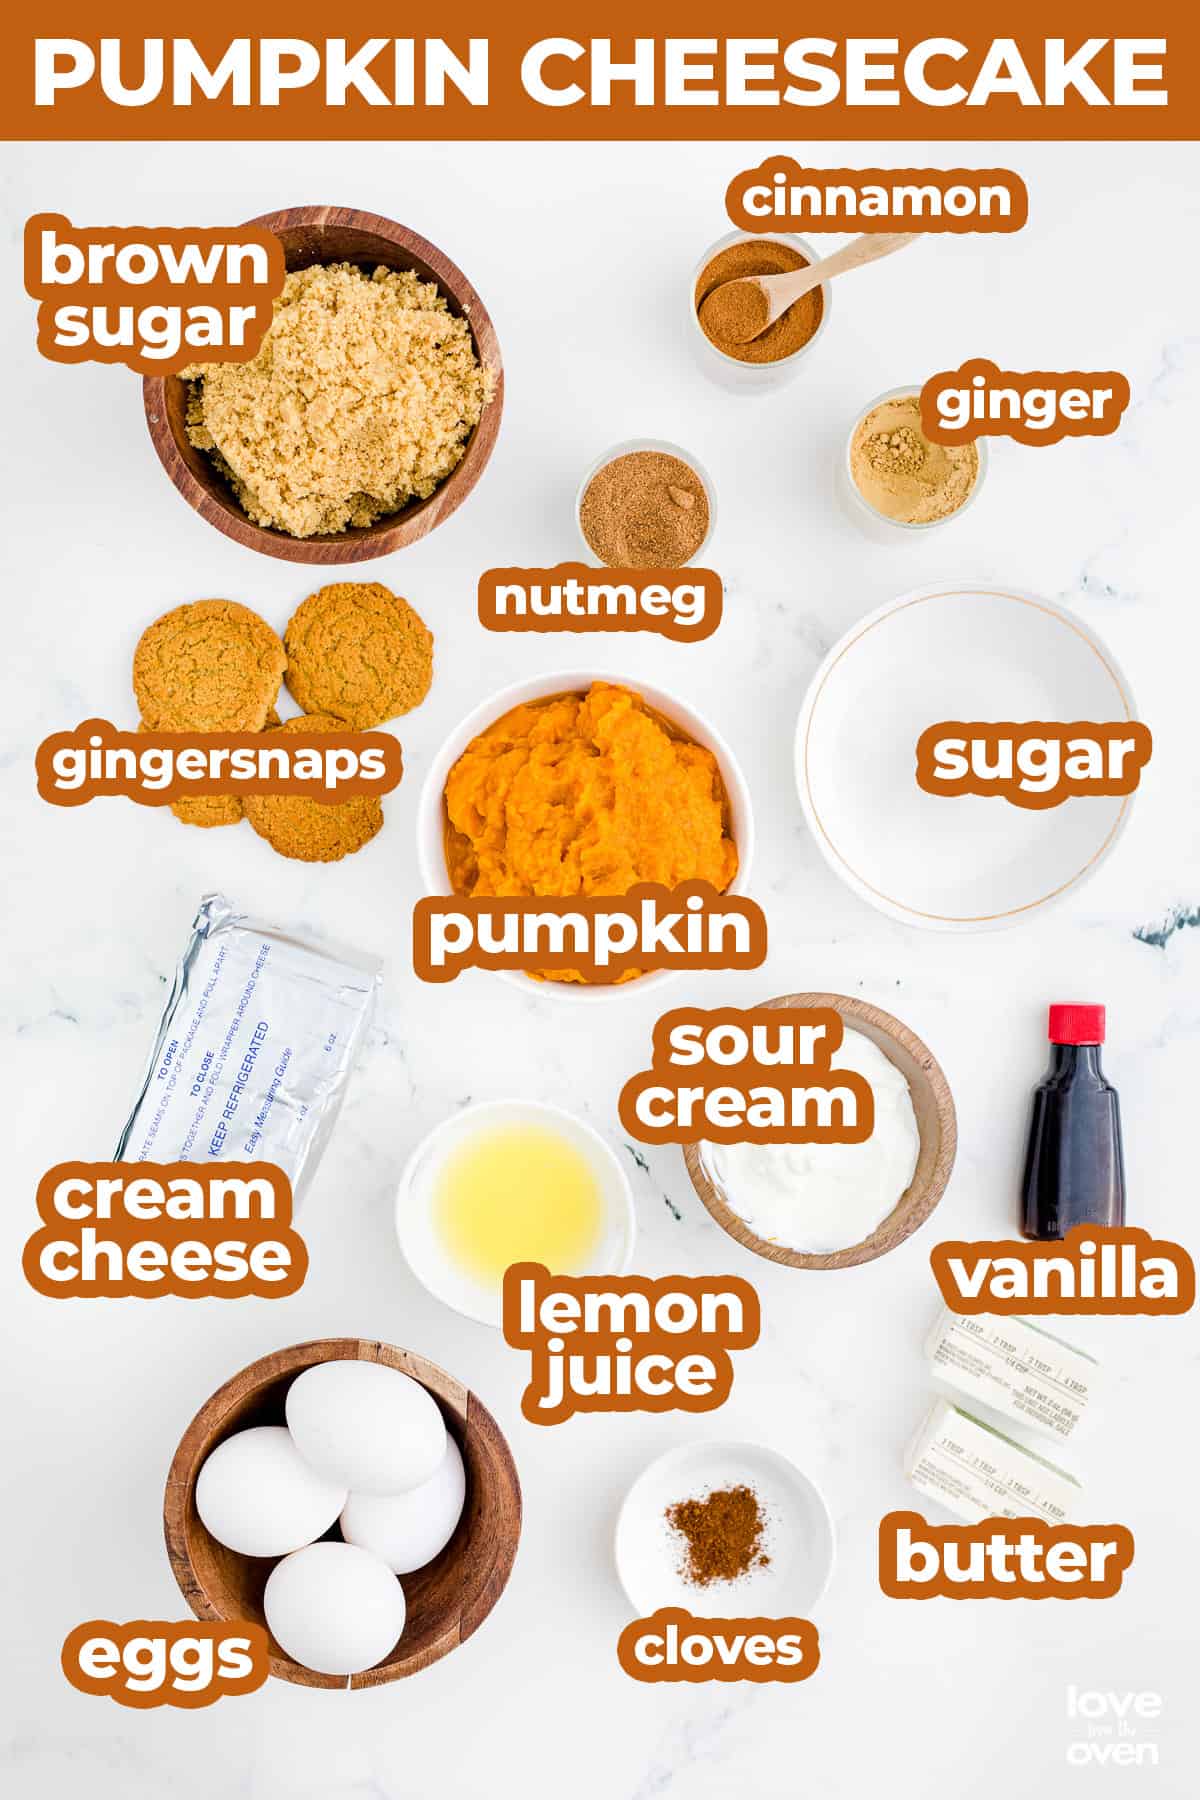
- Gingersnaps – This recipe uses gingersnaps for a crust because it adds an extra level of spice to the cake. If you don’t like them, or can’t find any, you can use graham crackers combined with melted butter instead.
- Cream Cheese – It wouldn’t be a cheesecake without the cream cheese! Make sure to take the cream cheese out of the fridge several hours before using it. Cream cheese is hard to blend when it’s cold, and can lead to a lumpy cheesecake. I recommend using a full fat cream cheese.
- Sour Cream – In my opinion, cheesecake is best when sour cream is included in the mix. Just like with the cream cheese, I recommend using a full fat sour cream.
- Eggs – When you take the cream cheese out of the fridge, do the same with the eggs! These should be at room temperature before going in the batter.
- Pumpkin Puree – The star of the show! Canned pumpkin is not only versatile, it’s texture is ideal for recipes like this. If you have access to fresh pumpkin, you can use that as well. Do take note that the moisture level can vary though, which can impact the recipe. If you can’t find pumpkin puree, you can use pumpkin pie filling! If you do that, you don’t have to add the four spices to the filling, and you might want to cut back a bit on the sugar.
- Lemon Juice – The cheesecake base needs something acidic to help it thicken up and have the classic cheesecake texture you know and love. The acid in lemon juice reacts with the proteins in the cream cheese, which helps with the structure of your cheesecake.
- Spices – The spices you’ll need for this recipe are cinnamon, ginger, nutmeg, and cloves. You can also buy or make your own pumpkin pie spice. Three teaspoons of pumpkin pie spice can be used in place of the individual spices.
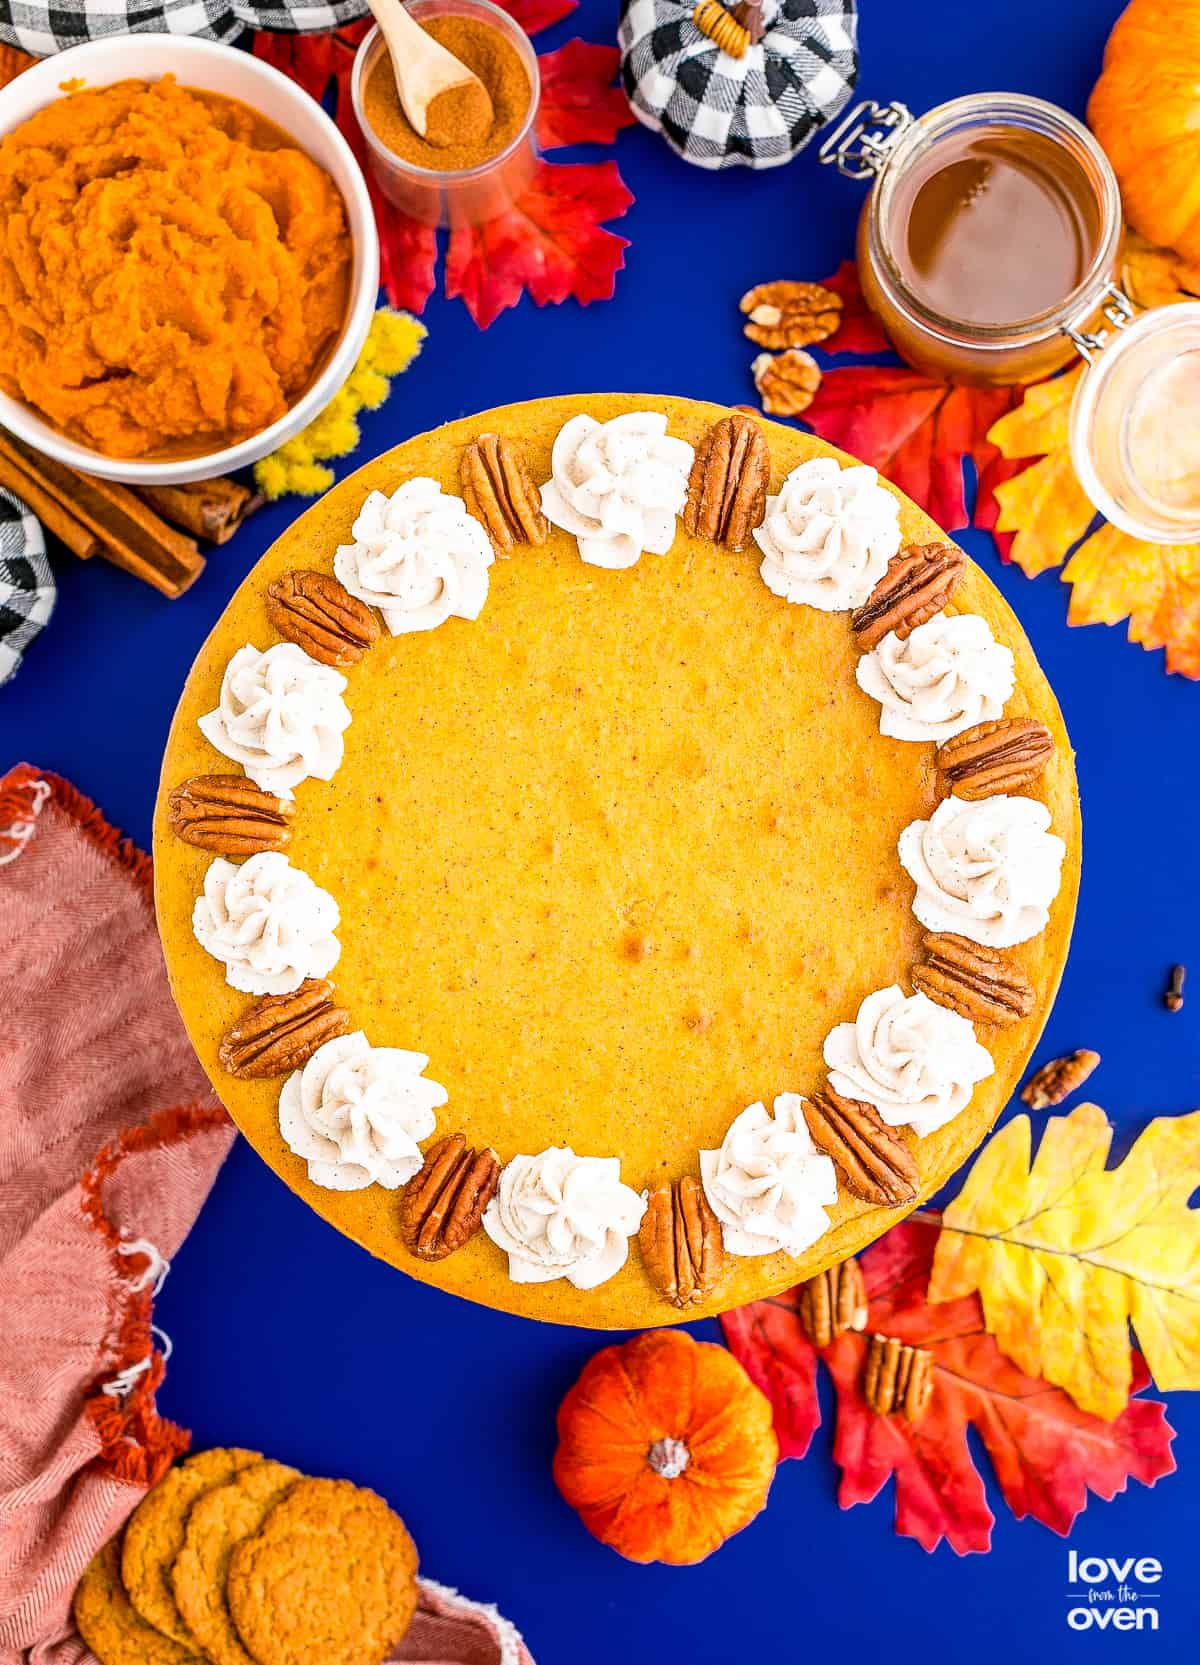
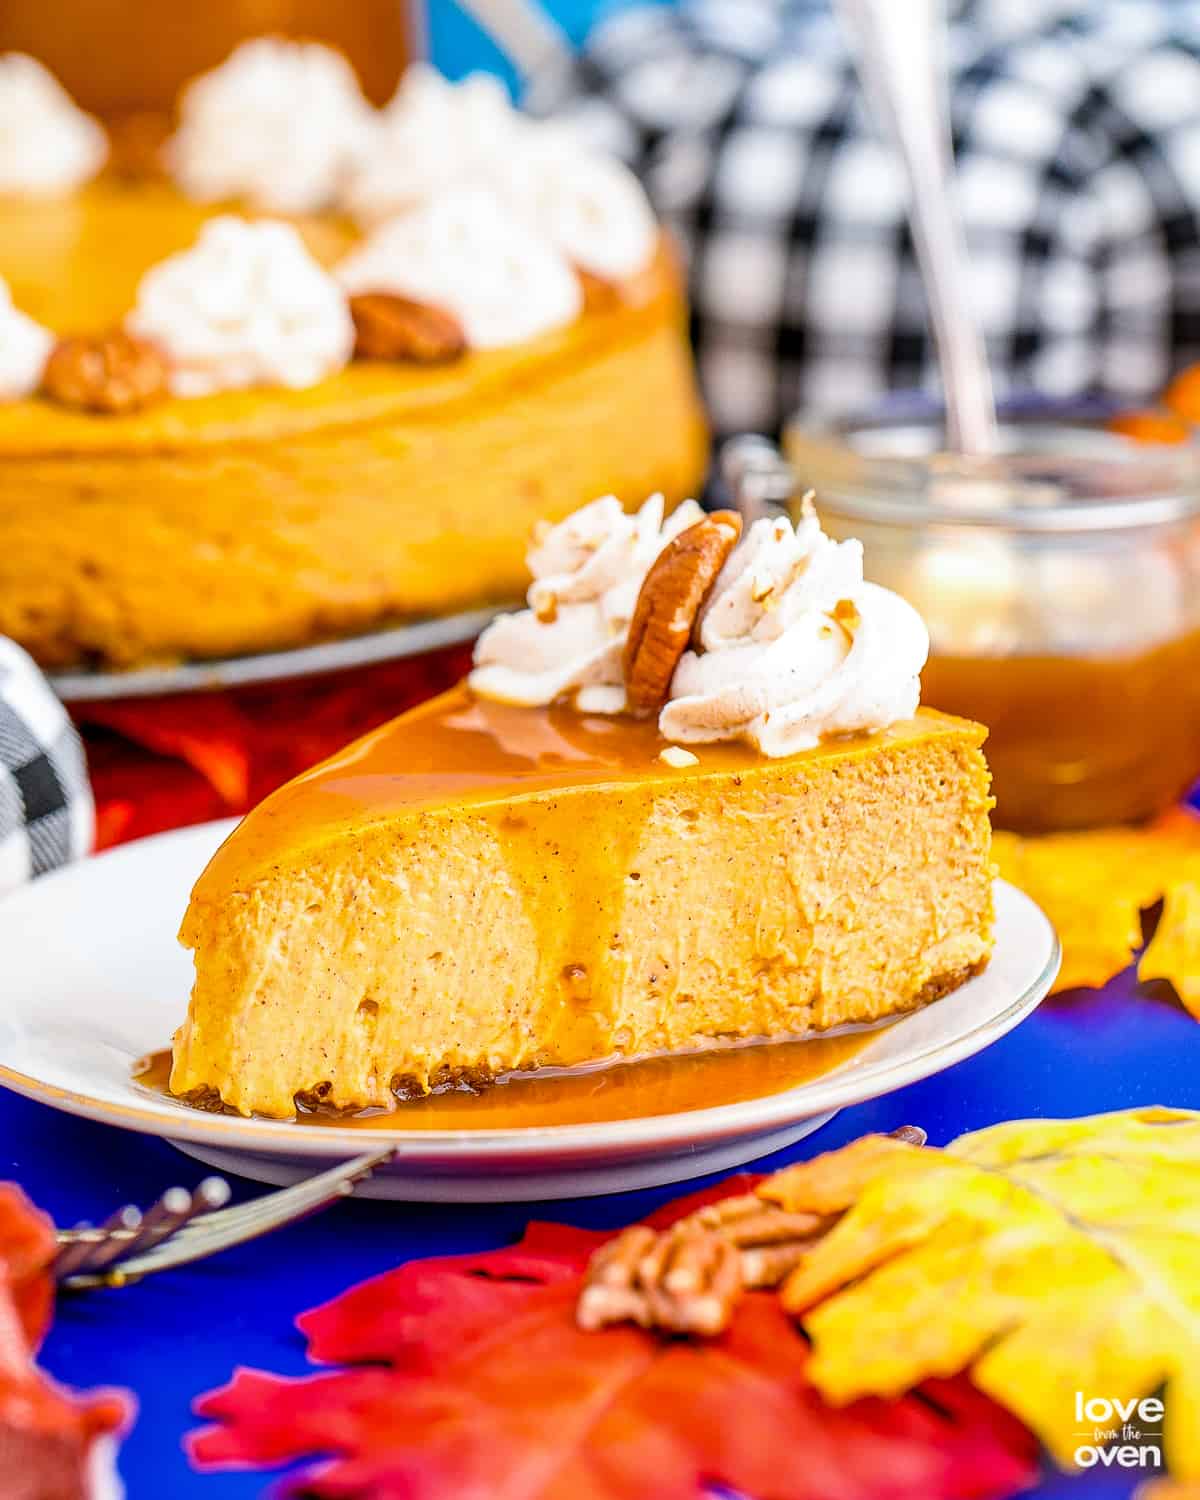
- Optional Toppings – Garnish with whatever you see fit! Whipped cream, chopped pecans or caramel sauce go really well with this recipe.
How To Make Pumpkin Cheesecake
Let’s discuss the steps you’ll take to make this cheesecake. If you want to skip my discussion, tips, information and answers to frequently asked questions, just scroll to the bottom of this post for the printable recipe.
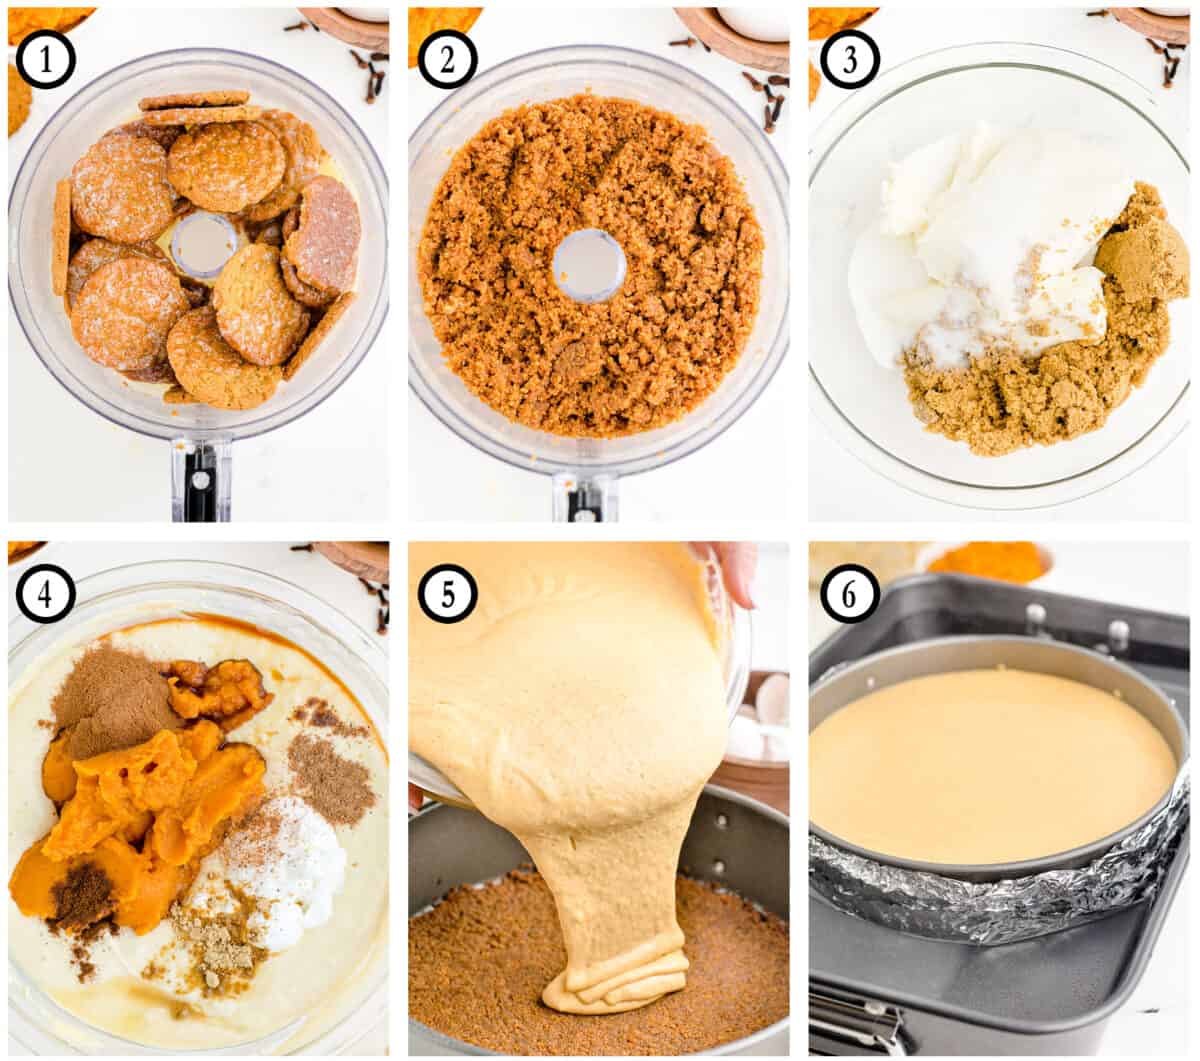
- Start by preheating the oven to 350° F. Prepare a roasting pan large enough to fit the springform pan with 1 ½ inches of water. Place the roasting pan into the oven while it is preheating and you are preparing the cheesecake. You want the water hot before you use it. While that preheats, and the water warms up, prep the crust by putting your gingersnaps and melted butter in a food processor.
- Pulse the cookies until you get a sand-like texture. Line the bottom of a springform pan with parchment paper, and spray the paper and sides of the pan with non-stick spray. Gently press this cookie mixture into the pan covering the bottom and slightly up the sides. Put this in the oven and bake for 10 minutes. (Don’t put this in the water bath, bake it separately.)
- In a large bowl, beat together the room temperature cream cheese and both sugars together using a hand mixer on medium speed for about 5 minutes. Once the mixture is light and creamy, add the eggs in one at a time while still mixing.
- Once incorporated well, add the pumpkin puree, sour cream, vanilla, lemon juice, cinnamon, ginger, nutmeg and cloves to the cream cheese mixture. Once baked, take the crust out of the oven, and pour the cheesecake batter on top of the crust in the springform pan.
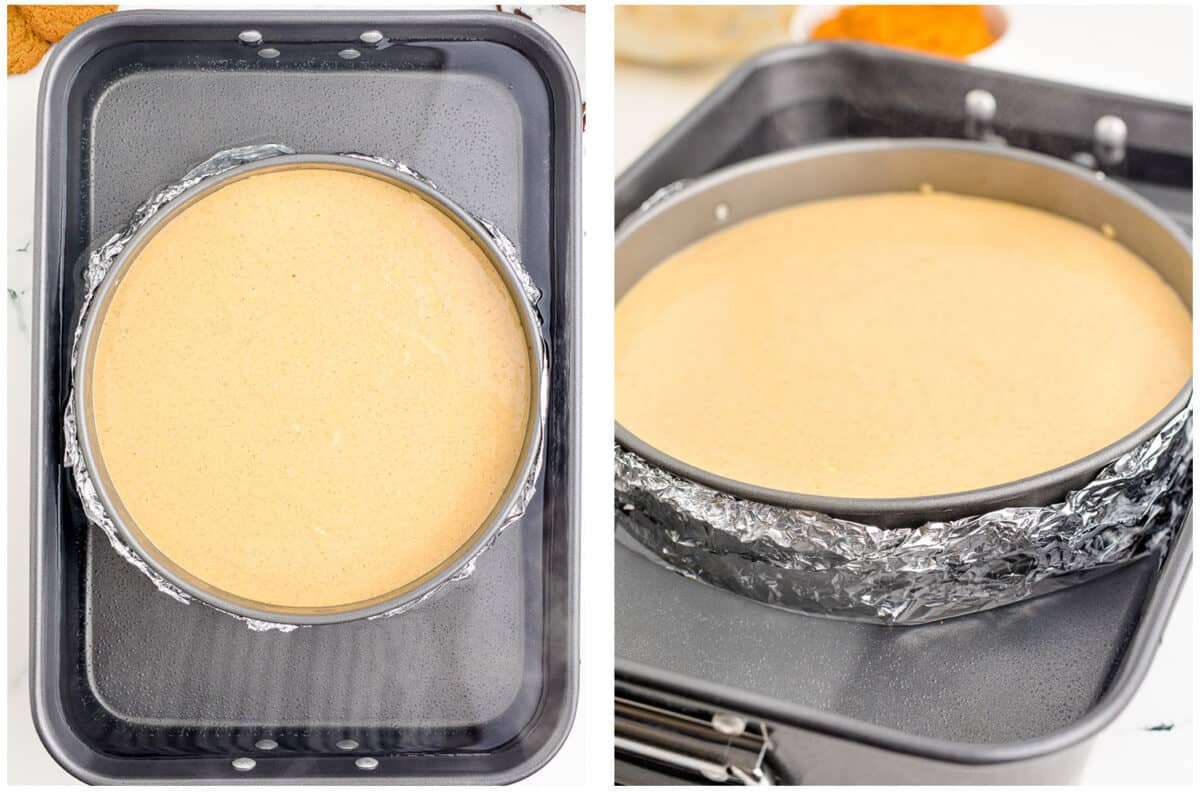
- Take two very large pieces of aluminum foil and place them in an ‘X’ shape underneath the springform pan. Bring the foil up around the edges of the springform pan so that it is covering the entire pan, ensuring that it’s waterproof. (You won’t want any holes or empty spaces) Place the pan in the water bath and bake. Don’t open the oven while the cheesecake is baking. After 1 hour, you can check the consistency of the cake. The edges should be firm and the center should be slightly ‘jiggly.’ If it’s not quite there, give it 5-10 more minutes, but be careful to not overbake.
Once ready, do not take the cheesecake out of the oven, instead turn the oven off and prop the door open. Let the cheesecake sit in the oven for another hour. Once the hour is up, move the cheesecake so it’s sitting out. If the cheesecake is cool enough, remove it from the pan and place it in the fridge to cool for 2 hours. Garnish with the optional toppings, slice, serve, and enjoy!
Recipe Tips, Advice and FAQs
Storage – This pumpkin cheesecake can be stored in an airtight container and refrigerated for up to a week. This pumpkin dessert also does well in the freezer for up to 3 months, just let it thaw overnight when you’re ready to eat it.
Materials – For this recipe you’ll need a springform pan, a roasting pan, a large bowl, a hand mixer, parchment paper and tin foil.
Don’t Forget to Foil – Make sure your sheets of tin foil are large enough to surround the entire pan so when you wrap the edges, no pan shows underneath. Wrap this REALLY tight, you don’t want any water leaking into the cheesecake. If you’re nervous about water getting into the pan, you can stick the springform pan in another pan that is just slightly larger than the first then bake it in the water bath.
Avoid Cracking – The water bath is essential in making a cheesecake to avoid any cracks in the batter while baking. You can bake the cake without the water bath if you don’t mind the cracks. This is also why it’s not recommended to open the oven when baking, because a sudden change in temperature can cause the cake to crack. Leaving the oven door propped open while allowing the cake to cool will also prevent a sudden shift in temperature.
Recipe FAQs
There are a few factors that can make a cheesecake crack. First, make sure to bring your ingredients to room temperature. Second, fluctuations in the temperature while baking can contribute to cracks. So try to not open the oven to peek if you can avoid it. This is also why it’s important to let the cheesecake sit in the oven after you’ve finished baking. And third, overbaking can also cause cheesecake to crack.
If your cheesecake ends up cracking, you can cover the cracks with whipped cream, chopped pecans, caramel sauce, or any other optional toppings you may find. It will still taste delicious!
No, the cheesecake will have an orange color because of the pumpkin, but it shouldn’t be a dark brown color. That would mean it’s been cooked for too long.
Always remember to check for set edges and a small ‘jiggle’ in the center before taking it out. If you see those things, and the cheesecake is still undercooked, you can pop it back in the oven, and check it every 5 minutes, even if you’ve already cooled it.
More Pumpkin Recipes To Try
If you love the combo of pumpkin and cream cheese in his pumpkin cheesecake, I have a few other recipes I think that you’ll really enjoy.
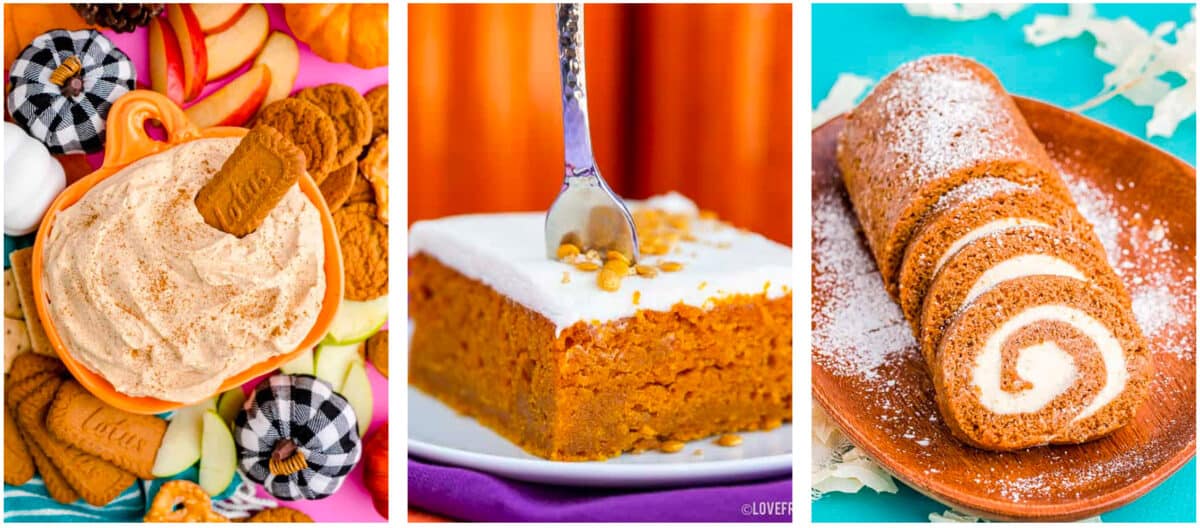
Pumpkin Dip – This creamy, dreamy dip also contains cream cheese, so if you love this pumpkin cheesecake, I highly recommend giving it a try as well.
Easy Pumpkin Bars – These delicious pumpkin bars are topped with an irresistible cream cheese frosting!
Pumpkin Roll – You’ll be surprised how easy it is to make this show stopping dessert. A perfectly spiced pumpkin cake wraps around a decadent cream cheese filling.
More Fall Recipes To Try!
Pumpkin Cheesecake
Equipment
Ingredients
Gingersnap Crust
- 25 gingersnap cookies makes approx 2 cups of crumbs
- 1/2 cup salted butter melted
Pumpkin Cheesecake Filling
- 24 ounces cream cheese, softened three 8oz cheesecake bricks
- 1 cup brown sugar
- 1/3 cup granulated sugar
- 4 large eggs room tempearture
- 15 ounces canned pumpkin puree about 1 3/4 cups
- 1/4 cup sour cream
- 2 teaspoons vanilla extract
- 2 teaspoons lemon juice
- 3 teaspoons ground cinnamon
- 1/2 teaspoon ground ginger
- 1/4 teaspoon ground nutmeg
- 1/4 teaspoon ground cloves
Instructions
Gingersnap Crust
- Preheat oven to 350 degrees F. Line the bottom of a springform pan with parchment paper, then generously spray with non-stick cooking spray.
- Prepare a water bath by filling a roasting pan (large enough for you to set the springform pan inside) with 1 ½ inches of water. Place the roasting pan into the oven while it is preheating and you are preparing the cheesecake. This way it will be hot when you add the cheesecake to it. Do not place the springform pan in it at this time.
- Prepare the crust by placing gingersnaps and melted butter into the food processor. Combine until they reach a sandy texture. Gently press this mixture to cover the bottom of the springform pan, and slightly up the sides. Place this into the oven (not in the water bath) to bake for 10 minutes, while you are preparing the filling. It's fine to place this below the roasting pan, on a separate rack in the oven.
- Remove the crust from the oven after it is baked
Pumpkin Cheesecake Filling
- While the crust is baking, beat cream cheese and both sugars together on medium speed for about 5 minutes until light and creamy. Add the eggs in one at a time while mixing, only as much as needed to incorporate well.
- Add in the pumpkin, sour cream, vanilla, lemon juice, cinnamon, ginger, nutmeg and cloves. Mix until well combined.
- Pour the cream cheese mixture into the baked crust.
- Place two large pieces of tin foil in an x shape under the springform pan. The pieces must be large enough that there will not be any spaces uncovered when you bring them up around the edges of the springform pan. Bring the edges up so that the springform pan is going to be waterproof.
- Place the springform pan into the water bath and bake. Do not open the oven while the cheesecake is baking. Check the cake, while still in the oven, after baking for 1 hour. The edges should be set and the center just slightly jiggly. If not, give it 5-10 additional minutes, but do not overbake.
- When finished baking, do not remove the cheesecake from the oven. Turn off the oven and prop the door open. Allow the cheesecake to sit in the open oven for another hour, then remove from the oven. If it is cool enough, you may remove it from the pan before placing it into the fridge to chill for another 2 hours. It's fine to leave it in the pan while it chills.
Notes
- Make sure to pull out the cream cheese and eggs a few hours prior to making this recipe so they are all at room temperature when you are ready to start.
- MAKE SURE to TIGHTLY wrap the cheesecake in foil and to make sure you use enough to seal the pan and make it waterproof!
- Storage – The cheesecake can be stored in an airtight container and refrigerated for up to a week. This pumpkin dessert also does well in the freezer for up to 3 months, just let it thaw overnight when you’re ready to eat it.
Nutrition
Disclaimer
Nutrition information is estimated as a courtesy. If using for medical purposes, please verify information using your own nutritional calculator. Percent Daily Values are based on a 2000 calorie diet.


Leave a Reply