Time to break out the red, white and blue and start getting ready for the 4th of July, which is less than a month away! These hi-hat cupcakes are such a fun and colorful treat for July 4th, and I promise they are easier than you might think.
I was intimidated by making hi-hats for years, and I’m not sure if these are technically a true “hi-hat” as those usually have a marshmallow frosting, and these have a buttercream, but it’s close enough for me, please don’t call the hi-hat police. When I finally actually made some I was kind of shocked, they really aren’t hard or much work.
I’ve said it a million times, I am NOT a cake or cupcake decorator. I probably use my piping bags and tips all wrong (Wilton, please don’t confiscate them!), I couldn’t pipe a rosette if my life depended on it and it’s safe to say that nobody will want me decorating their wedding cake unless they really really love heavy usage of sprinkles. But thankfully you don’t need mad cake decorating skills as long as you have fun cupcake liners, pretty colors and lots of sprinkles. Sprinkles completely cover up for lack of decorating talent. Yay, sprinkles!
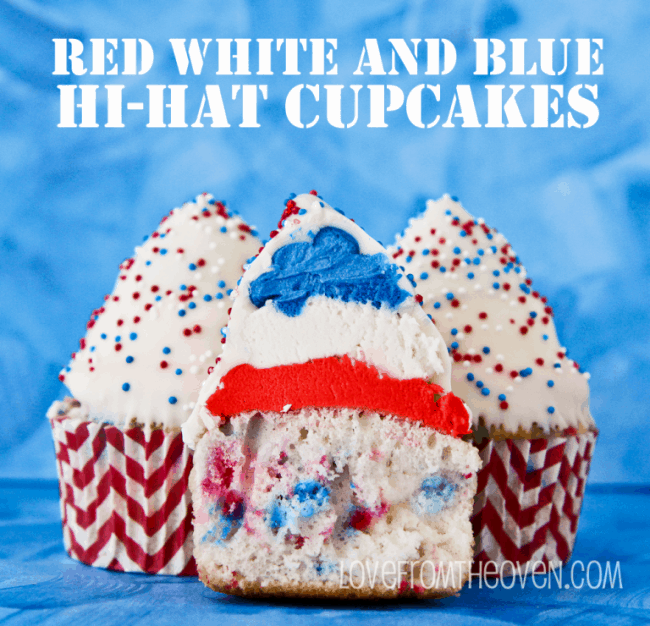
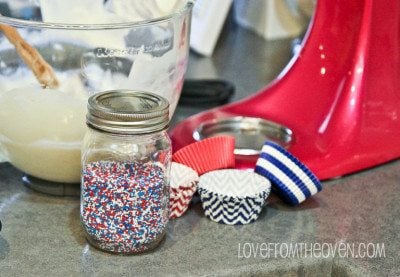
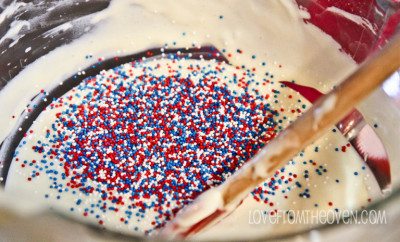
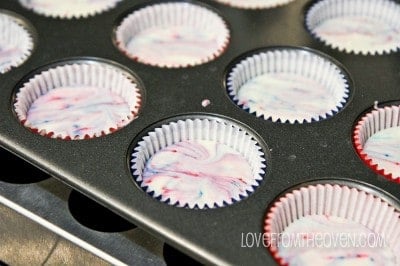
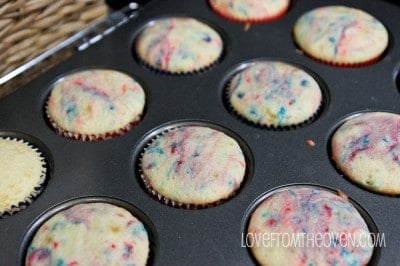
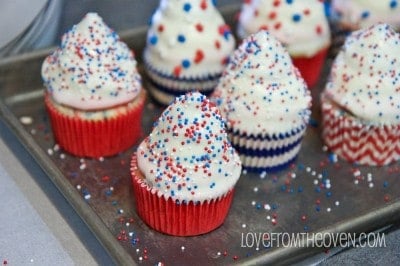
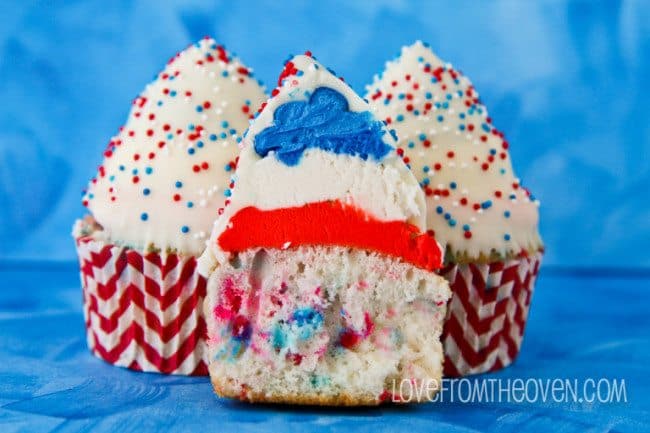
To make these I simply used a white cake mix and to add a bit of a tye-dye effect, I added in some red, white and blue nonpareils sprinkle to the batter. The color typically seems to run off of this type of sprinkle very quickly when it gets wet, so I figured I’d use it to my advantage in these cupcakes and add a bit of a swirled effect.
I will say that I added my sprinkles to the entire bowl of cake batter, and by the time I scooped them all into the pans, some had sprinkle colors mixed to the point of purple, so if you want to do this, I would say put your cupcake batter into your cupcake pans then add a few sprinkles to each cupcake and give a little stir. Just a LITTLE stir. They quickly swirl in the color, so don’t over stir.
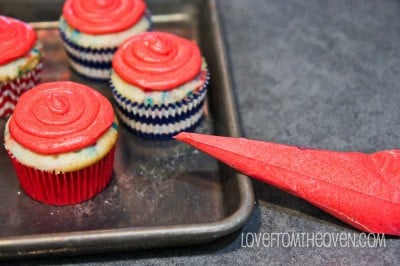
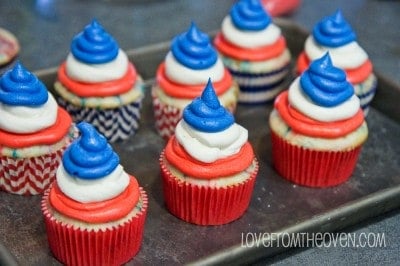
After baking your cupcakes, let them cool. Then it’s time for the fun, the frosting! You want to use a frosting that will harden up a bit on the outside, and for that I really love I Am Baker’s Perfect Crusting Buttercream Recipe. I prefer to use the half butter half shortening option. Once prepared I tinted a bowl of the frosting red, a bowl blue and left a bowl white. Then I simply piped frosting onto each cupcake, one color at at a time. Note how completely and totally not perfect these are. Don’t worry, the chocolate coating covers a lot and most people want to eat and enjoy your cupcakes, not give them a letter grade.
See, SO not perfect. 🙂 That is okay.
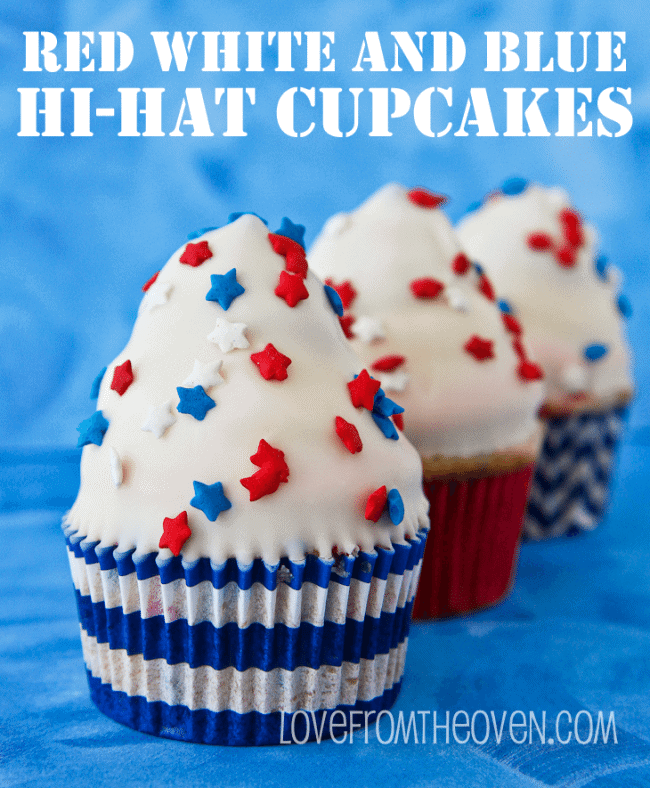
After frosting them, into the freezer they go, which makes dipping them in your chocolate coating super easy. Really, I PROMISE! Bakerella has a fabulous Hi-Hat Cupcake Tutorial. Until I can get an extra set of hands in the kitchen to help me while I make these so I can take some pictures, your best best is to check out Angie’s post about it. She walks you right through it. For coating these, these I used Vanilla & Chocolate Candiquik. I did pour into a mug for dipping.
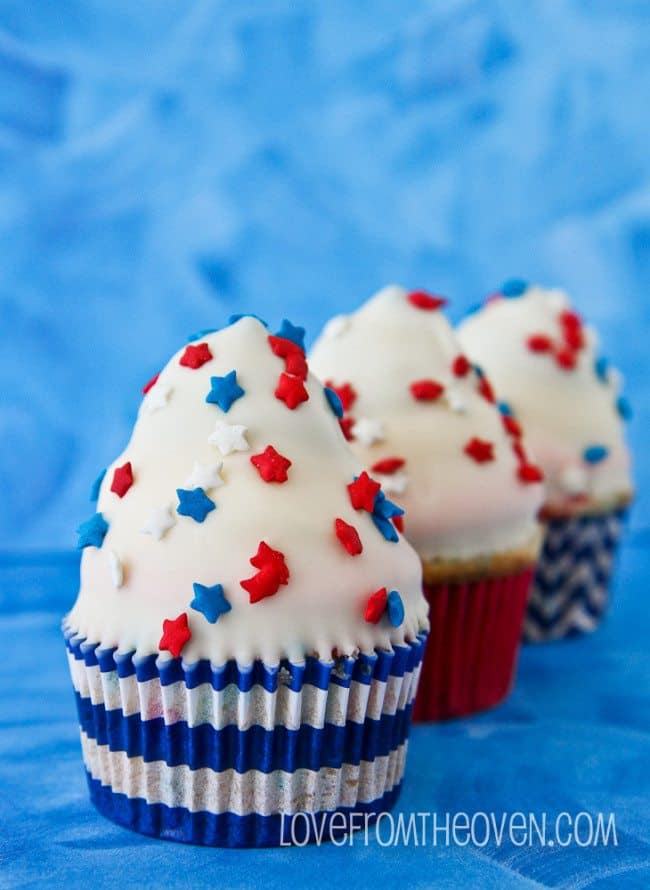
These are so fun! 🙂 The chocolate coating will dry very quickly because of the frozen frosting, so make sure if you are adding sprinkles that you work quickly before the chocolate sets.
Pretty on the outside, and a party on the inside…
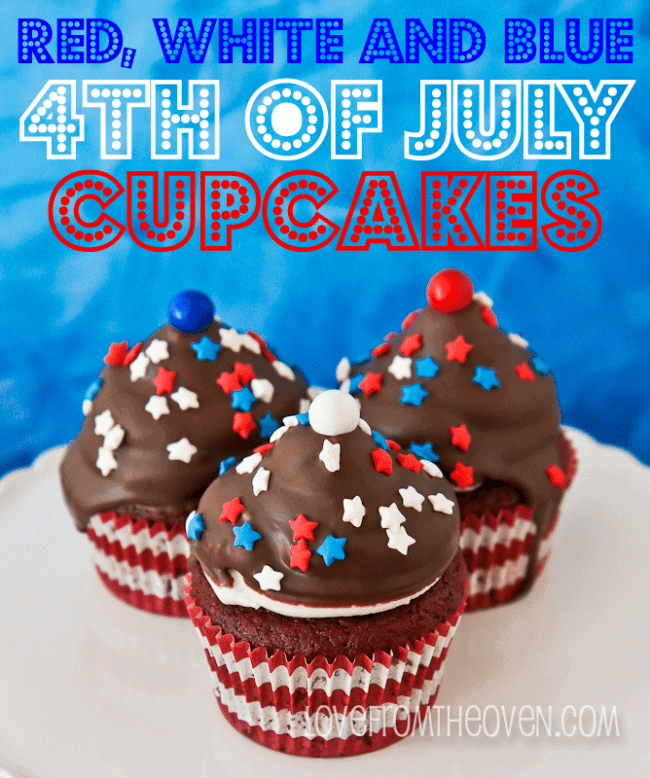
How about a few in chocolate? I think yes.
Supplies for these cupcakes include…
Cupcake Liners from Sweets & Treats Boutique
Red, White & Blue Sprinkles and Stars found at ABC Cake Decorating or Amazon
Red, White & Blue Sixlets for cupcake toppers.
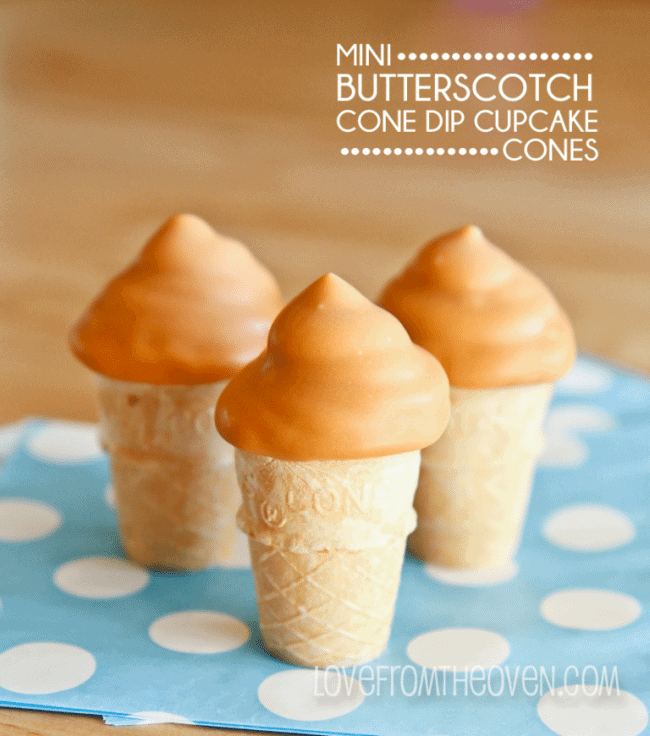
These would be really fun as mini cupcakes or even made into cupcake cones similar to these Butterscotch Cone Dip Cones. Just change your dipping chocolate and add some sprinkles.
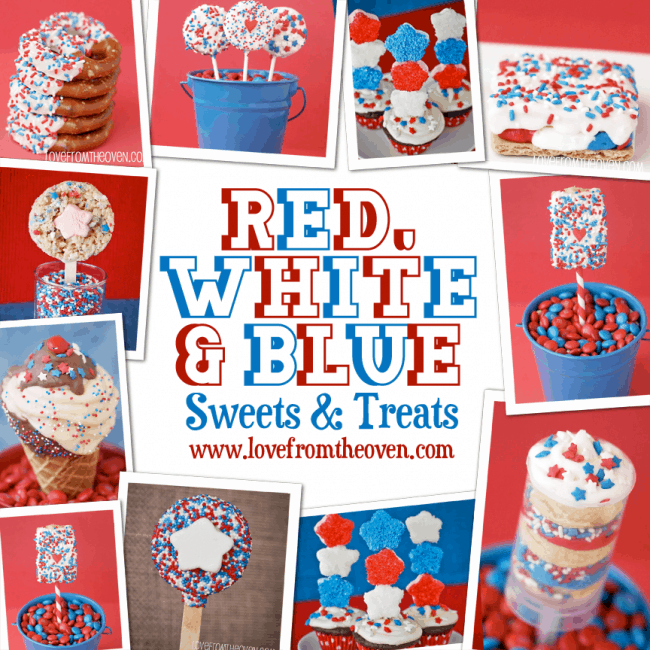
And if you are looking for more red white and blue ideas, don’t miss my round up post.
Enjoy!


Leslie says
Love the inspiration! Thank you thank you!